FIELD & FOREST

vegetarian

triple-ginger cookies

desserts, vegetarian, winterFieldandForest2 Comments

This post is short, as is fitting when you find a recipe which is exemplary and needs no embellishment. You can wait to make these in celebration of a winter holiday, but really, what is the point in waiting? If you make the dough in the morning, you can roll and bake them at night and have almost immediate cookie gratification. And then, the next morning, you can crumble one into your muesli because that is one of the pleasures of being a grown up.

Triple-Ginger Snaps
lightly adapted from Miette

Notes: you don't even really need the icing on these (in fact, I almost prefer them without), but they add to the presentation and make for a festive addition to your holiday cookie repertoire.  Baking the cookies for 12 minutes instead of 10 will give you a more traditional, snappier texture, though I like the slightly soft texture of the 10-minute cookies.

2 cups unbleached all-purpose flour or gluten-free all-purpose flour
1/2 cup whole wheat flour
1/2 teaspoon kosher salt
2 tablespoons plus 1 teaspoon ground ginger
generous 1/4 teaspoon ground cinnamon
1/8 teaspoon ground cloves
1/8 teaspoon ground nutmeg
scant 1/8 teaspoon ground cardamom
1 cup unsalted butter, at room temperature
3/4 cup lightly packed golden brown sugar
2 tablespoons honey
4 tablespoons molasses
2 teaspoons fresh ginger purée (make by grating fresh ginger root on a microplane)
1/2 cup finely minced candied ginger
PTIONAL: turbinado sugar for sprinkling or royal icing (see recipe below) for decorating


Sift together the flours with the salt and spices, and set aside.  In the bowl of a stand mixer fitted with the paddle attachment, beat together the butter and sugar on low speed until fluffy, 4 to 5 minutes.  Add the honey, molasses, and fresh ginger purée and mix until fully incorporated.

Add the dry ingredients to the butter mixture in three additions, scraping down the bowl and beating just to combine after each addition, stopping after the last addition when very little of the flour is still visible and the dough is smoother and forming into a mass.  Briefly mix in the candied ginger until it is evenly distributed in the dough.  Form the dough into a disk, wrap tightly in plastic wrap, and refrigerate for at least 30 minutes or up to 2 days before rolling.

Preheat the oven to 350˚F.  Line two baking sheets with parchment paper.

Roll the dough on a lightly floured surface to about 1/4 inch thick.  Cut with a 3-inch round or scalloped round cutter and place on baking sheets about 1/2 inch apart.  Sprinkle each cookie with turbinado sugar if desired.  Bake until deeply browned, 10-12 minutes (I baked mine for 10, and loved the texture).  Remove to a wire rack to cool.  Decorate with royal icing if desired, and store in airtight containers for up to two weeks.

Royal Icing
adapted from Alton Brown - Makes about 3 cups

3 pasteurized egg whites
1 teaspoon vanilla extract
4 cups powdered sugar

In the bowl of a stand mixer fitted with the paddle attachment, beat the egg whites and vanilla together until frothy.  Gradually add the powdered sugar and beat on low speed until the sugar is incorporated and the mixture is shiny.  Turn the speed up to high and beat for about 5-7 minutes, or until the mixture forms stiff, glossy peaks.  Add food coloring if desired.  For immediate use, transfer to a piping bag or plastic squeeze container.  Store in an airtight container in the fridge for up to 3 days.

Notes: do not eat too much of the icing on its own; doing so will give you a thorough sugar hangover and you'll need to sit down for a while.  This has been the Voice of Experience.

concord grape and rosemary focaccia

autumn, breads, breakfast, desserts, vegetarian, winterFieldandForestComment

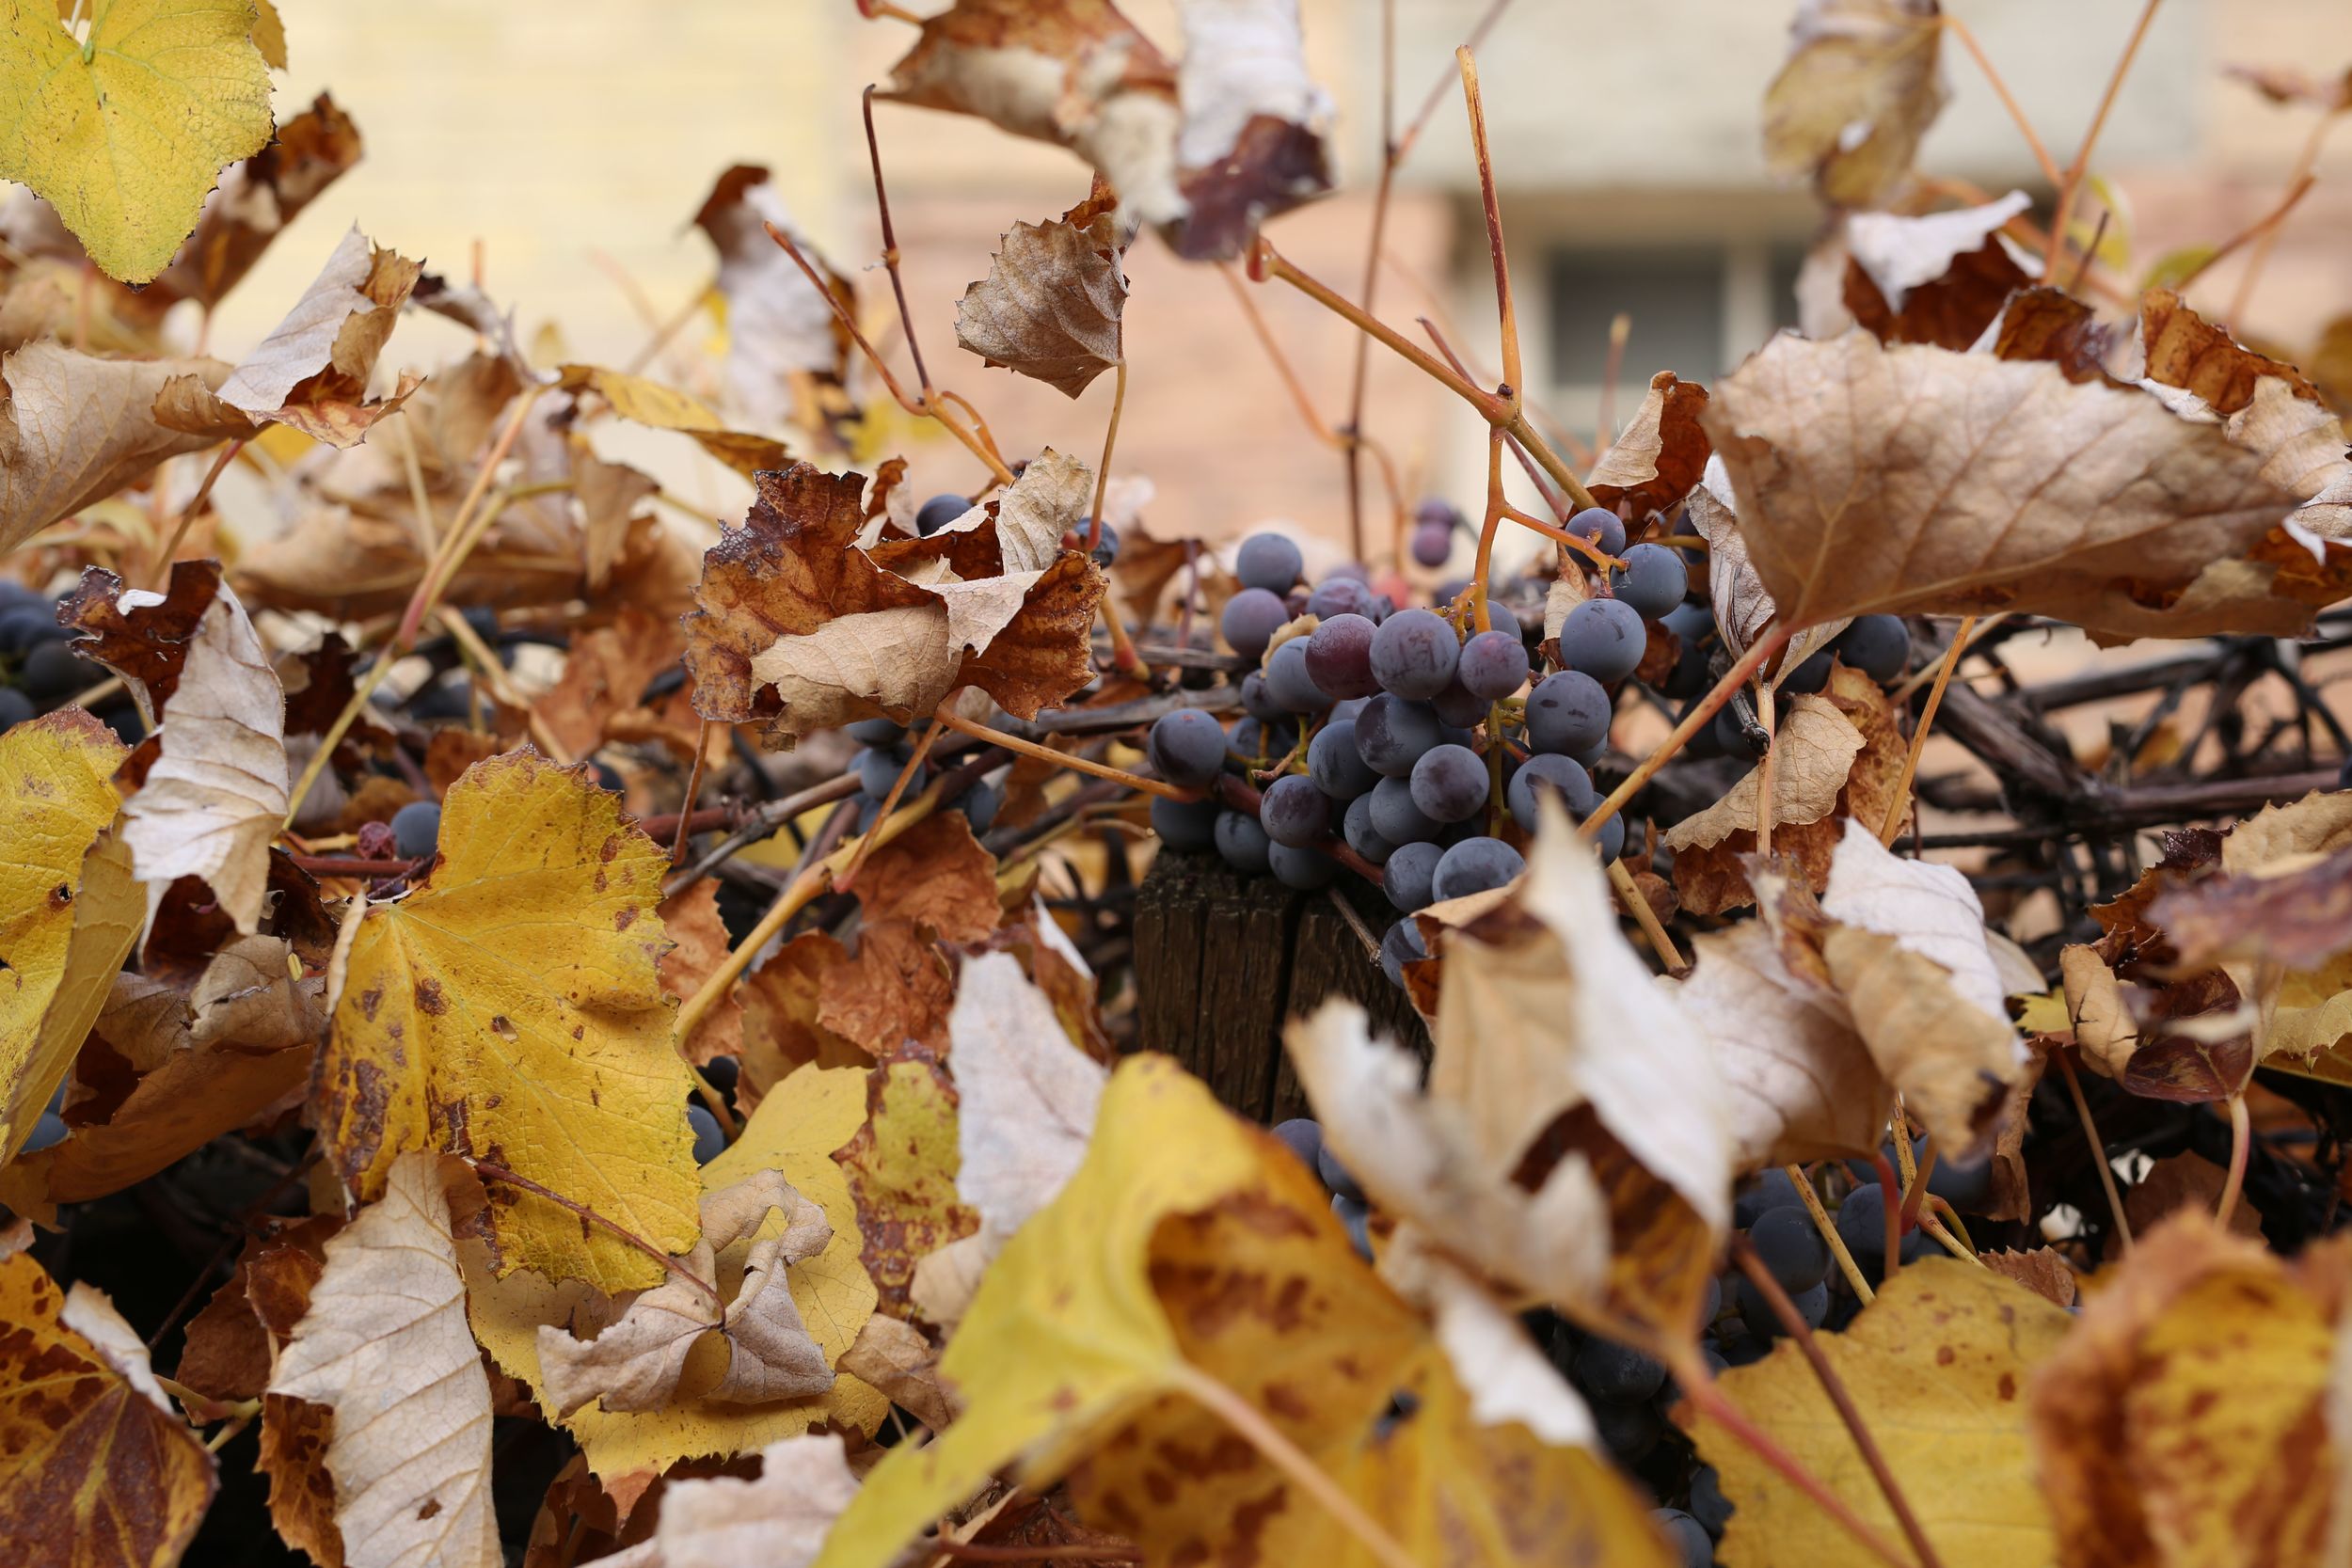
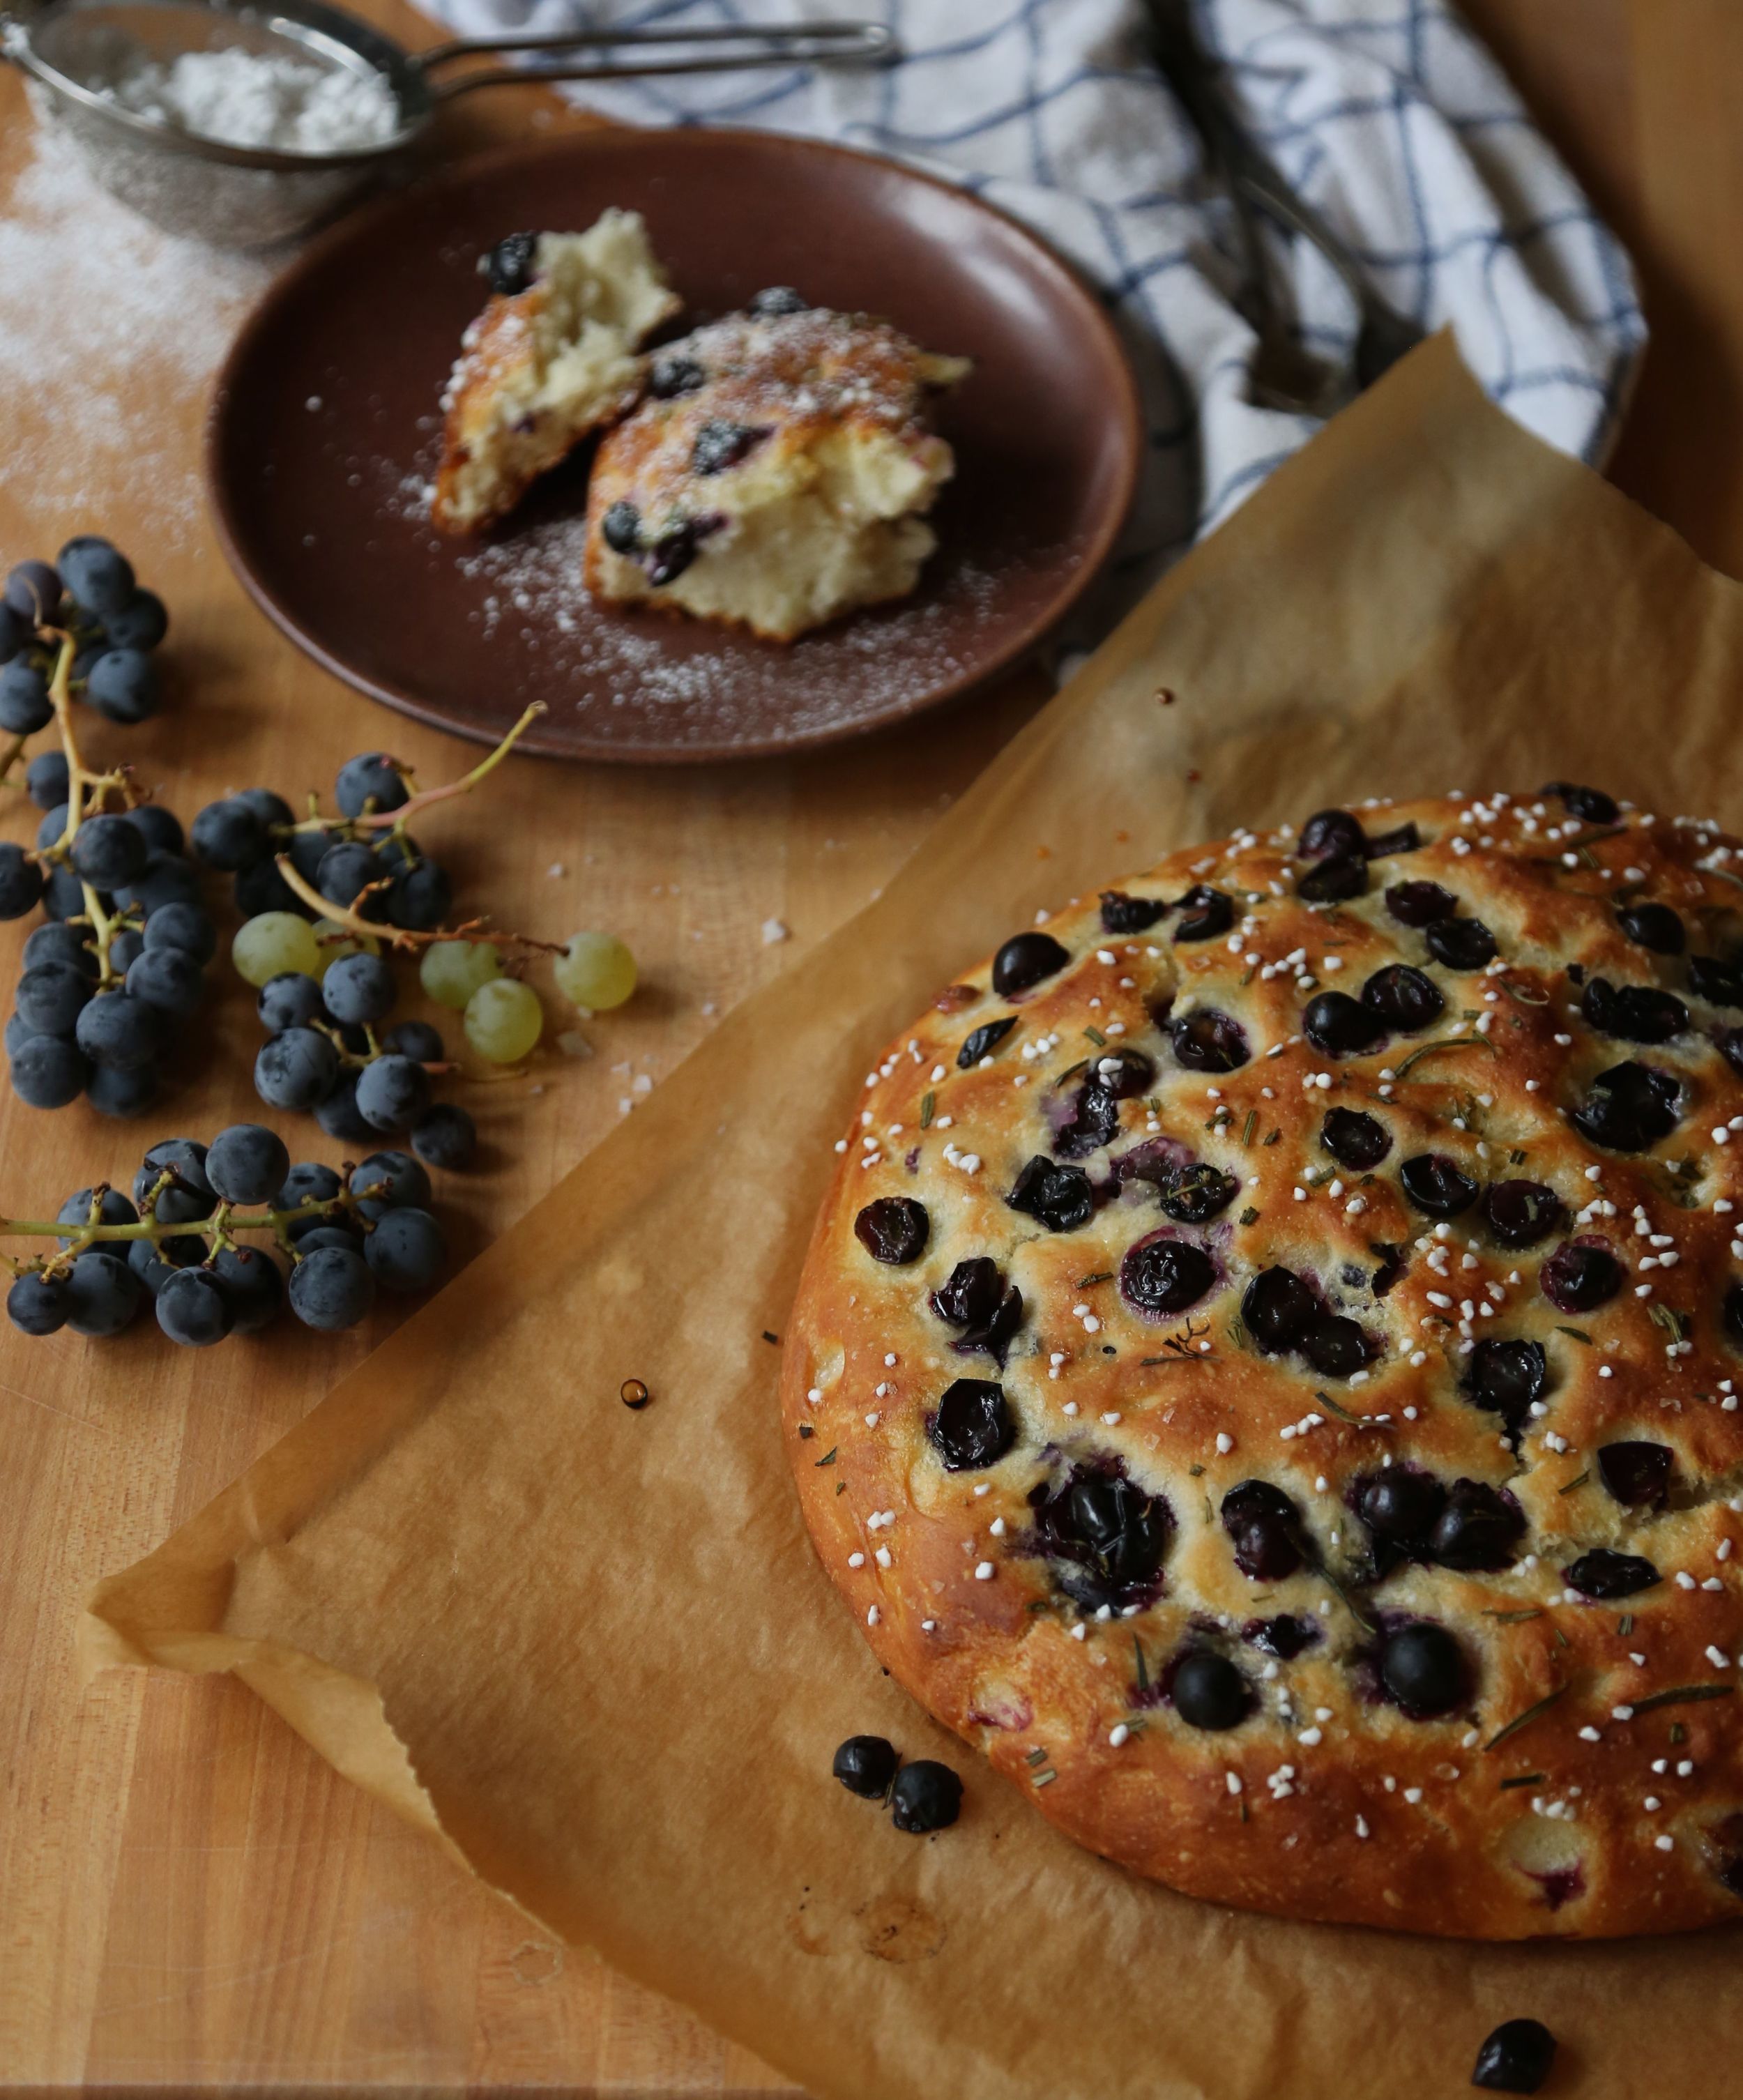
It is rare to walk a block in Salt Lake City without passing a grape vine or two draped over a fence or stealthily climbing a tree. Grapes grow well here, and are one of the first plants to offer an abundance of foliage in the spring. I think, for that reason, they’ve become a popular choice for home gardens since it seems like we’re all starving for something lush and green after months of brown earth and snow. They also produce plenty of fruit, more than most people can consume on their own, which is why some will reach out to the grapeless and invite us to help (and eat). There is now a palpable sense of urgency to rehome fruit since we don’t know when the first snow will arrive; the window for picking some varieties will close following a deep freeze as their skins will crack and burst as their cells expand in the cold.

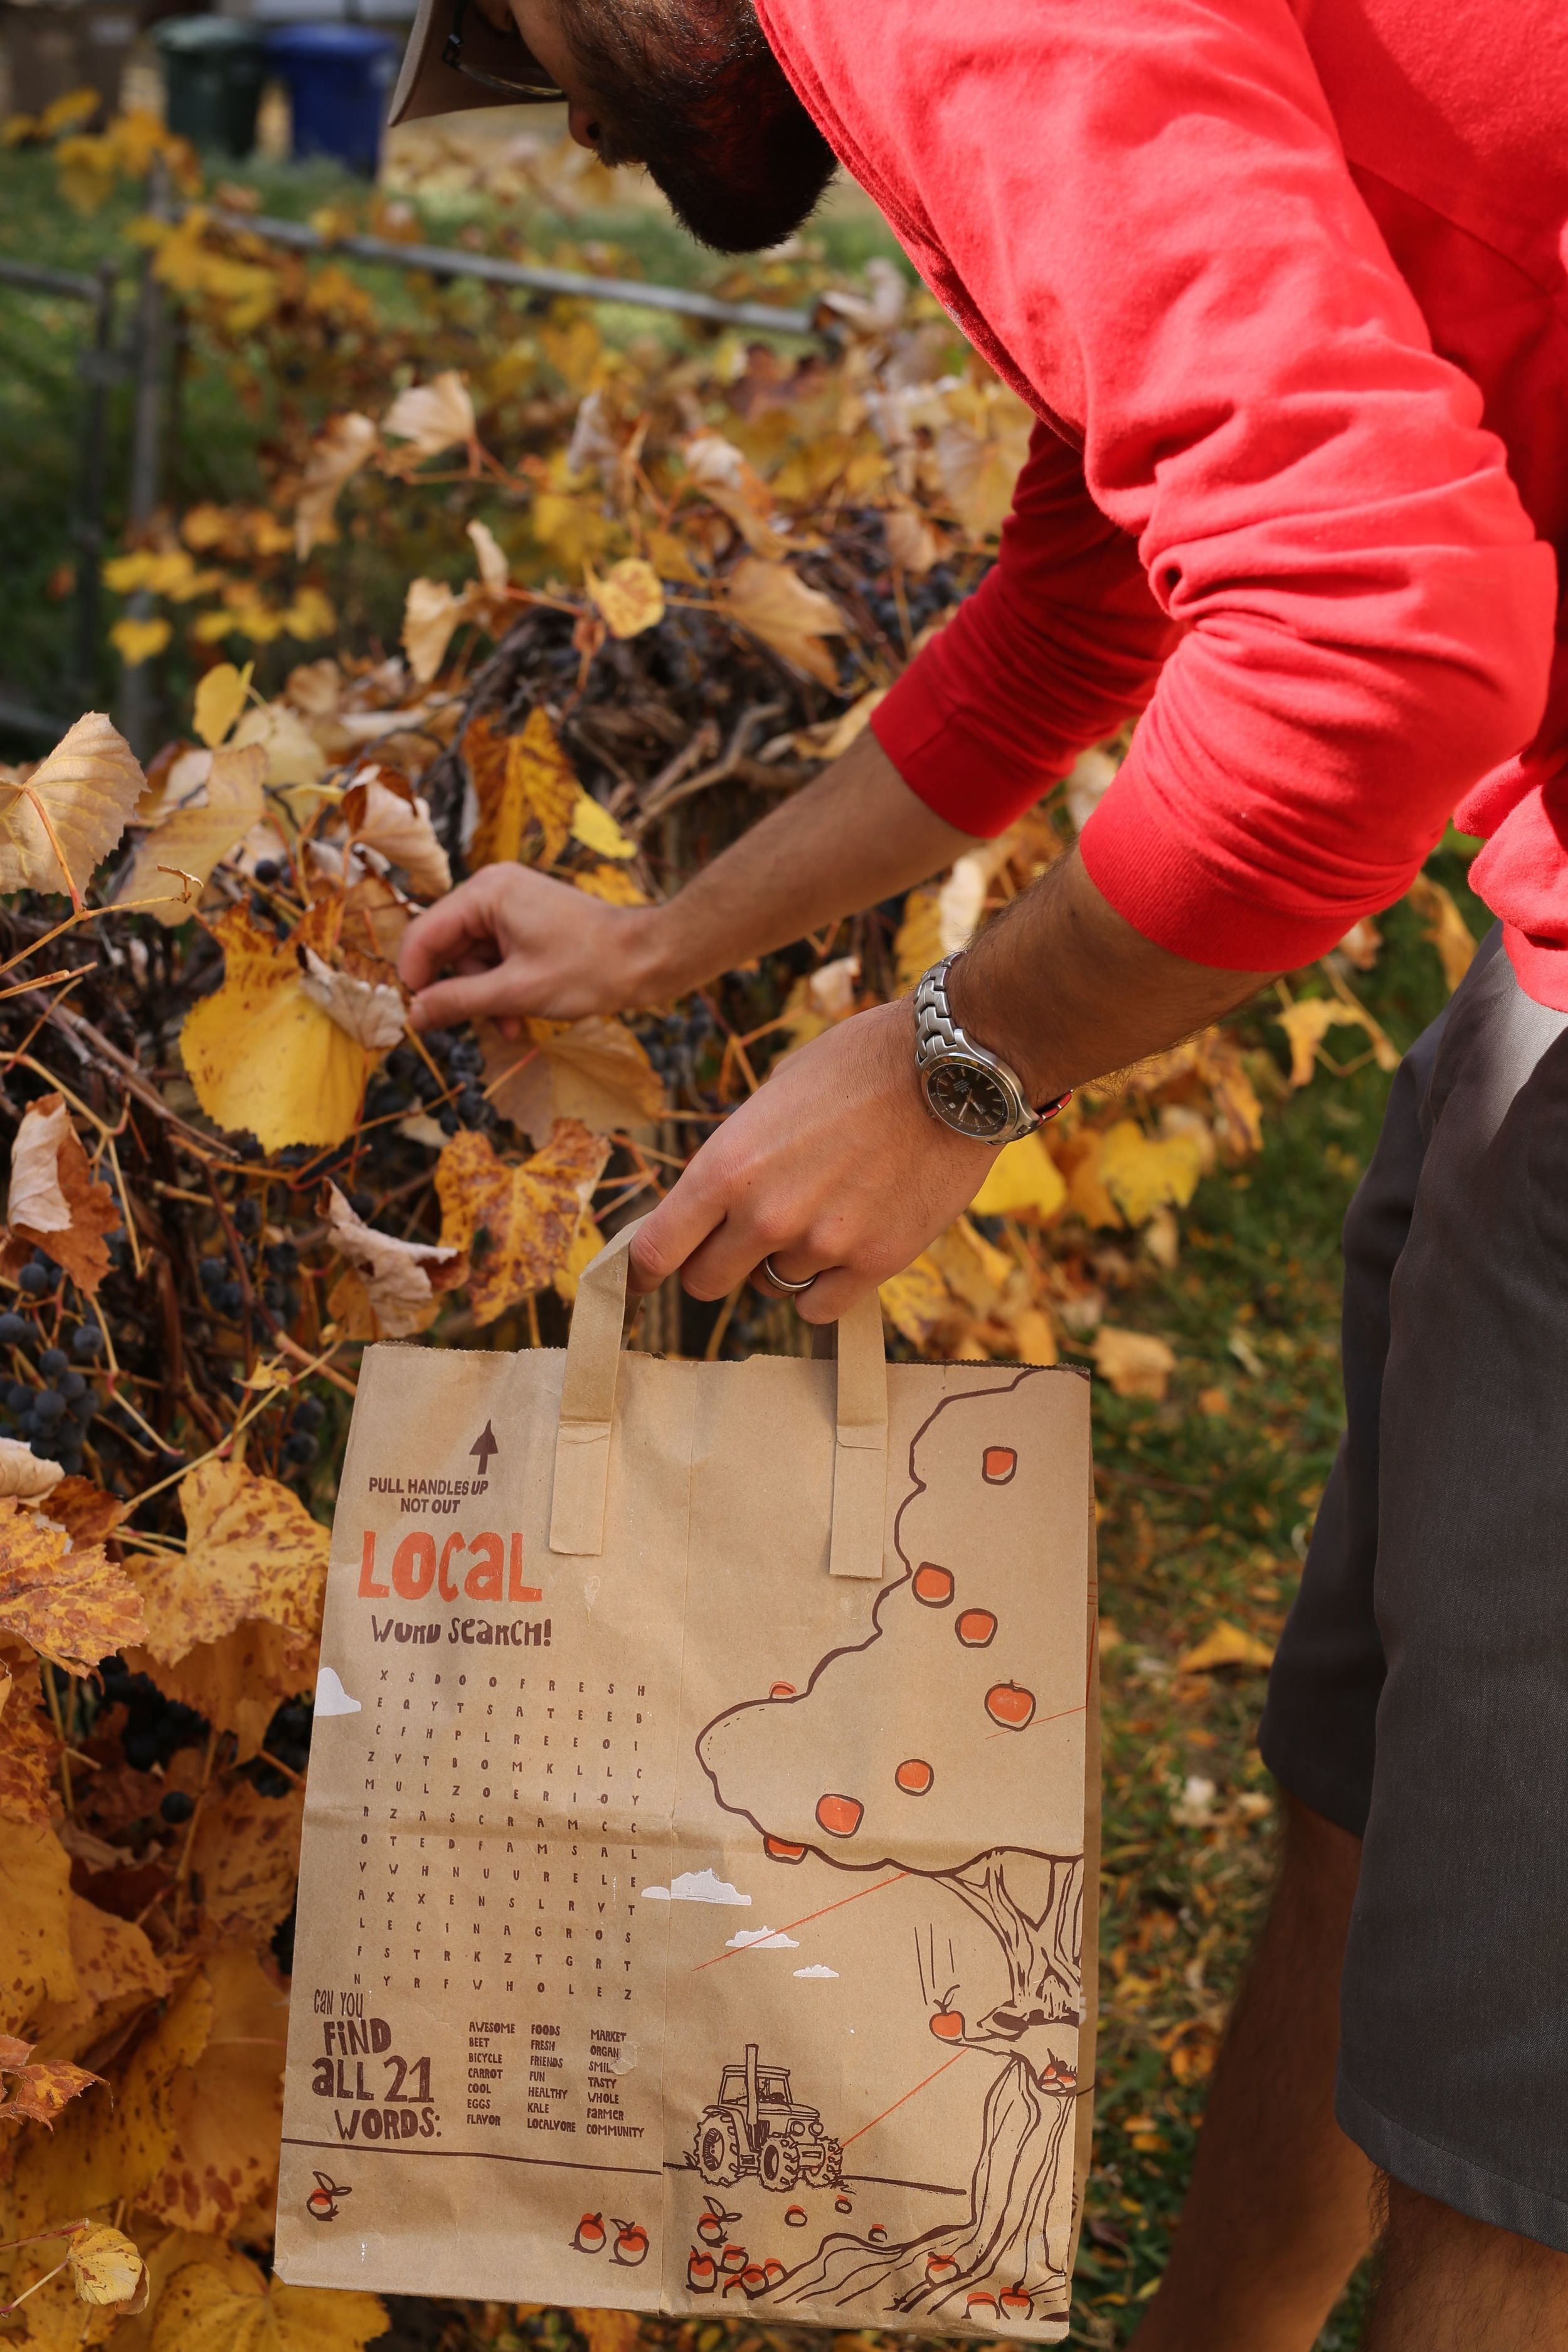
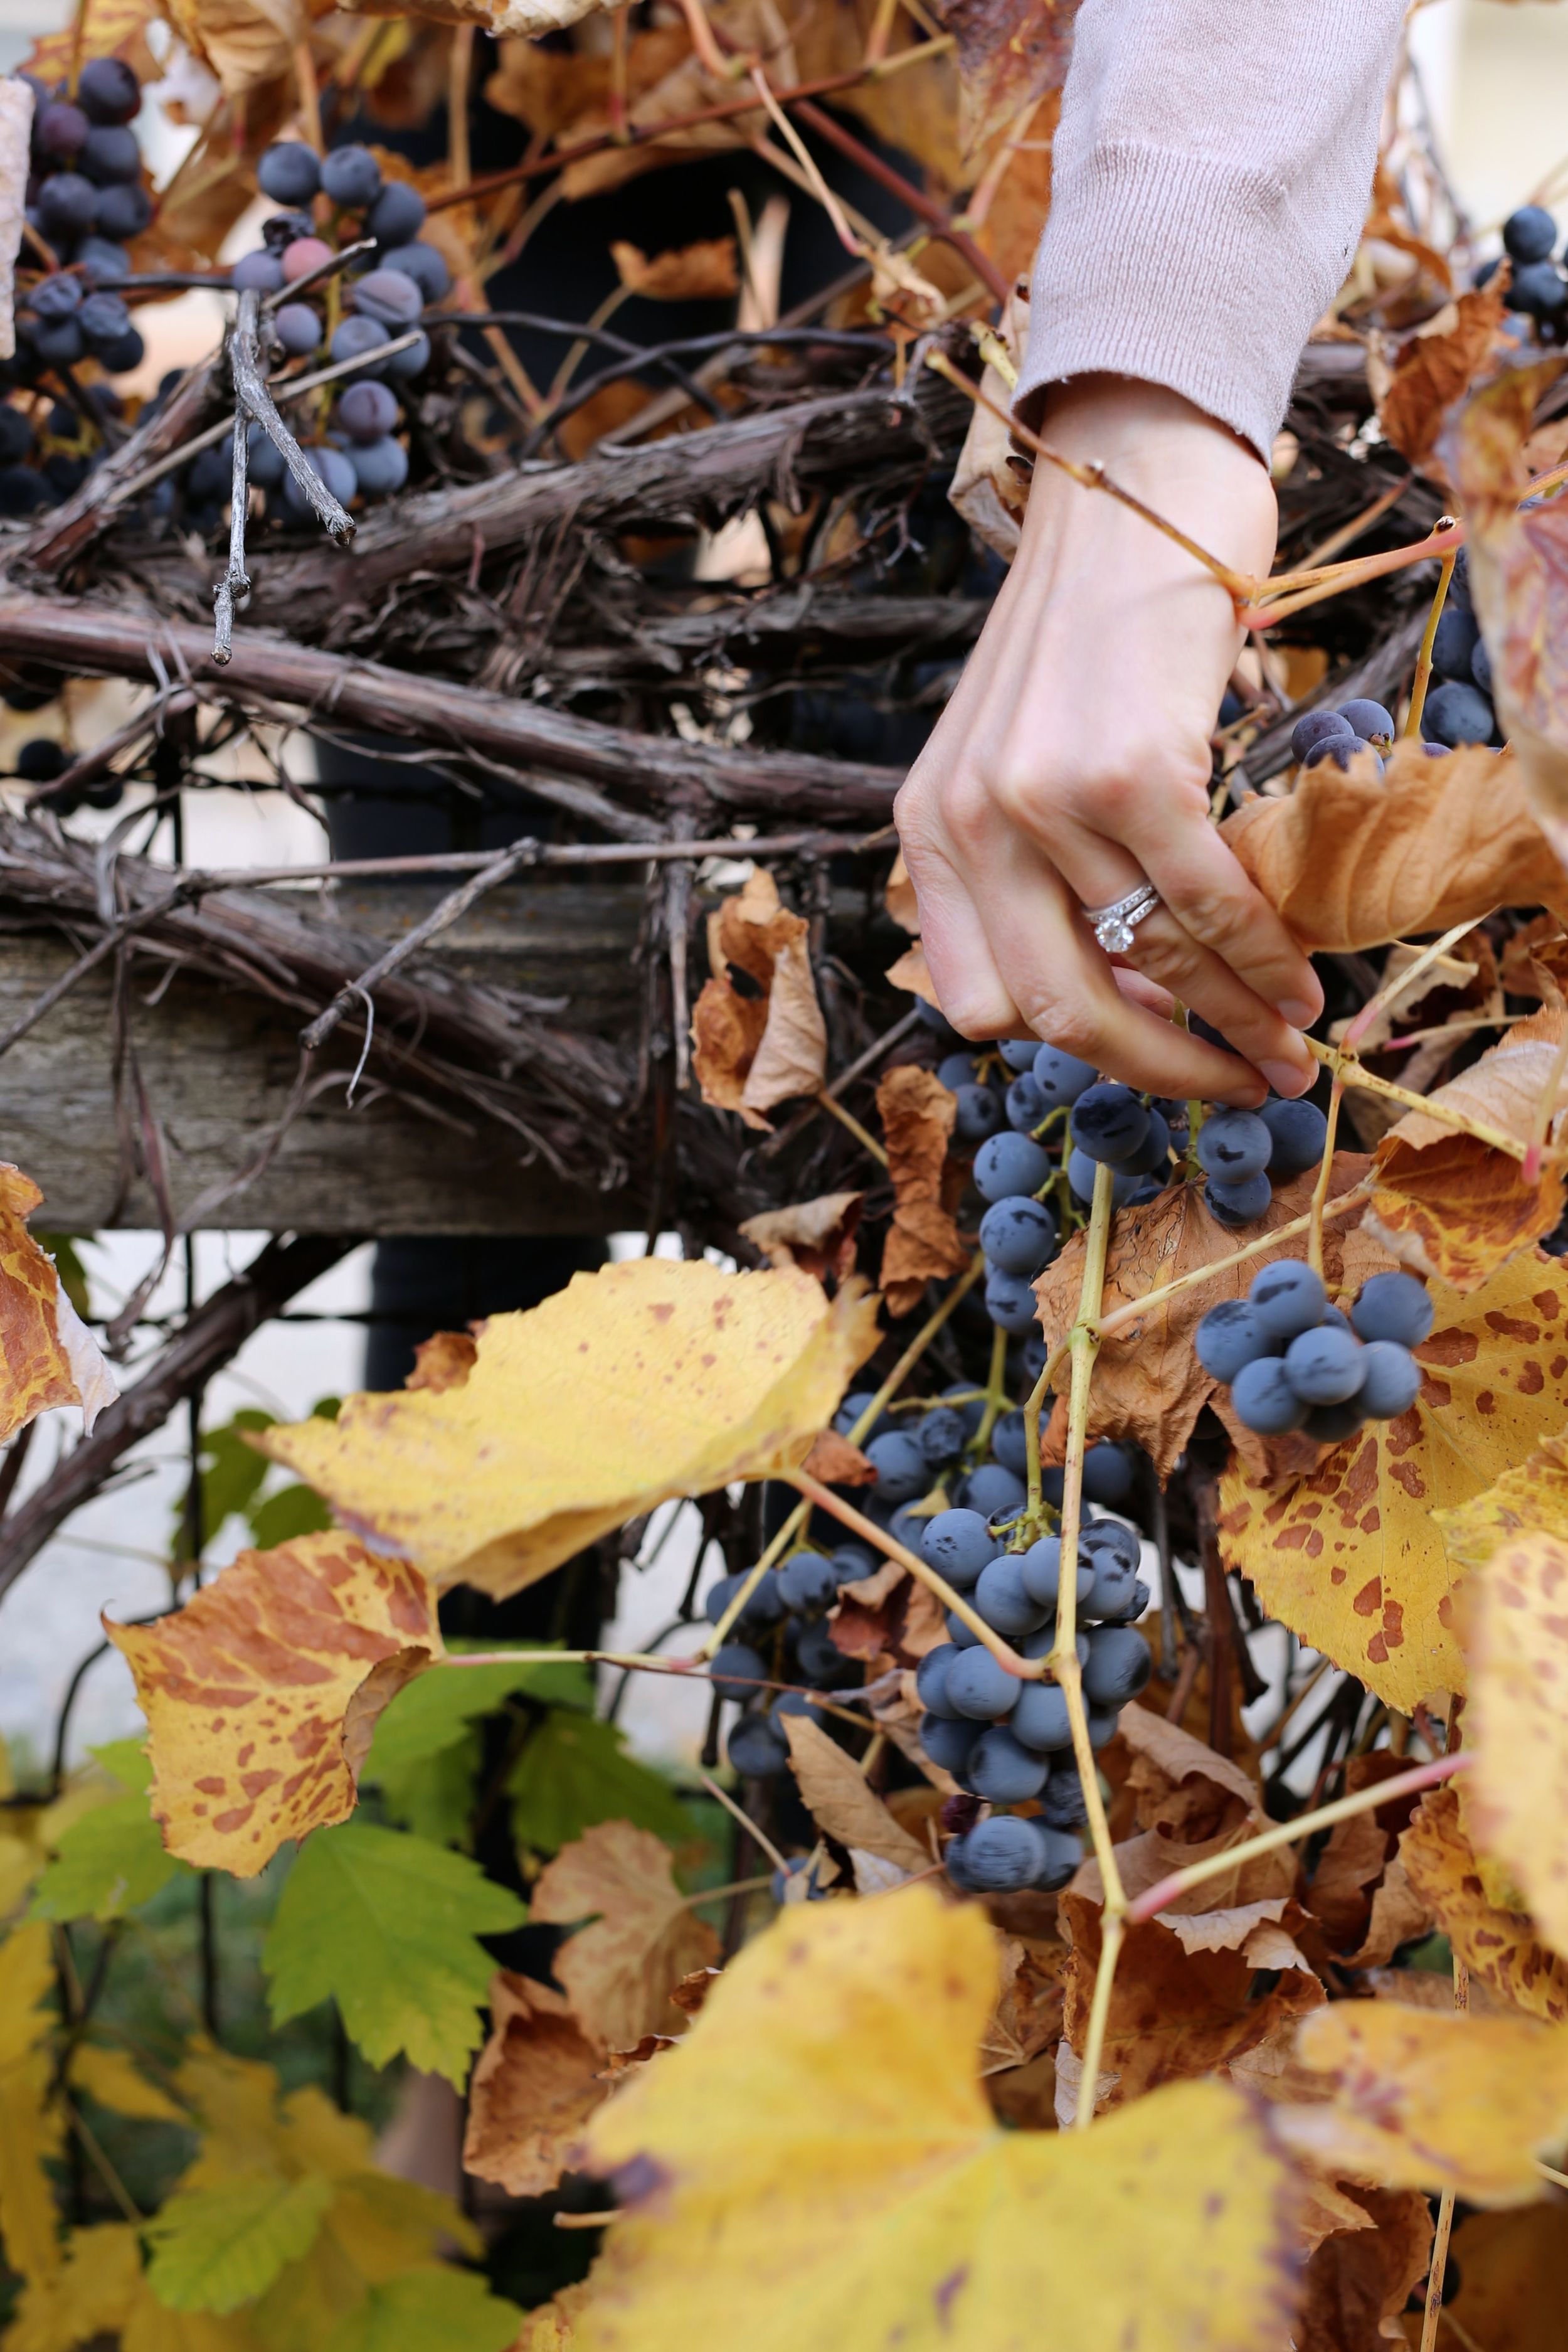
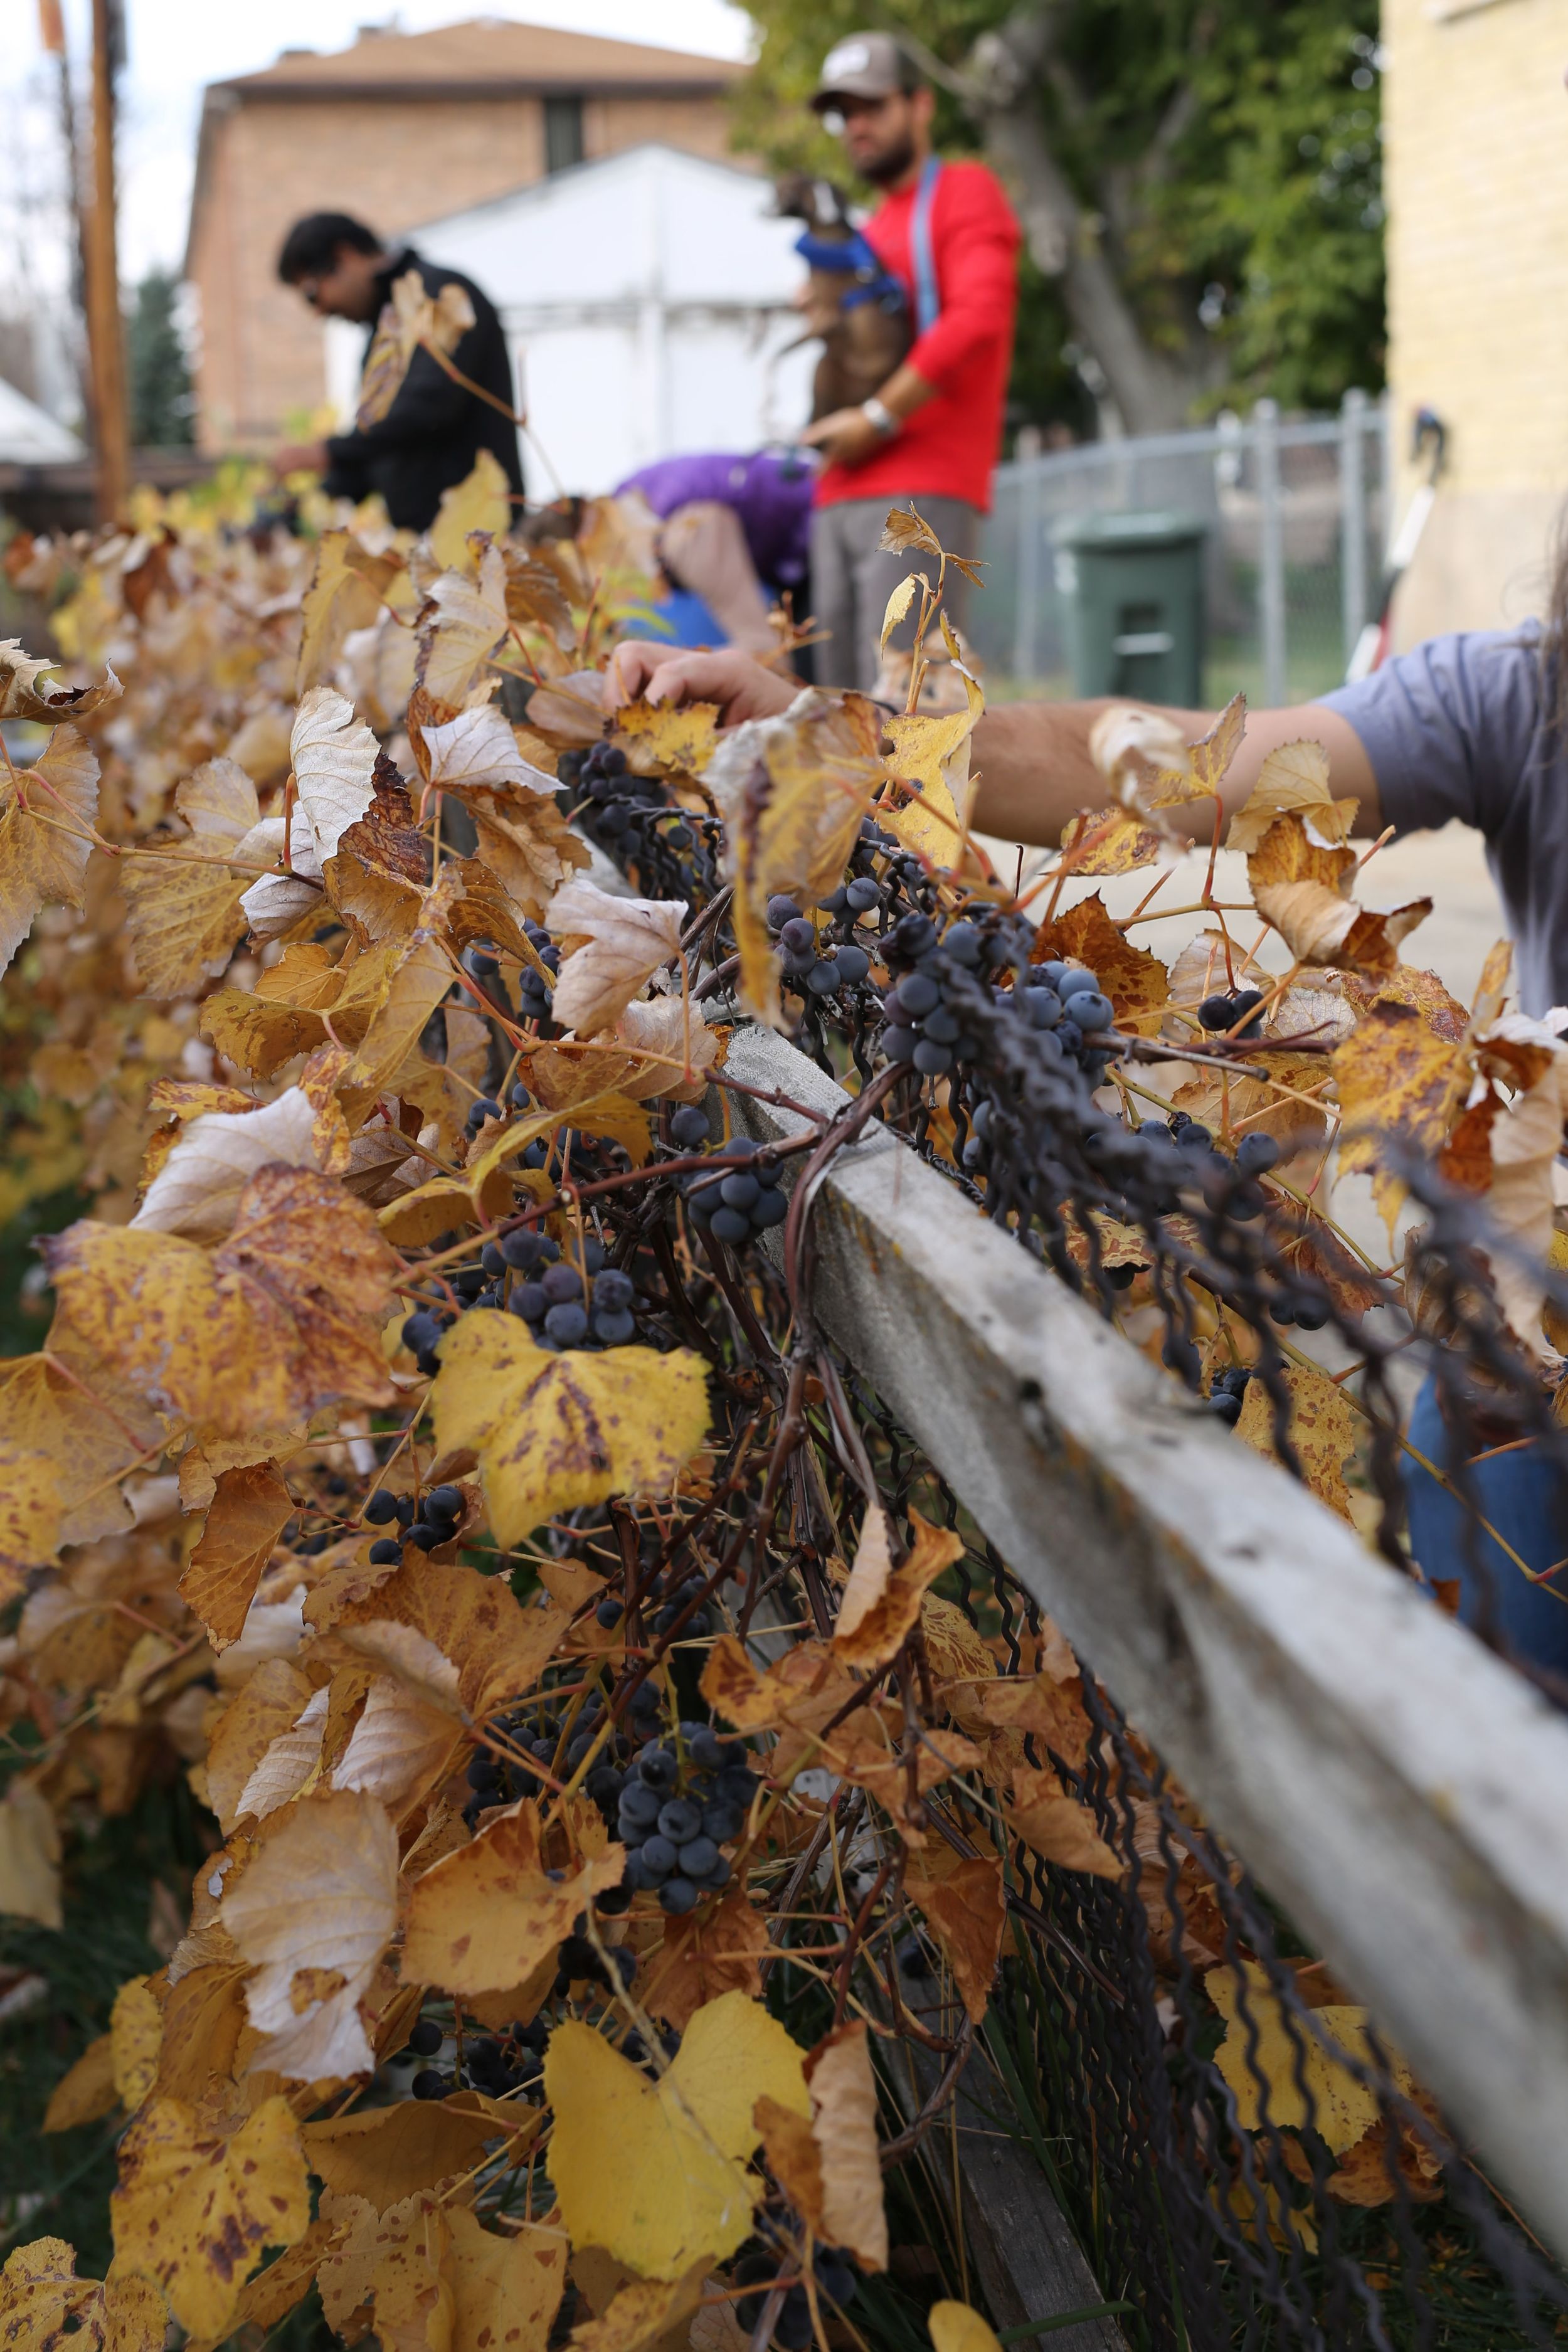
But there are indeed some silver linings to the end of the season. The leaves have now all shriveled on the vines (products of dwindling temperatures and two lightening-fast freezes over the last month), and it seems almost unfair how easily one can see exposed fat bunches of grapes. You would only need to stand next to the vine with your eyes closed and reach towards it to feel the hundreds of fruits waiting to be picked. We moved up and down the fence, gently snapping stems, greedily dropping the grapes into bags that quickly became heavy and juice-stained. We stopped after twenty minutes, embarrassed that maybe we had taken more than our share and already realizing that we had no plans for the poundage now in our possession. But I daresay that, had you visited the vine after we left, you would have been distracted by the remaining fruit and would never have known we were there.

If you’ve ever looked at recipes involving grapes, you might wonder why some specifically call for Concord grapes. I think experiencing their flavor is the only way to truly understand the reasoning. They are so very… grapey. Eat one (if you haven't already) and I think you’ll agree. I have heard people say that they just do not like Concord grapes, and while I enjoy them, I understand how they might feel that way. They are a gamey fruit, with a sharp, unmistakable flavor and robust, matte skin. We have small vine in our own garden, next to a separate vine of a pale green grape (Thomson Seedless, perhaps?) that offers tiny fruits with delicate skins; while the Concord grapes are almost offensively flavorful, eating the lighter grapes is akin to biting into bubbles of perfume. They are the suckling pig to the Concord’s wild boar, and more of a crowd pleaser, I think. But they do not hold up well to cooking, and are best consumed off of the vine (or out of the bag).

If you cannot find Concord grapes or don’t want to use them, a seedless red variety will do well here. Use grapes that are relatively firm when gently squeezed; aging grapes  that are beginning to wrinkle will give you more of a raisin effect when baked. If you choose to use a seeded variety and remove the seeds yourself, give yourself an extra half-hour to do so and only serve this bread to people you really like.

 Concord Grape and Rosemary Focaccia
Adapted from Ripe, by Nigel Slater - makes 1 loaf
(Richard would like you to know that this is one serving, though Nigel claims it can serve up to eight)

3 1/4 cups white bread flour or all-purpose flour
1 teaspoon fine sea salt or table salt
1 tablespoon white sugar
2 teaspoons active dry yeast
1 1/2 cups warm water (105-115˚F or just barely warm to the touch)
4 tablespoons olive oil, divided
14 oz concord grapes, halved and seeded, divided
1 tablespoon pearl sugar
large pinch flaky sea salt, such as Maldon
1 teaspoon finely chopped rosemary
little confectioner's sugar


Line a sheet pan with parchment paper and set aside.

Combine the flour and salt in a large bowl.  In a small bowl, mix the yeast and sugar into the warm water, and set aside for 5 minutes (this is called proofing, and allows you to make sure that your yeast is alive).  You should start to see little bubbles on the surface of the mixture after a few minutes; this means the mixture is active. (If you don't see bubbles, your yeast may have expired, or your water may have been too hot.  Check your yeast's expiration date, and try again with new yeast and fresh water).  Once your yeast has proofed, add the mixture to the flour and salt along with 1 tablespoon olive oil, stir with a wooden spoon, and turn out onto a generously floured board and knead lightly for 5 minutes.

Once the dough feels elastic and "alive," put it into a lightly oiled bowl and cover with a damp tea towel (this creates a humid environment to help support yeast activity and keep the dough from drying out) and set in a warm place to rise.  It will take approximately one hour to double in size.  (If you haven't already prepped your grapes, now is an excellent time to do so!)  Once the dough has doubled, punch it down gently to release some of the air.  Add half of the grapes to the dough (while still in the bowl) and gently knead them in until they are evenly distributed.  Tip the dough out onto the parchment lined pan, and shape into a flat circle.  Pock the surface with your fingers, like you are playing piano on the dough, and scatter over the remaining grapes.  Cover the dough with the tea towel and return to a warm place to rise.

Preheat the oven to 425˚F (220˚C).  Once the dough has expanded to almost twice its size, drizzle over the olive oil, and scatter with the pearl sugar, salt, and rosemary.  Bake in the middle of the oven for 30-40 minutes, until well-risen and golden brown.  The focaccia should feel springy when pressed.  Leave to cool slightly before dusting with confectioners' sugar.  Cut into thick wedges and serve warm.

Notes on making this ahead of time:  Focaccia is best eaten within a few hours of baking, and will lose its magic when stored overnight.  If you cannot complete all of the steps in a single day, make the dough, place in the oiled bowl, and store, covered, in the fridge to rise overnight.  Let the dough come to room temperature for 1/2 an hour in the morning before kneading in the grapes and shaping it for the second rise.  You may again store the dough in the fridge for the second rise if necessary, letting it sit out of the fridge for 1/2 an hour before baking.

remedy wassail with lemon, orange, and ginger

autumn, drinks, vegetarian, winterFieldandForestComment

My throat started itching today.  Just a little, but enough for me to notice and think "Whoa, there, let's nip this in the bud before it turns into something else."  I've been trying to take note of how I am feeling physically this week, as things are very (very) busy in our lives and my body has a tendency to go-go-go-STOP when I let things like sleep and exercise slide.  Which I have, so itchy throat mystery solved.

I've taken a leaf out of my friend Bryan's book and made a batch of wassail to keep in the fridge and heat up when I need a quick boost. (Hi, confused Jewish friends! You probably don't know what wassail is, but apparently there is a Christmas carol about it? And it is a festive drink that people used to have on hand to serve to Christmas carolers? Yeah, I didn't know that either. I also kept spelling it like "wassel" since I'm pretty sure that's how it is pronounced, and now that I've looked it up, I can't help but say "wasSAIL" in my head as I am writing this. Today has been quite the cultural education.) My version is made with apple cider heated with orange and lemon slices and spiked with cinnamon, cloves, and fresh ginger. It is mulled cider's bright and citrusy cousin, and it is working wonderfully to cut through all the fuss going on inside of my nose and throat.

Is this recipe traditional?  I honestly have no* idea.  But it is delicious, so hopefully that will speak for itself.


Wassail
Makes 4 cups
This recipe scales wonderfully, so make as much or as little as you like.  Store leftover wassail in the fridge and enjoy cold or warmed.

4 cups apple cider (the best you can find)
2 cinnamon sticks, plus more for serving
3 whole cloves
1 orange (Valencia or navel), thinly sliced
1 Meyer lemon, thinly sliced
5 slices fresh ginger, each slice about the size and thickness of a nickel

Combine the cider and the rest of the ingredients in a small saucepan and set over medium-low heat.  Heat for 5-10 minutes, until the wassail barely comes to a simmer.  Strain the warm wassail into teacups or mugs, and serve with cinnamon sticks on the side.

Note: you can hold the wassail in a slow-cooker or over a low flame at a low heat, but keep in mind that the flavors will be stronger the longer the wassail is heated (which you might prefer), and the citrus will eventually begin to disintegrate.

*Well I just did some research, so now I have some idea. And apparently the traditional version has a lot of booze.  So no, it is not traditional, but it is better** for whatever ails you. **Arguably.

wholegrain pumpkin buttermilk pancakes

autumn, breakfast, vegetarian, winterFieldandForest2 Comments

The biggest complaint that Richard has (according to him, in life) is that some things taste too much like baking powder. (I just asked him if he has other complaints and he said, "Oh, I'm sure I do, but that's... that's a big one.")  But it can be a let down when I find a recipe that looks amazing and then see that it contains more than two teaspoons of baking powder.  Would he really notice, you ask, if I just used the full amount?  Yes, yes he would.  If he were a drug-sniffing dog in an airport, he probably wouldn't be able to nail down a suitcase full of cocaine, but he would undoubtedly be able to tell if the blueberry muffin you bought at the Starbucks in Terminal B was made with baking powder.  It is a gift.

This was kind of discouraging for me for a while, but I've recently taken to it as a challenge.  I don't really want baking powder to be a dominant flavor in a baked good, would you?  And luckily a fair number of pancake recipes which call for a lot of baking powder can be modified in various ways without compromising lift and fluffiness.  That's how I know these pancakes were a success: one, they were incredibly high and fluffy. Like, the fluffiest. Two, Richard took a bite and yelled "These don't taste like baking powder!" and proceeded to eat the rest of the pancakes left on my plate.  Luckily this recipe makes a crapload of pancakes, I think because I adapted it from the Pioneer Woman and her family of six (or more?) who spend their days working on their ranch.  We are a family of two who spend our days working at our desks, so needless to say that many of these pancakes end up in the freezer for later.

In case you're wondering what I changed about the pancakes, I'll tell you; I cut out a full tablespoon of baking powder, and replaced it with 1 1/2 teaspoon of baking soda (I think that Richard is sensitive to the flavor of cream of tartar, which is usually the weak acid ingredient in baking soda).  I then changed out the milk in the recipe for buttermilk, which is acidic and reacted with the increased proportion of sodium bicarbonate (which is what baking soda is) to create CO2 and additional rise in the pancakes.  While the resulting pancakes were incredibly fluffy, they were SO tall that they actually took a while to cook.  If you're willing to compromise pancake height for the sake of speed, I might cut out the additional baking soda all together and just use a tablespoon of baking powder total.  I'd still use buttermilk for at least part of the liquid, though, because when is adding buttermilk to pancakes a bad idea?  Never, that's when.


Wholegrain Pumpkin Buttermilk Pancakes
makes 24-30 pancakes, serves 4-6

Dry ingredients:
2 cups spelt, kamut, or all-purpose flour
1 cup whole-wheat pastry flour
1 tablespoon baking powder
1 1/2 teaspoons baking soda
1/4 teaspoon freshly ground nutmeg
1/2 teaspoon cinnamon
1/2 teaspoon kosher salt

Wet Ingredients:
2 cups pumpkin puree
2 eggs
2 1/2 cups liquid (use all buttermilk, all whole milk, or a half-and-half mixture)
3 tablespoons maple syrup
2 tablespoons butter, melted

To serve:
butter
maple syrup
pomegranate arils (optional, but pretty!)
toasted pecans (optional, but tasty!)

Combine the dry ingredients in a medium bowl, and whisk to thoroughly combine.  Combine the wet ingredients in a large bowl, and whisk to thoroughly combine.  Add the dry ingredients to the wet ingredients (this is to prevent pockets of dry ingredients from hanging out at the bottom of your bowl unbeknownst to you), and whisk gently to just combine (over-mixing can develop gluten in the flour and create tougher pancakes).  Switch the whisk for a spatula and fold the mixture a few times, making sure that there are no pockets of dry ingredients hiding in your batter.

Place a cast iron skillet or griddle over medium heat.  Test the heat of the pan by wetting your fingers under the faucet and flicking a few drops of water onto the pan's surface.  If the drops appear to fizzle and dance on the surface, your pan is hot and ready.  Smear a little butter in the pan with a spatula, and drop dollops of batter (a dollop for me was a little less than 1/4 cup of batter) on the skillet, making sure to give them a little room to spread.  Cook for 2-4 minutes on the first side, then flip, continuing to cook the pancakes for another minute or two before removing them to plates.  You can hold cooked pancakes in a low oven (200˚F) while you finish the rest of the batter, if you like.  Refrigerate or freeze leftovers for future breakfasts (just heat them in a dry pan or nuke them for a minute before eating, or if you're my sister, just enjoy them frozen).

a late september hike + a cake

autumn, desserts, vegetarianFieldandForestComment

Granted I haven't lived in Utah for very long, but I feel confident in saying that each year there is a day, one day, where the weather makes a drastic and complete shift from summer to fall.  Saturday was that day, where we had thunderstorms and constant rain and fog (which made me both pine for the northern California coast and feel very at home here), and I found myself in the midst of it all, hiking alone across a mountain.  The mist which crept across the rocks and down the slope was dramatic and terribly beautiful, the kind of beauty that tightens my chest and makes me aware of how brief and small my presence is on this planet.  I took as many pictures as I could before my hands turned to ice, then drove down the canyon with Agnes Obel through the rain on a road tucked away in clouds.

Feeling that kind of insignificance has positive effects; it makes me subconsciously more deliberate and thoughtful in my decisions and more appreciative of the things I am fortunate to have in my life.  I felt so lucky to have seen the aspens changing color (something I love to see that we missed last year while traveling), and very happy to then go home and put on a pair of fuzzy socks and sit and drink tea on the futon while listening to the thunder outside.

And then I made a cake, because why not?

Rosemary Olive Oil Cake
adapted from An Everlasting Meal, by Tamar Adler

8 eggs
1 1/2 cups sugar
1 2/3 cups olive oil (I used extra-virgin)
4 tbsp finely chopped rosemary
zest of one lemon, preferably organic
3 cups all-purpose flour
2 tbsp baking powder
1 tsp kosher salt
powdered sugar, for garnish (optional)
mascarpone or ricotta cheese, for serving (optional)
sweetened whipped cream, for serving (optional)
honey, for serving (optional)

Preheat the oven to 325˚F.

Grease a bundt pan with butter, then with flour, tapping out excess.  Beat the eggs for 30 seconds.  Slowly add the sugar and beat on medium speed until mixture is quite foamy and pale, about 3 minutes.   With motor on slowly drizzle in olive oil, then mix in the rosemary and lemon zest.

In a separate bowl, combine the flour, baking powder and salt.  On low speed, gradually add the flour mixture to the egg mixture and beat just until combined and no lumps.  Pour into prepared pan.  Bake for 45-50 minutes in centre of oven.  Cake should be done when toothpick inserted comes out clean and cake should look golden and spring back when touched.

Let cool in pan for 5 minutes then tip out onto cooking rack.  Dust with icing sugar and eat as is, or with mascarpone cheese or sweetened whipped cream. Makes a rather large cake, enough for 10 servings, at least.