FIELD & FOREST

spring

fridge clean-out minestrone

autumn, dinner, lunch, main dishes, soups, spring, vegan, vegetarian, winterRachel SandersComment

One of my New Year's resolutions from like, 2012, was to get better at using up all of the odds and ends that accumulate in our fridge. For the most part, we've failed. We still fill up a little compost container with past-their-prime veggies/fruits/cheese ends/what have you every month or so. 

But, had I known the recipe for building this skill was one part Richard saying "I want soup" and two parts us being too lazy to travel 2.5 blocks to the store, we might have cracked this fridge clean-out thing a loooong time ago.

I feel funny sometimes when I share these kinds of recipes with you because they aren't flashy or profound or beautifully styled. This is base-level practicality at its core. But geez, there is so much gorgeous food inspiration among the cookbooks and the Instagram and the Pinterest that I sometimes really need someone to slap me across the face and say "put down the pea shoots and make some goddamn food with what you goddamn have."

(I picture this someone as one (or both) of my economical depression-era grandmas, which makes me feel happy in spite of the slapping.)

I'm guessing your fridge looks different than my fridge, and since this is about making the most of what's available to you in the moment, you shouldn't feel constrained by amounts of things or by particular ingredients. An onion, some olive oil, an acid, and maybe a little meat will be enough to carry any veggies pretty far along, and you can even get away with using water if you don't have veggie/chicken/beef broth hanging out somewhere. This soup will not be French Laundry soup by any means but it will be inexpensive and healthy and nourishing and soul-satisfying and delicious.

Pretty much everything we need.

butter
olive oil
2 leeks, halved lengthwise, cut into 1/4-inch slices, and rinsed (white and light green parts only), OR 1 large onion, chopped
salt
1 bunch carrots (~5 carrots) (alternately, use parsnips/sweet potatoes/what have you), peeled and cut into 1/4-inch slices
3 cloves garlic, chopped
a few sprigs of thyme or 1 of rosemary
1/2 cup dry white wine
6 cups broth, water, or a mixture of broth and water
1 can chickpeas (alternately, use cannellini beans or other canned/cooked beans), drained and rinsed
1 cup ditalini (or other small) pasta (alternately, break up long pasta into small pieces)
1/2 bunch red Russian kale, chopped (alternately, other robust greens, chopped, or whole leaf baby spinach)
black pepper
zest and juice of 1/2 a lemon
(optional: cooked sausage, bacon, or shredded cooked chicken)

To serve: shaved parmesan, red pepper flakes, olive oil

In a pot set over medium-low heat, melt a small knob of butter (a tablespoon or so) and add a quick swig of olive oil. Add the leeks (or chopped onion) along with a pinch of salt and sauté, stirring frequently, until they become soft and translucent. Add the carrots and garlic and cook for 5  (adding more oil or butter if the vegetables are sticking to the pot) until the carrots are just beginning to soften.

Turn the heat up to medium and add the wine. Let the wine cook down until the pan is almost dry again, then add the water or broth. Bring the pot to a boil, add the chickpeas and pasta, and cook for 5 minutes. Lower the heat to maintain a brisk simmer, add the kale, and continue to cook until the greens have softened and the pasta is al dente. (If you are including leftover cooked meat in your soup, add it along with the kale.)

Taste the soup and season with more salt, a little pepper, and the lemon zest and juice. Serve immediately, with shaved parmesan, red pepper flakes, and olive oil on the side.

chocolate stout crepes with whiskey ricotta

desserts, spring, sweet, winter, vegetarian, autumnRachel SandersComment
chocolate stout crepes

I spent two hours the other day attempting to roast sweet potatoes before realizing our oven was broken. I've turned it on a bunch since then, both because I forgot it was broken, and because I was sort of hoping that maybe it was just tired (we've been using it a LOT) and would miraculously start working again. So while we wait for it to be fixed, we're experimenting with the broiler (which is, somehow, still working) and learning that it is great at not only toasting bread and cooking salmon, but also at burning the crap out of sweet potatoes! :)

In all honesty, we've been perfectly fine while ovenless, but then Richard sent me a text with the message "St Patrick's Day work potluck! What should I make/bring?" and I traveled down my mental list of Irish recipes before realizing that 95% of my favorites use (drumroll) the oven. Gah. Of course the big deals of the day, the corned beef and cabbage and potatoes, aren't oven dependent, but the soda bread! The chocolate stout cake! The things that don't require access to a slow-cooker in the office!

I spent the next half-hour diving down a "stovetop Irish recipes" Google hole, and actually found some recipes I had never heard of before (I'm really excited to try making soda farls, which look like wedge-shaped stovetop soda bread). But the dessert thing was bothering me. Ever since my sister introduced me to chocolate stout cake, it's been a highly-anticipated cast member of our St Patrick's Day show. What was the stovetop equivalent of that?

chocolate stout crepes

And then I remembered chocolate crepes.

(Before we continue: YES, I realize that crepes are not something that the Irish eat on St Patty's Day, but did you know that most Irish don't eat corned beef for the holiday either? So if we as Irish-Americans (or plain old Americans) are already failing at cultural accuracy, we might as well ride it all the way.)

Our French friend recently told us about putting beer into regular crepes, which seemed like a great idea (especially since we sometimes run out of the milk normally used in crepes, but we rarely run out of beer). And the whiskey that I put in the frosting for the stout cake would be easy enough to add to ricotta to fill the crepes. And the only downside to attempting to translate the cake to crepes, that I could see, was that the recipe would end up being so-so and I'd have to eat chocolate stout crepes for breakfast for the next couple of days.

Such are the sacrifices I make for you all.

As you may have guessed from this post, it turns out that chocolate stout crepes are DELICIOUS. The beer in the crepes and the whiskey in the ricotta give you the same Irish Car Bomb vibes of the chocolate stout cake, but the crepes are most definitely lighter and a surprisingly delightful change of pace. These are also not terribly sweet, so it wouldn't be inappropriate to take them to the next level with some chocolate sauce or hot caramel... or maybe some Bailey's!

chocolate stout crepes

If you've never made crepes before, you shouldn't let anything get in your way. I think it's kind of funny that crepes have this reputation as being complex and fastidious, especially when compared to their fluffier counterparts, pancakes. Crepes are easier to mix up than pancakes, they cook in less time than pancakes, they can sit at room temperature without their texture being adversely affected, and they are much more versatile than pancakes. Plus, you probably have everything you need to make them right now! Not to mention that you can drink the remainder of the beer (since you won't use a full bottle) while you cook the crepes, if that helps take the edge off. ;)


chocolate stout crepes

makes 8-9 filled crepes - serves 4-8

3 large eggs
2/3 cup stout (or porter) beer, at room temperature
1/3 cup cow's milk or plant milk, at room temperature
1 cup all-purpose flour
1/4 cup cocoa powder
2 tablespoons sugar
1/2 teaspoon kosher salt
1/2 teaspoon vanilla extract

2-3 tablespoons unsalted butter, cut into thirds, then cut into thirds again (so you have 9 pieces), plus more if needed

To serve:

Whiskey Ricotta (recipe follows)
Cocoa powder


Have a plate ready with a clean dishtowel laid over it.

Combine all of the ingredients (not including the butter) in order in a blender or large bowl, and blend or whisk thoroughly to combine (combining them in order helps keep pockets of flour from forming at the bottom of the bowl/blender).

Heat a crepe pan or small, nonstick frying pan over medium heat. Add a piece of butter, and swirl it around to evenly coat the bottom and sides of the pan. Pour a generous 1/4 cup of batter into the pan, and, using your wrist, immediately swirl around the pan so the batter forms a thin, even coating. Cook for 2-3 minutes, or until a nonstick spatula can easily slip beneath the crepe. Lift the crepe up from the pan, and flip it over, and let cook on the second side for 1-2 minutes more. Remove the cooked crepe from the pan and set aside on the prepared plate, and cover with the dishtowel to keep warm.

Note: your first crepe will likely look a little sad (mine did) and be the place where you start to get your pancake-making chops back and/or figure out if your pan is at the right temperature... or perhaps you will have a stroke of luck and it will turn out perfectly! But this is where the "8-9" crepes part comes in, because you never know how things are going to go with that first one. Don't be discouraged, and don't be afraid to practice.

Continue with the remaining batter, placing additional crepes under the dishtowel, until all of the crepes have been cooked. Fill and serve immediately, or place in a covered container and refrigerate for up to 3 days.

To fill your crepes: place a crepe on a plate, and fold in half, then fold in half again. Gently lift up the top layer of the crepe to create a pocket, and spoon 2-3 tablespoons of whiskey ricotta inside. Place the filled crepe on a serving dish. Repeat with the remaining crepes and ricotta until all are filled. Dust with cocoa powder and serve.


chocolate stout crepes
whiskey ricotta

3/4 cup basket drained ricotta
3/4 cup Greek yogurt (full or low-fat)
1/4 cup sugar
1 1/2 teaspoons vanilla extract or vanilla bean paste
1-2 tablespoons whiskey, or to taste (I don't like my whiskey flavor to be too strong, but you might like it to be stronger)

Place the ricotta, yogurt, sugar, and vanilla in a medium bowl, and whisk together thoroughly. Add the whiskey one tablespoon at a time, whisking and tasting after each addition, until the mixture is at your desired level of booziness.

Use immediately, or refrigerate for up to 3 days.

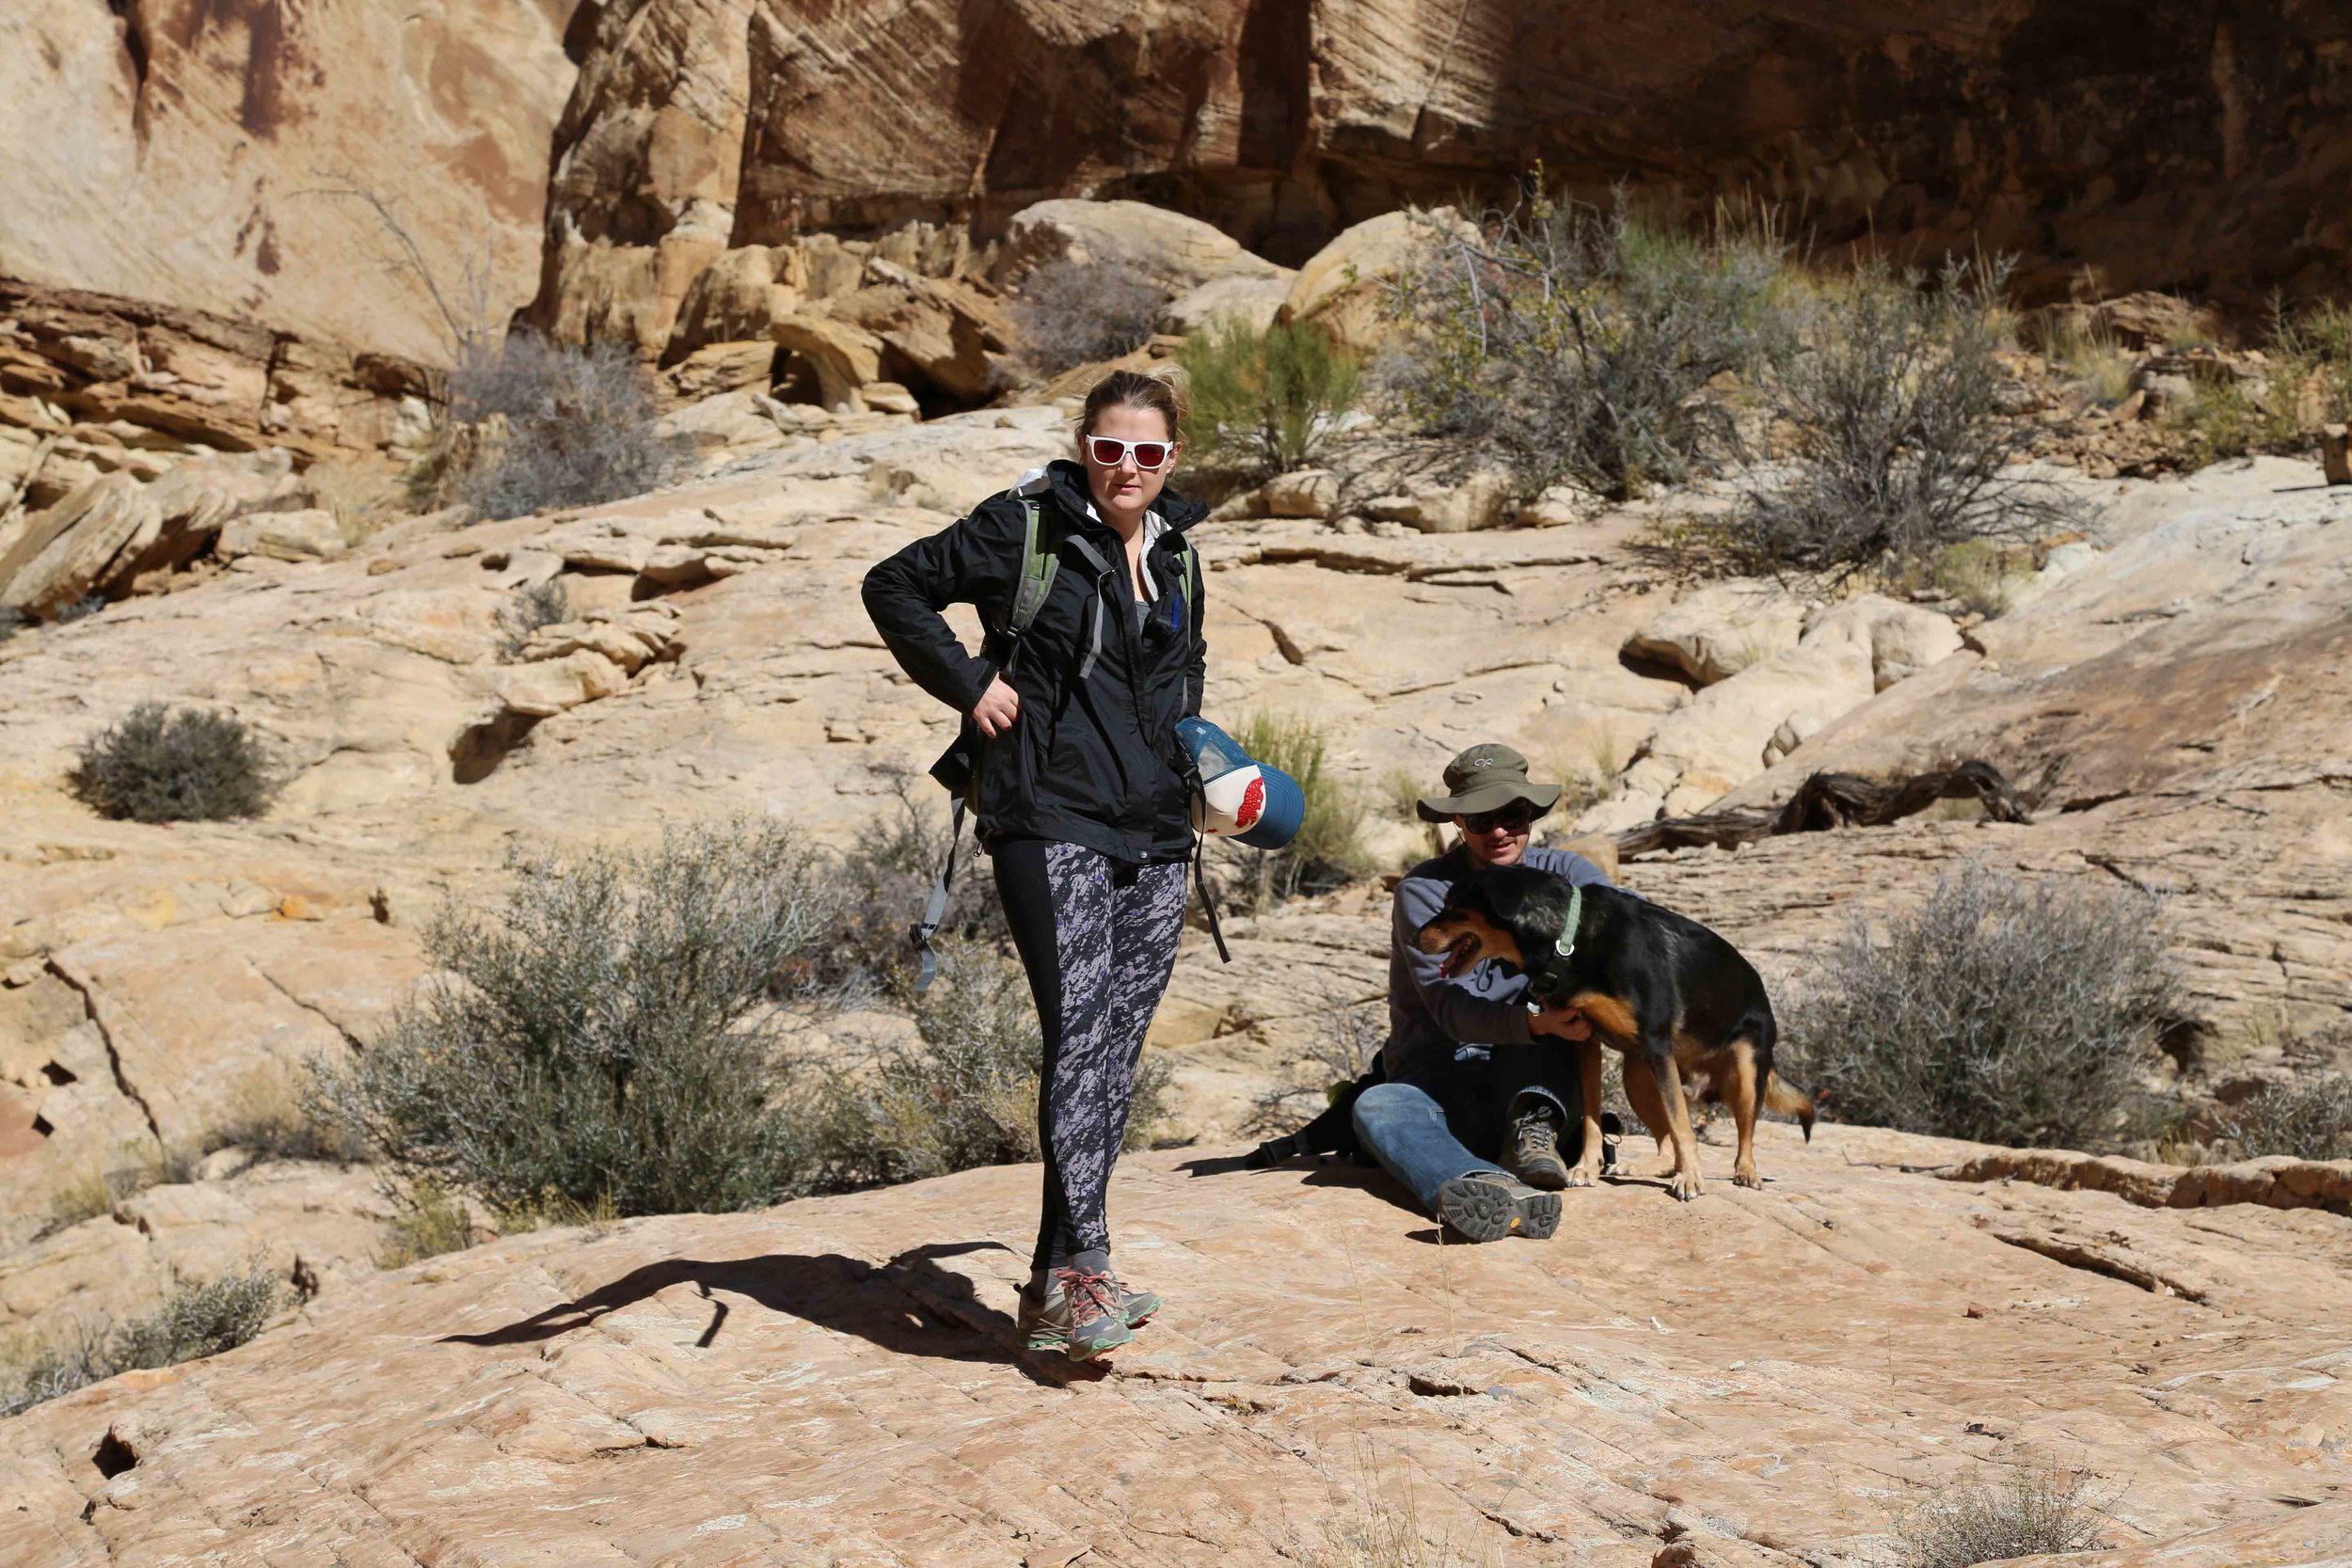
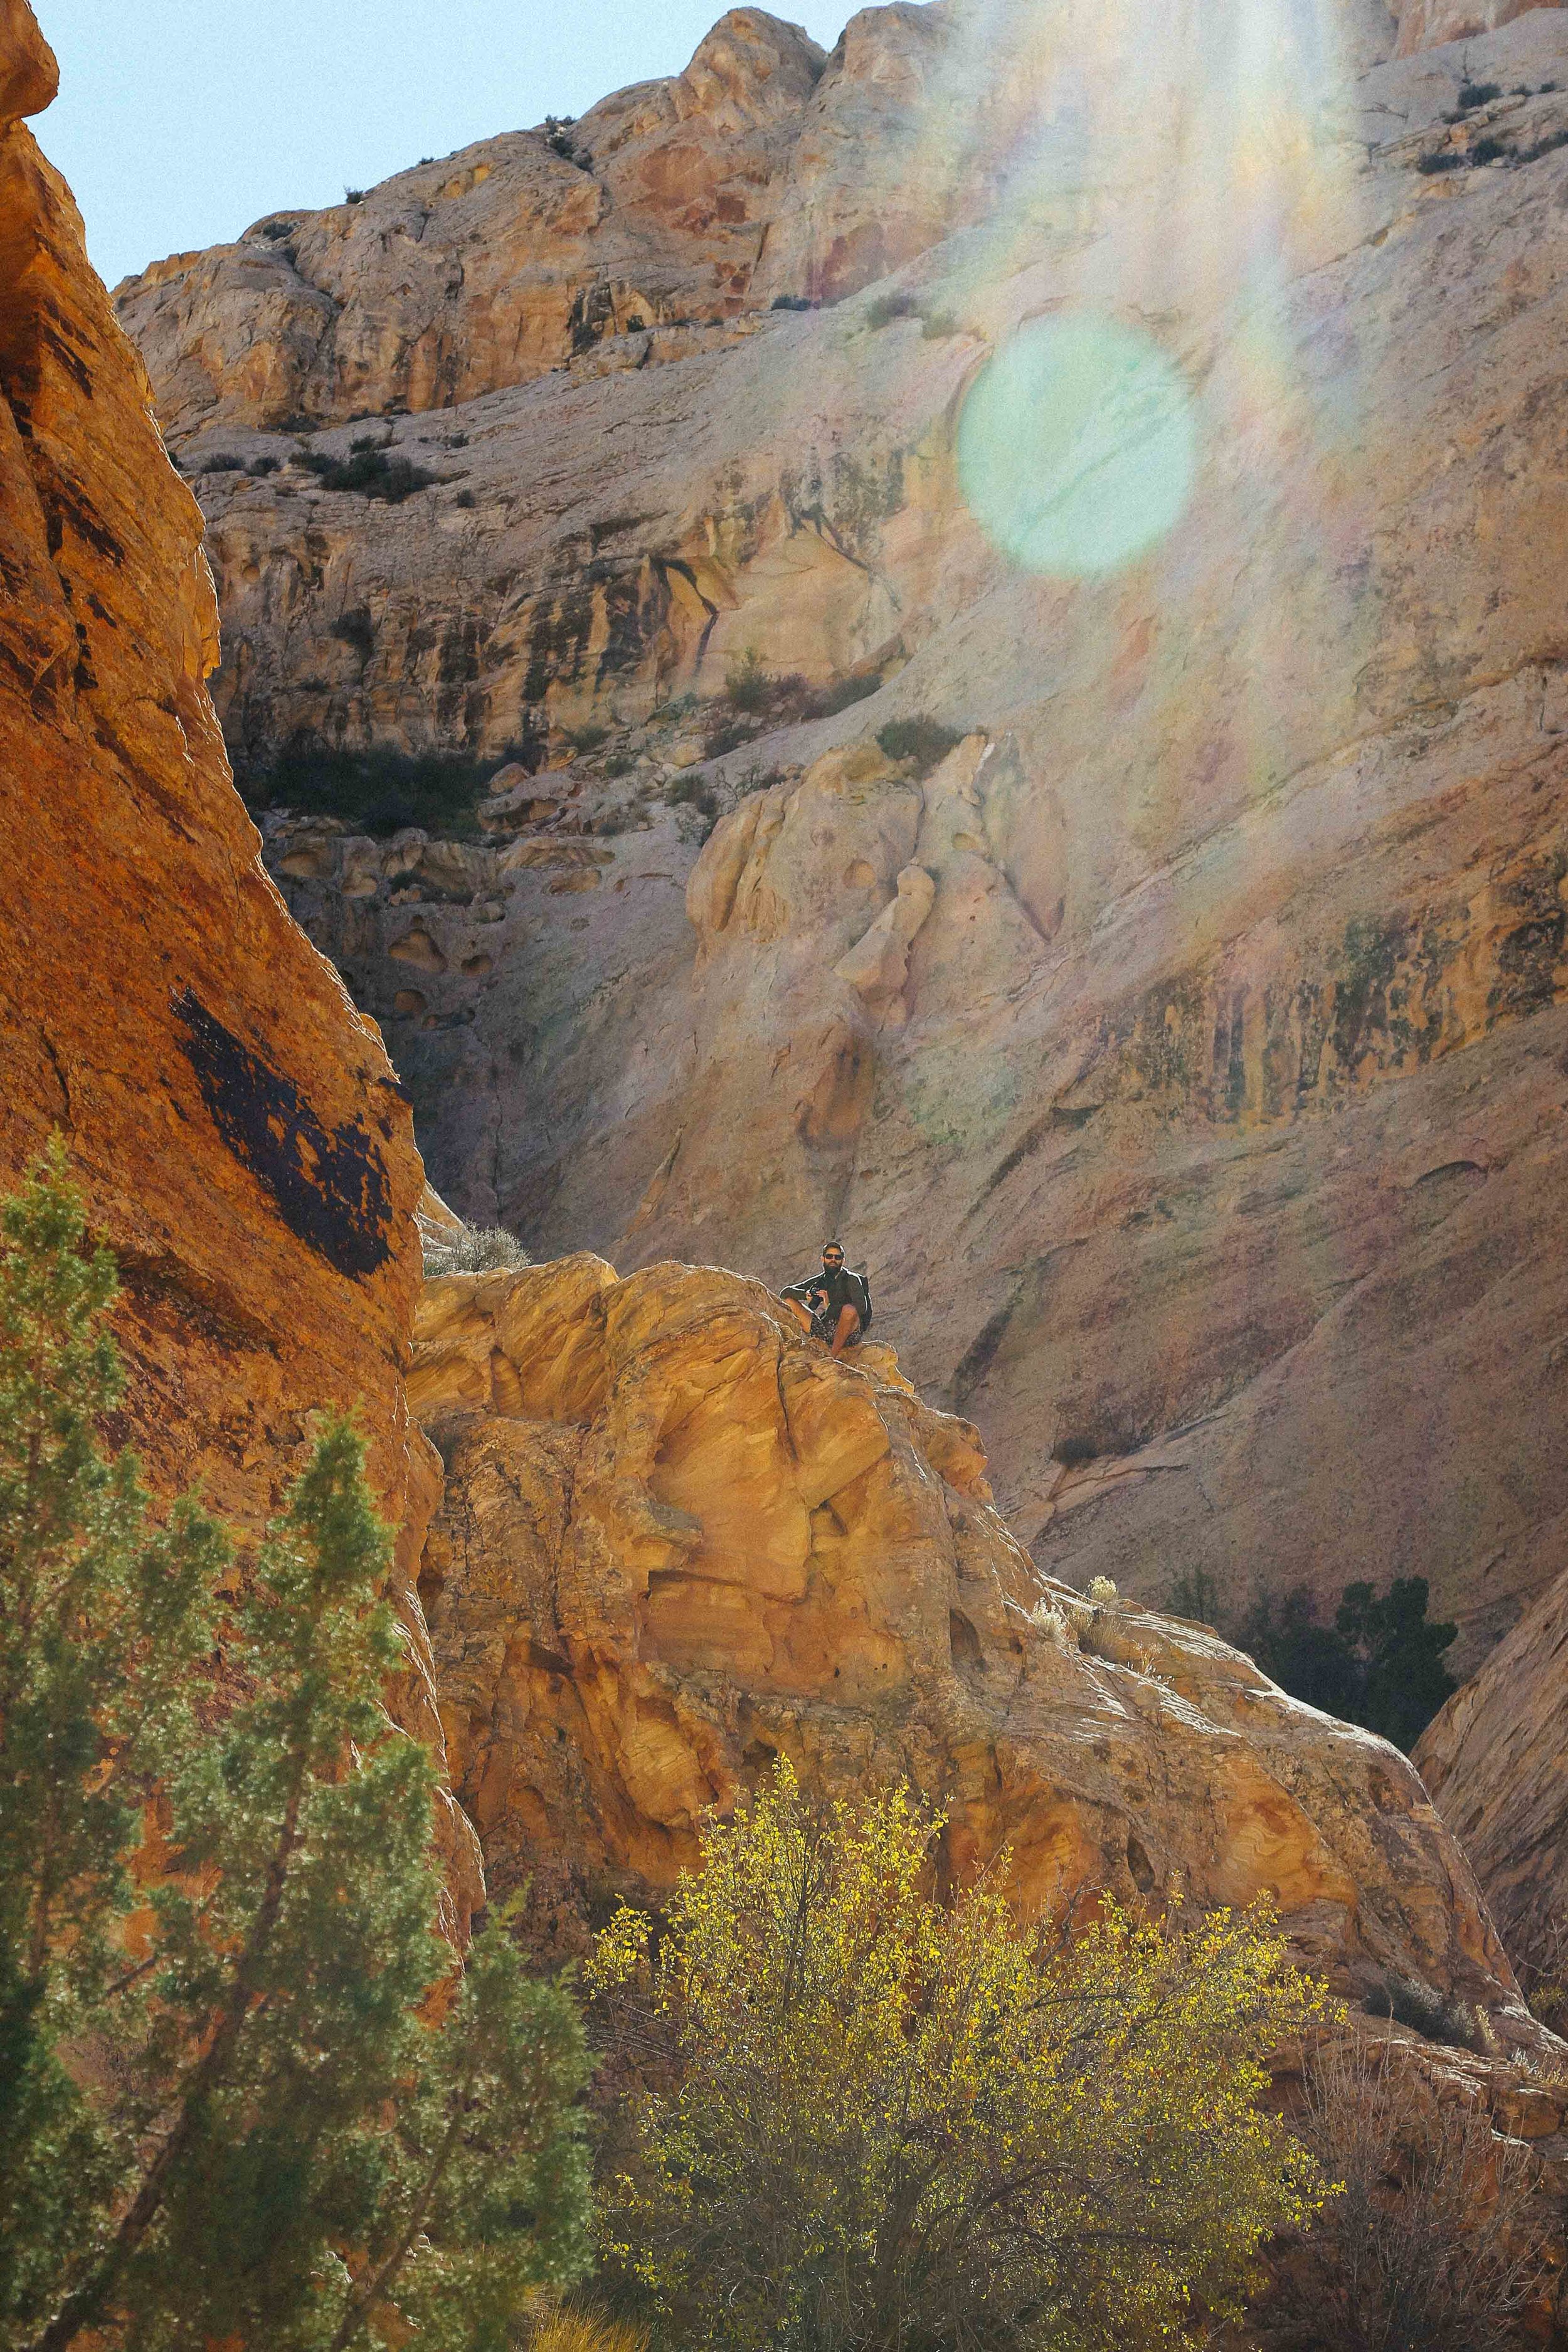
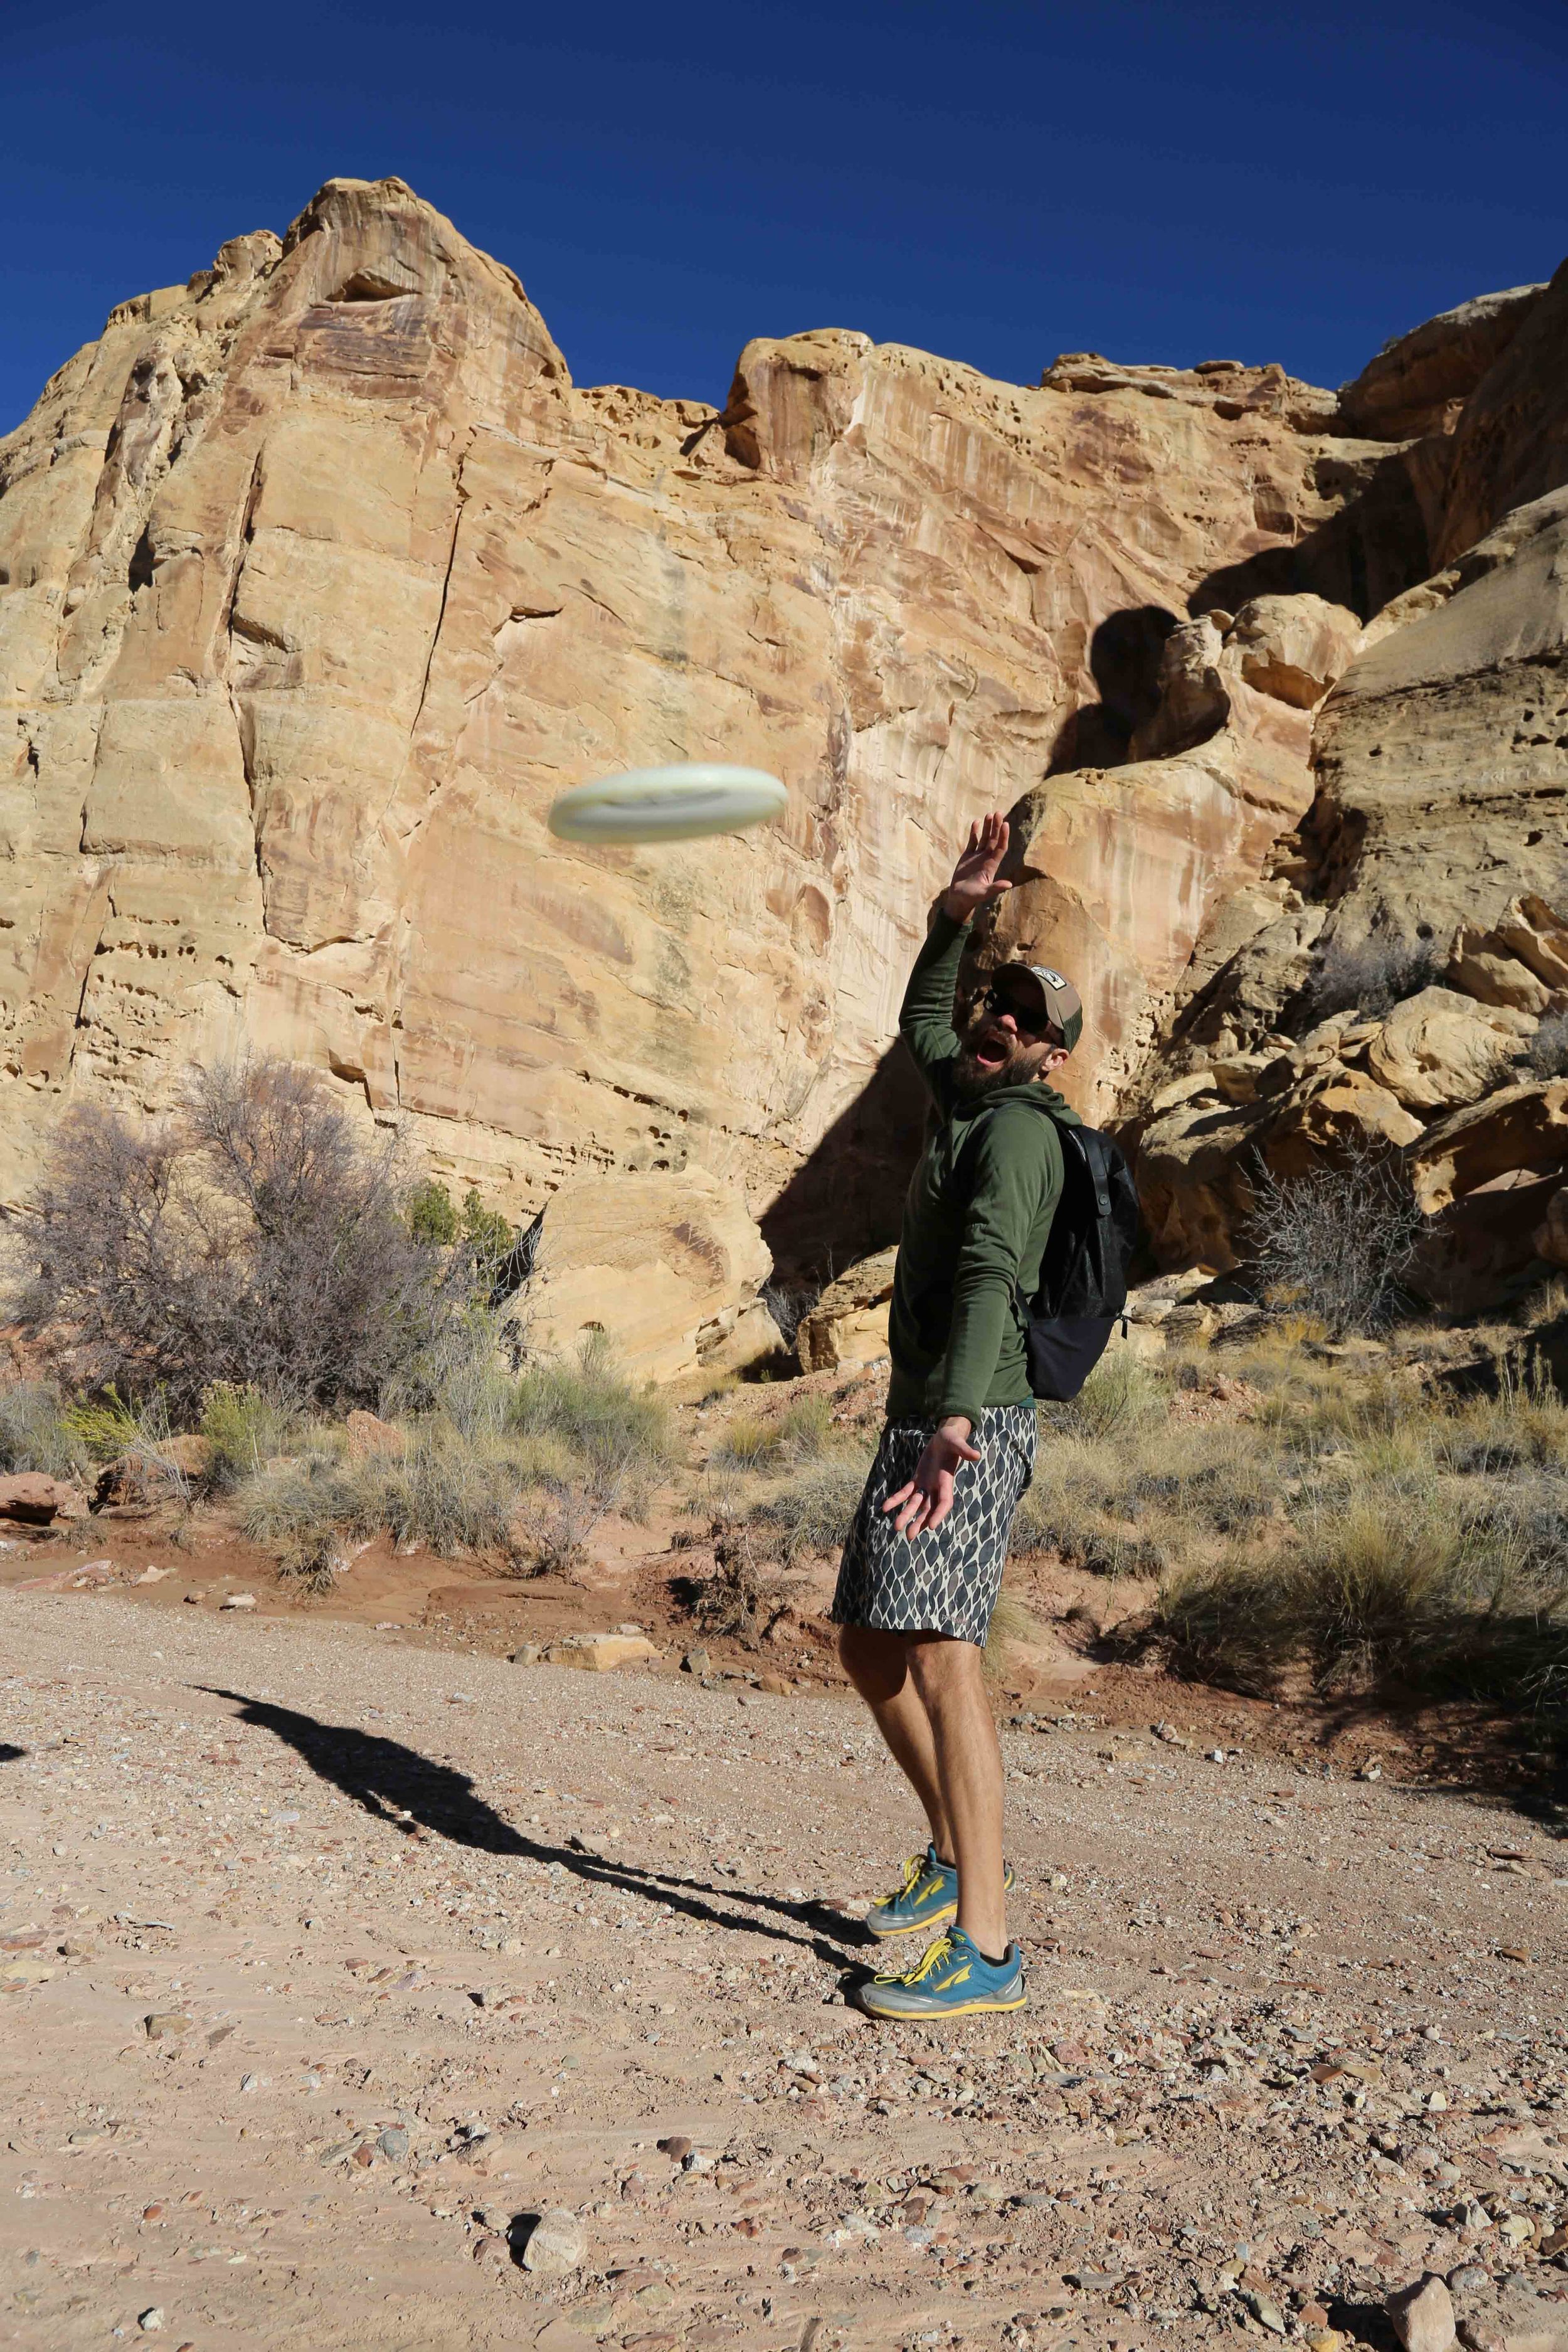
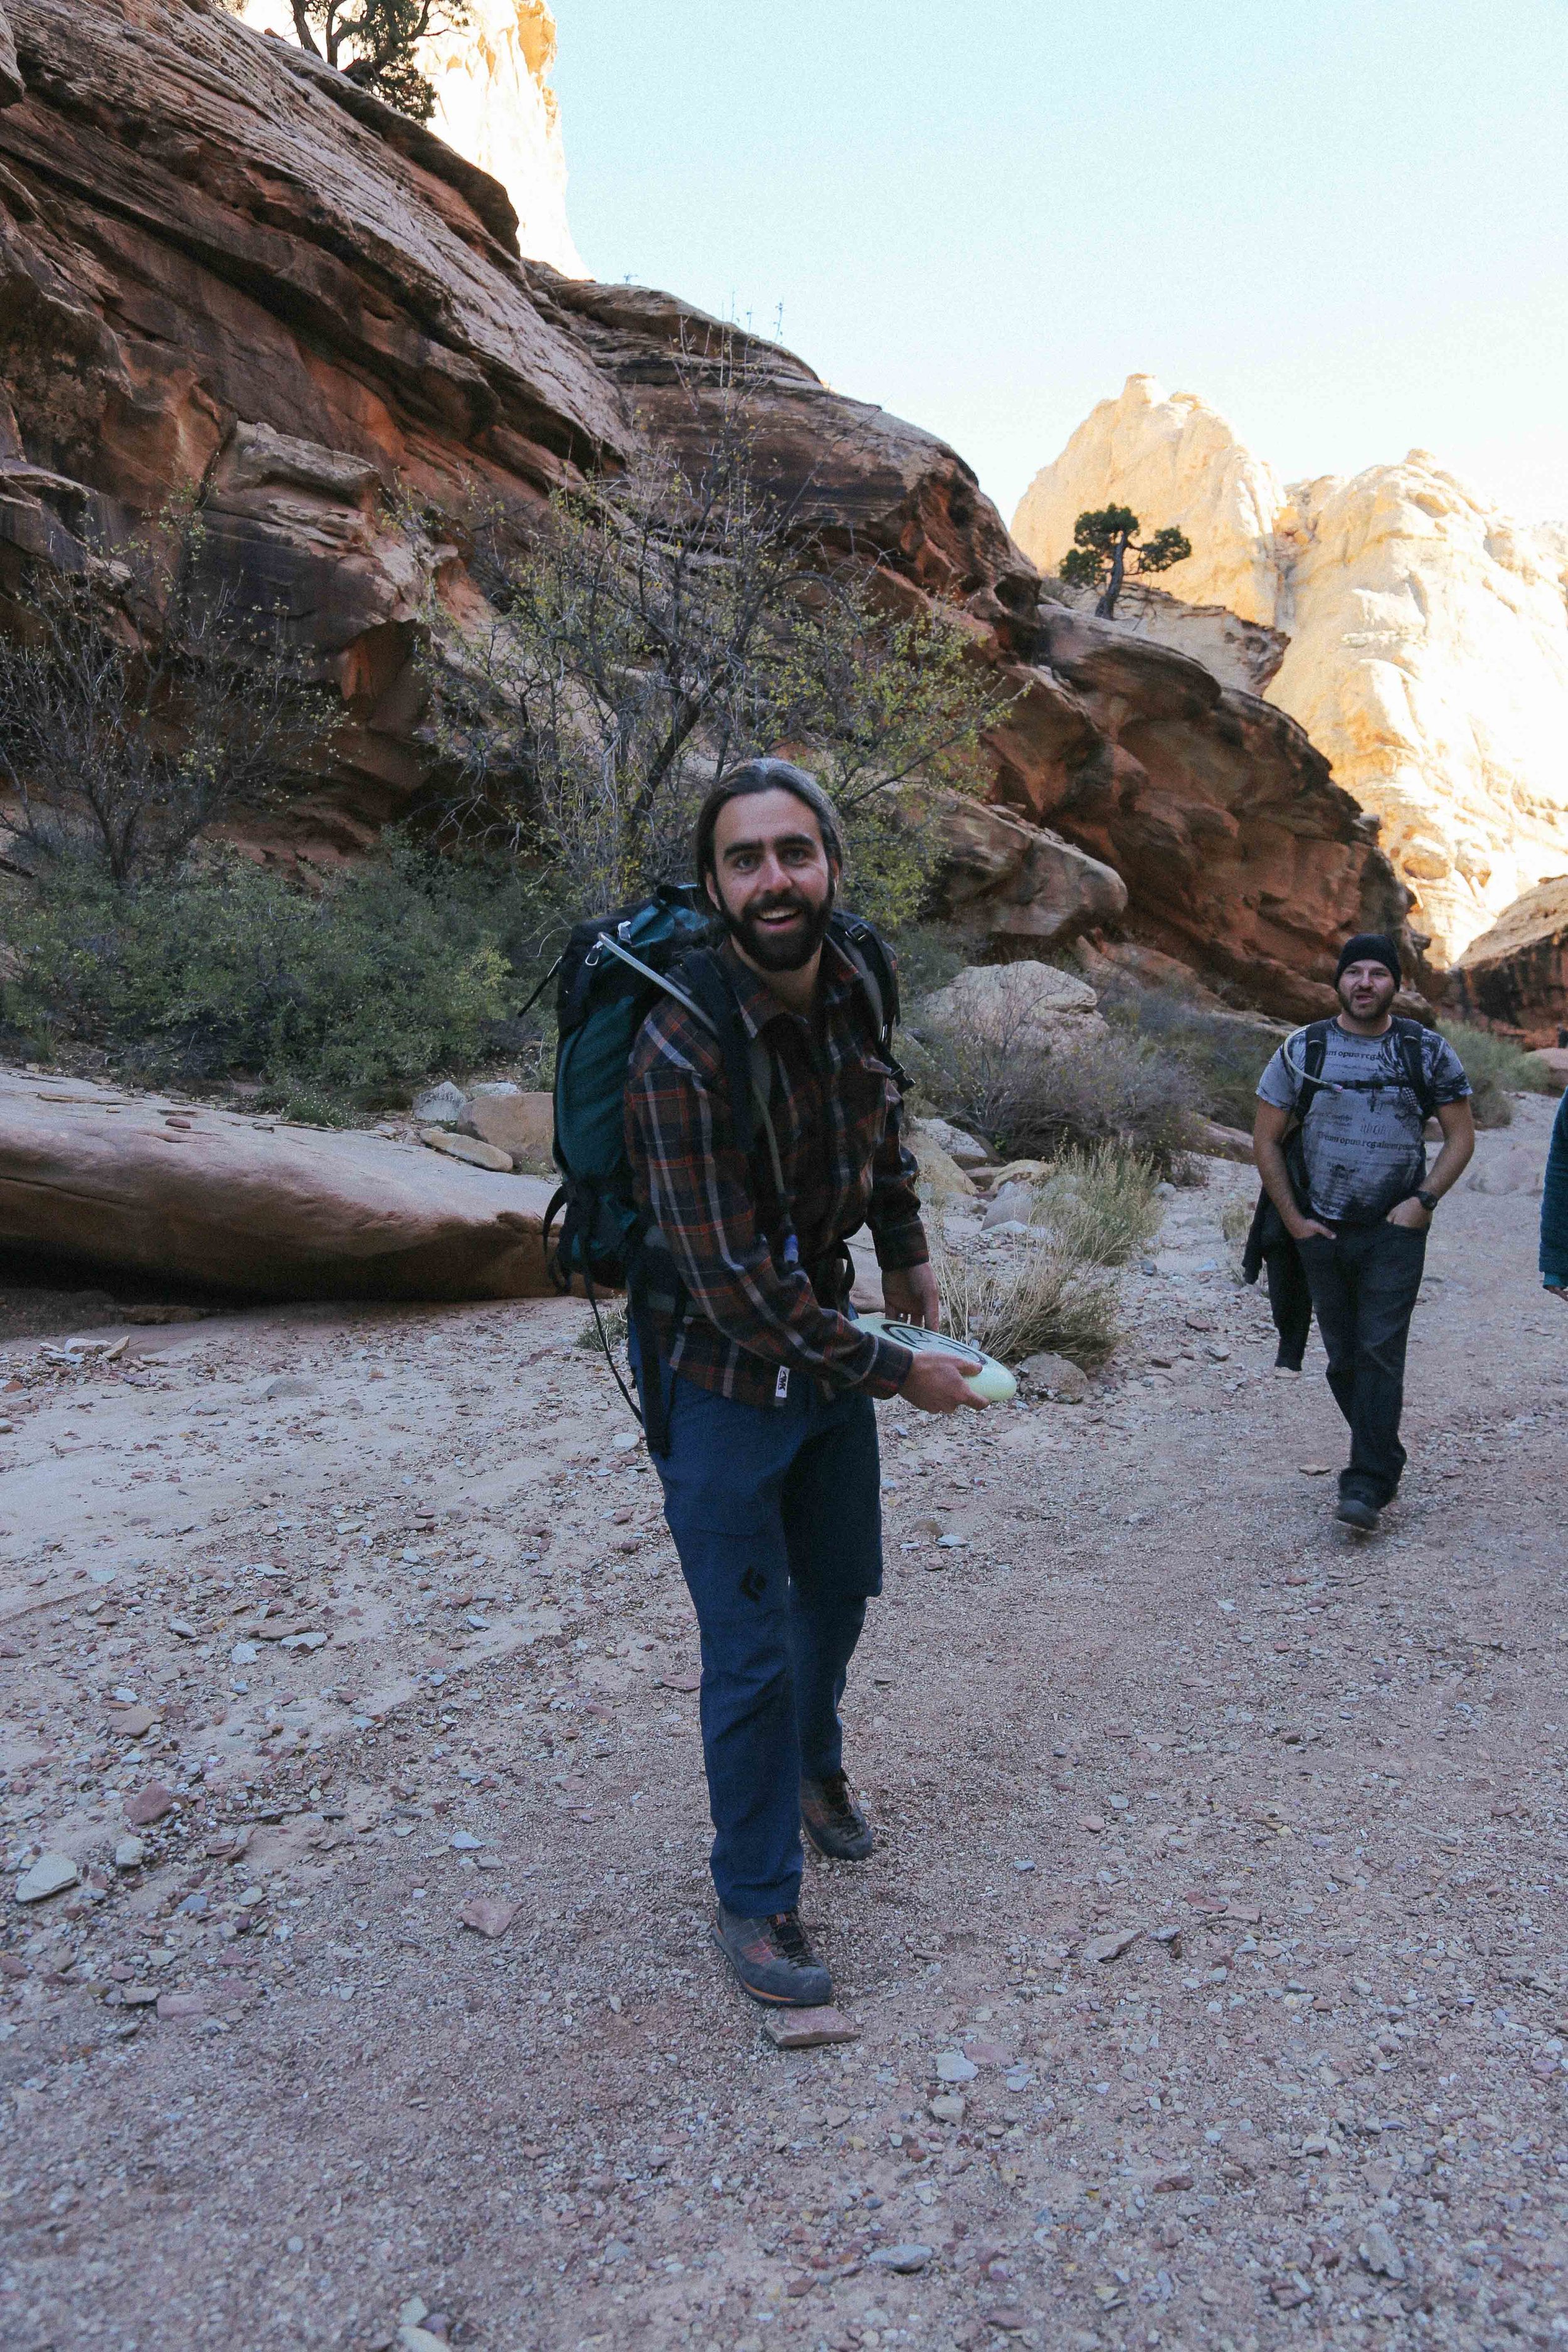
adventure guide - bell and little wild horse canyons

spring, autumn, adventure, travelRachel Sanders1 Comment

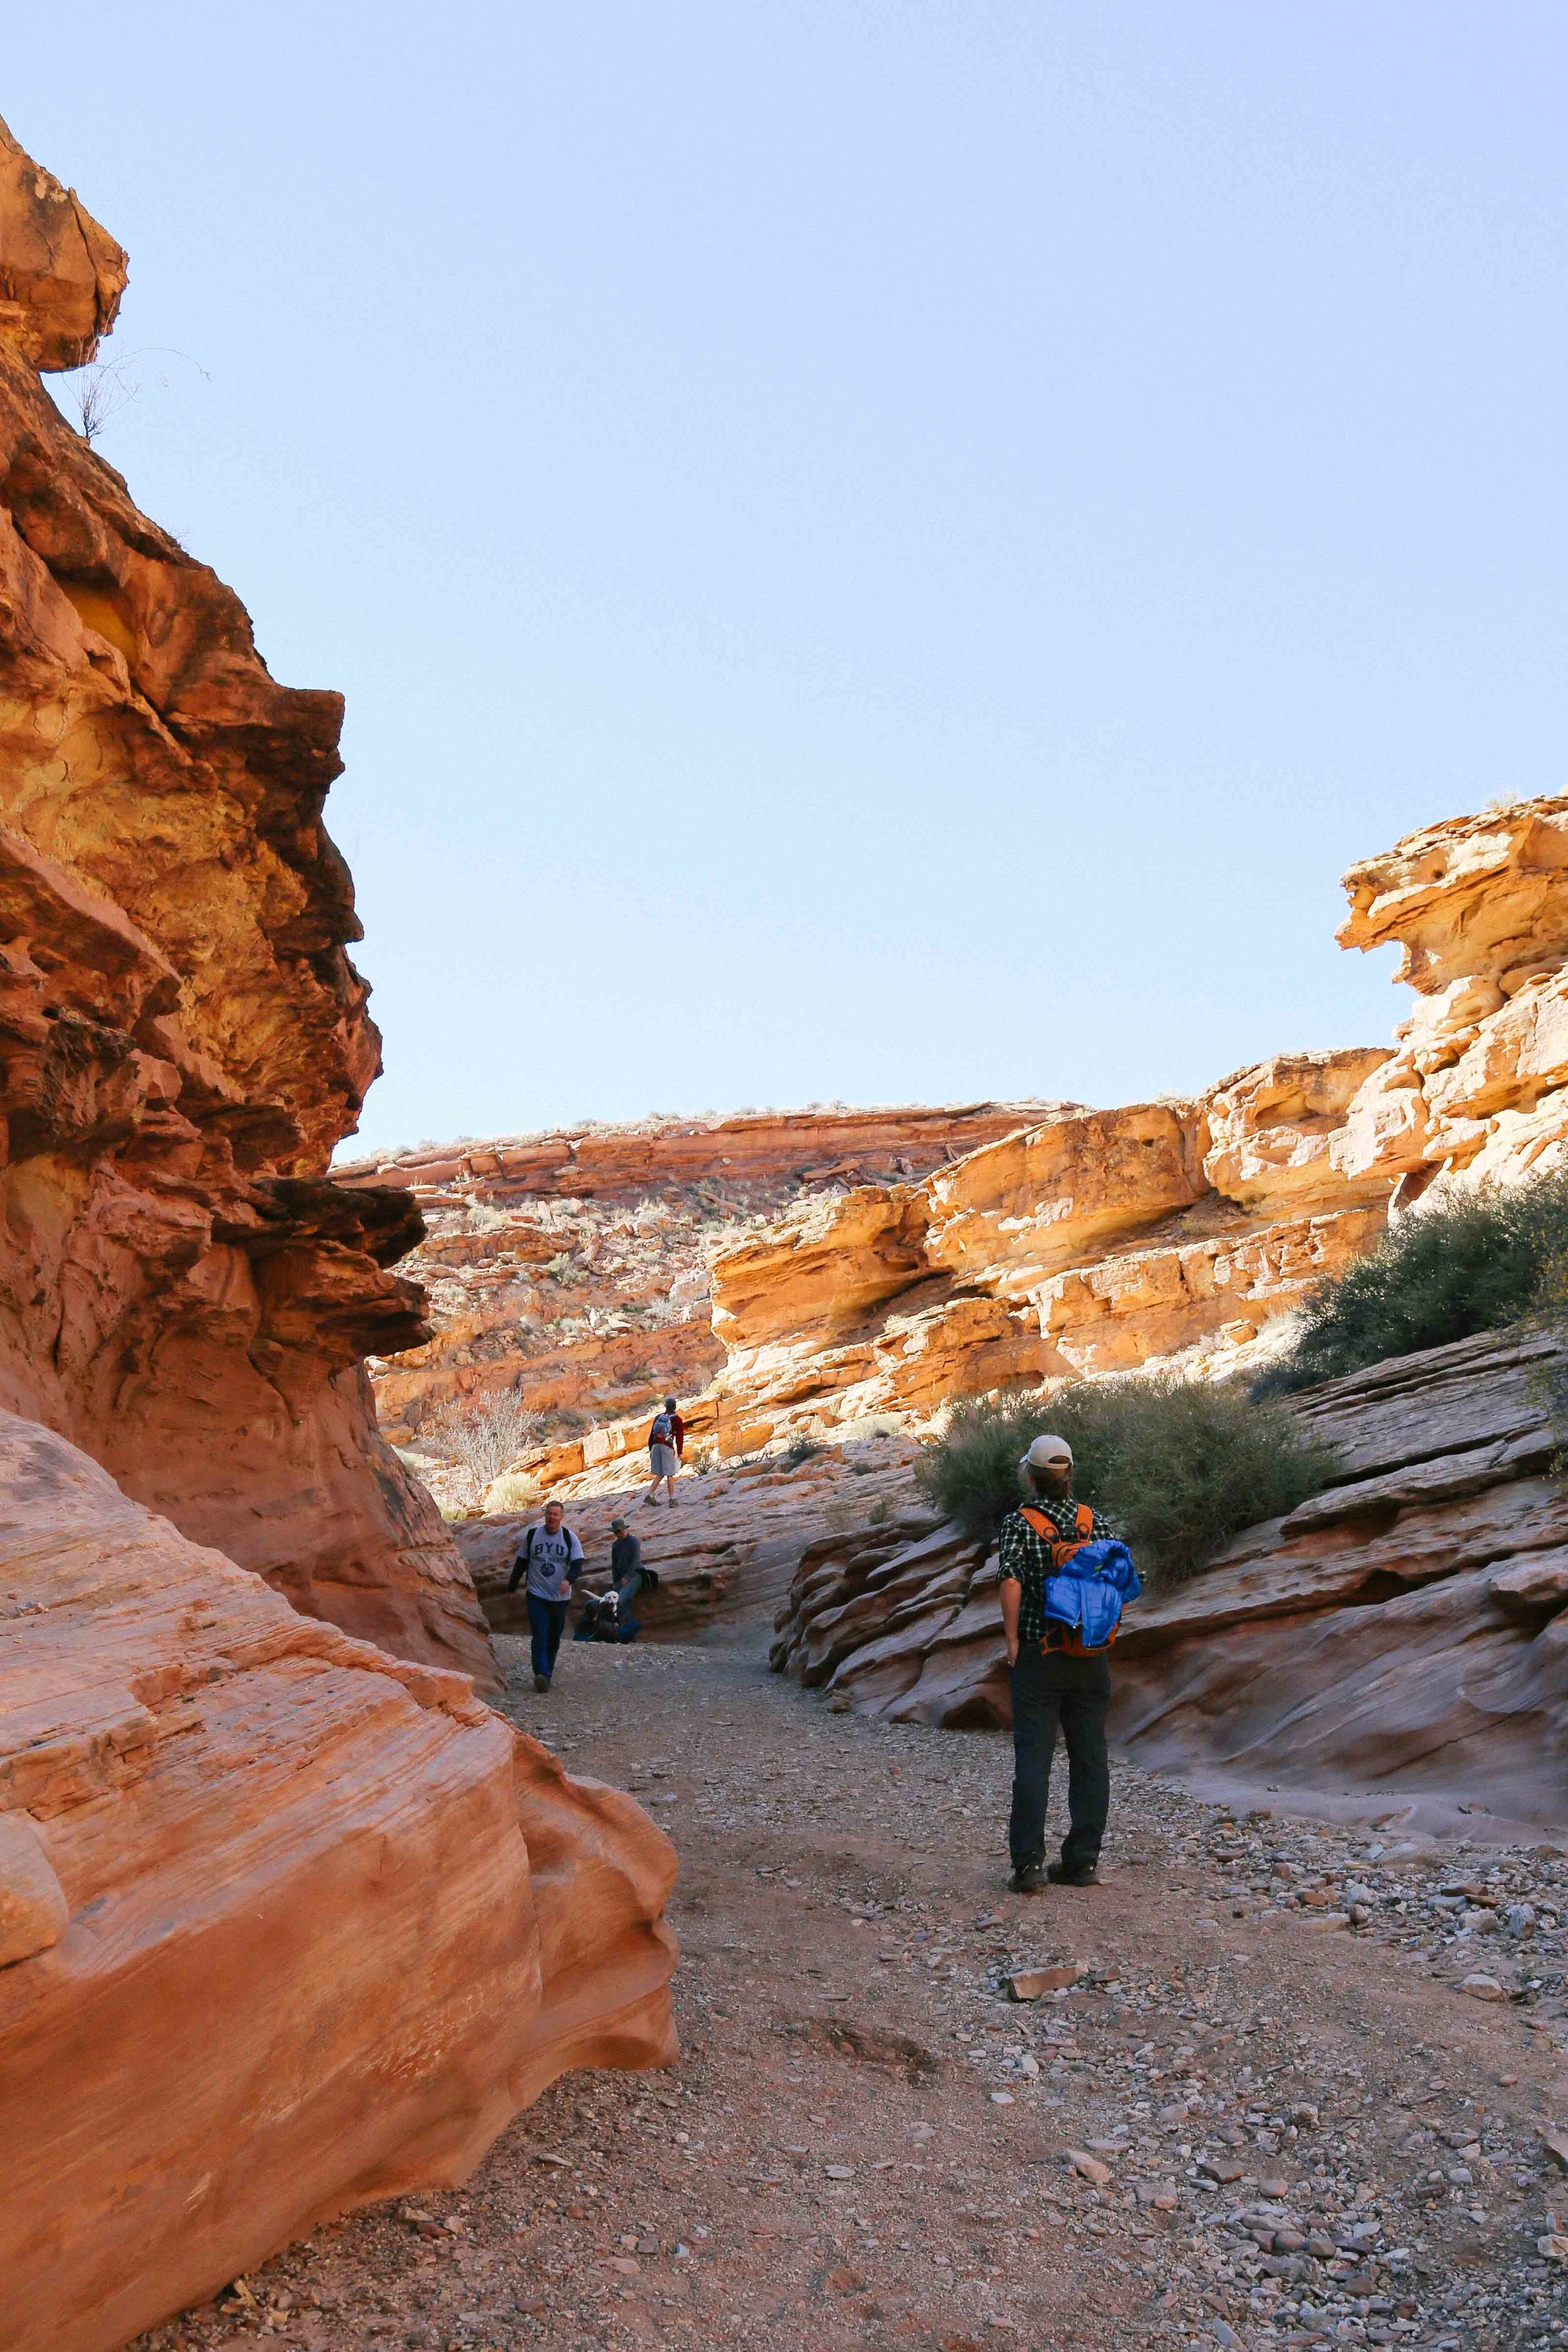
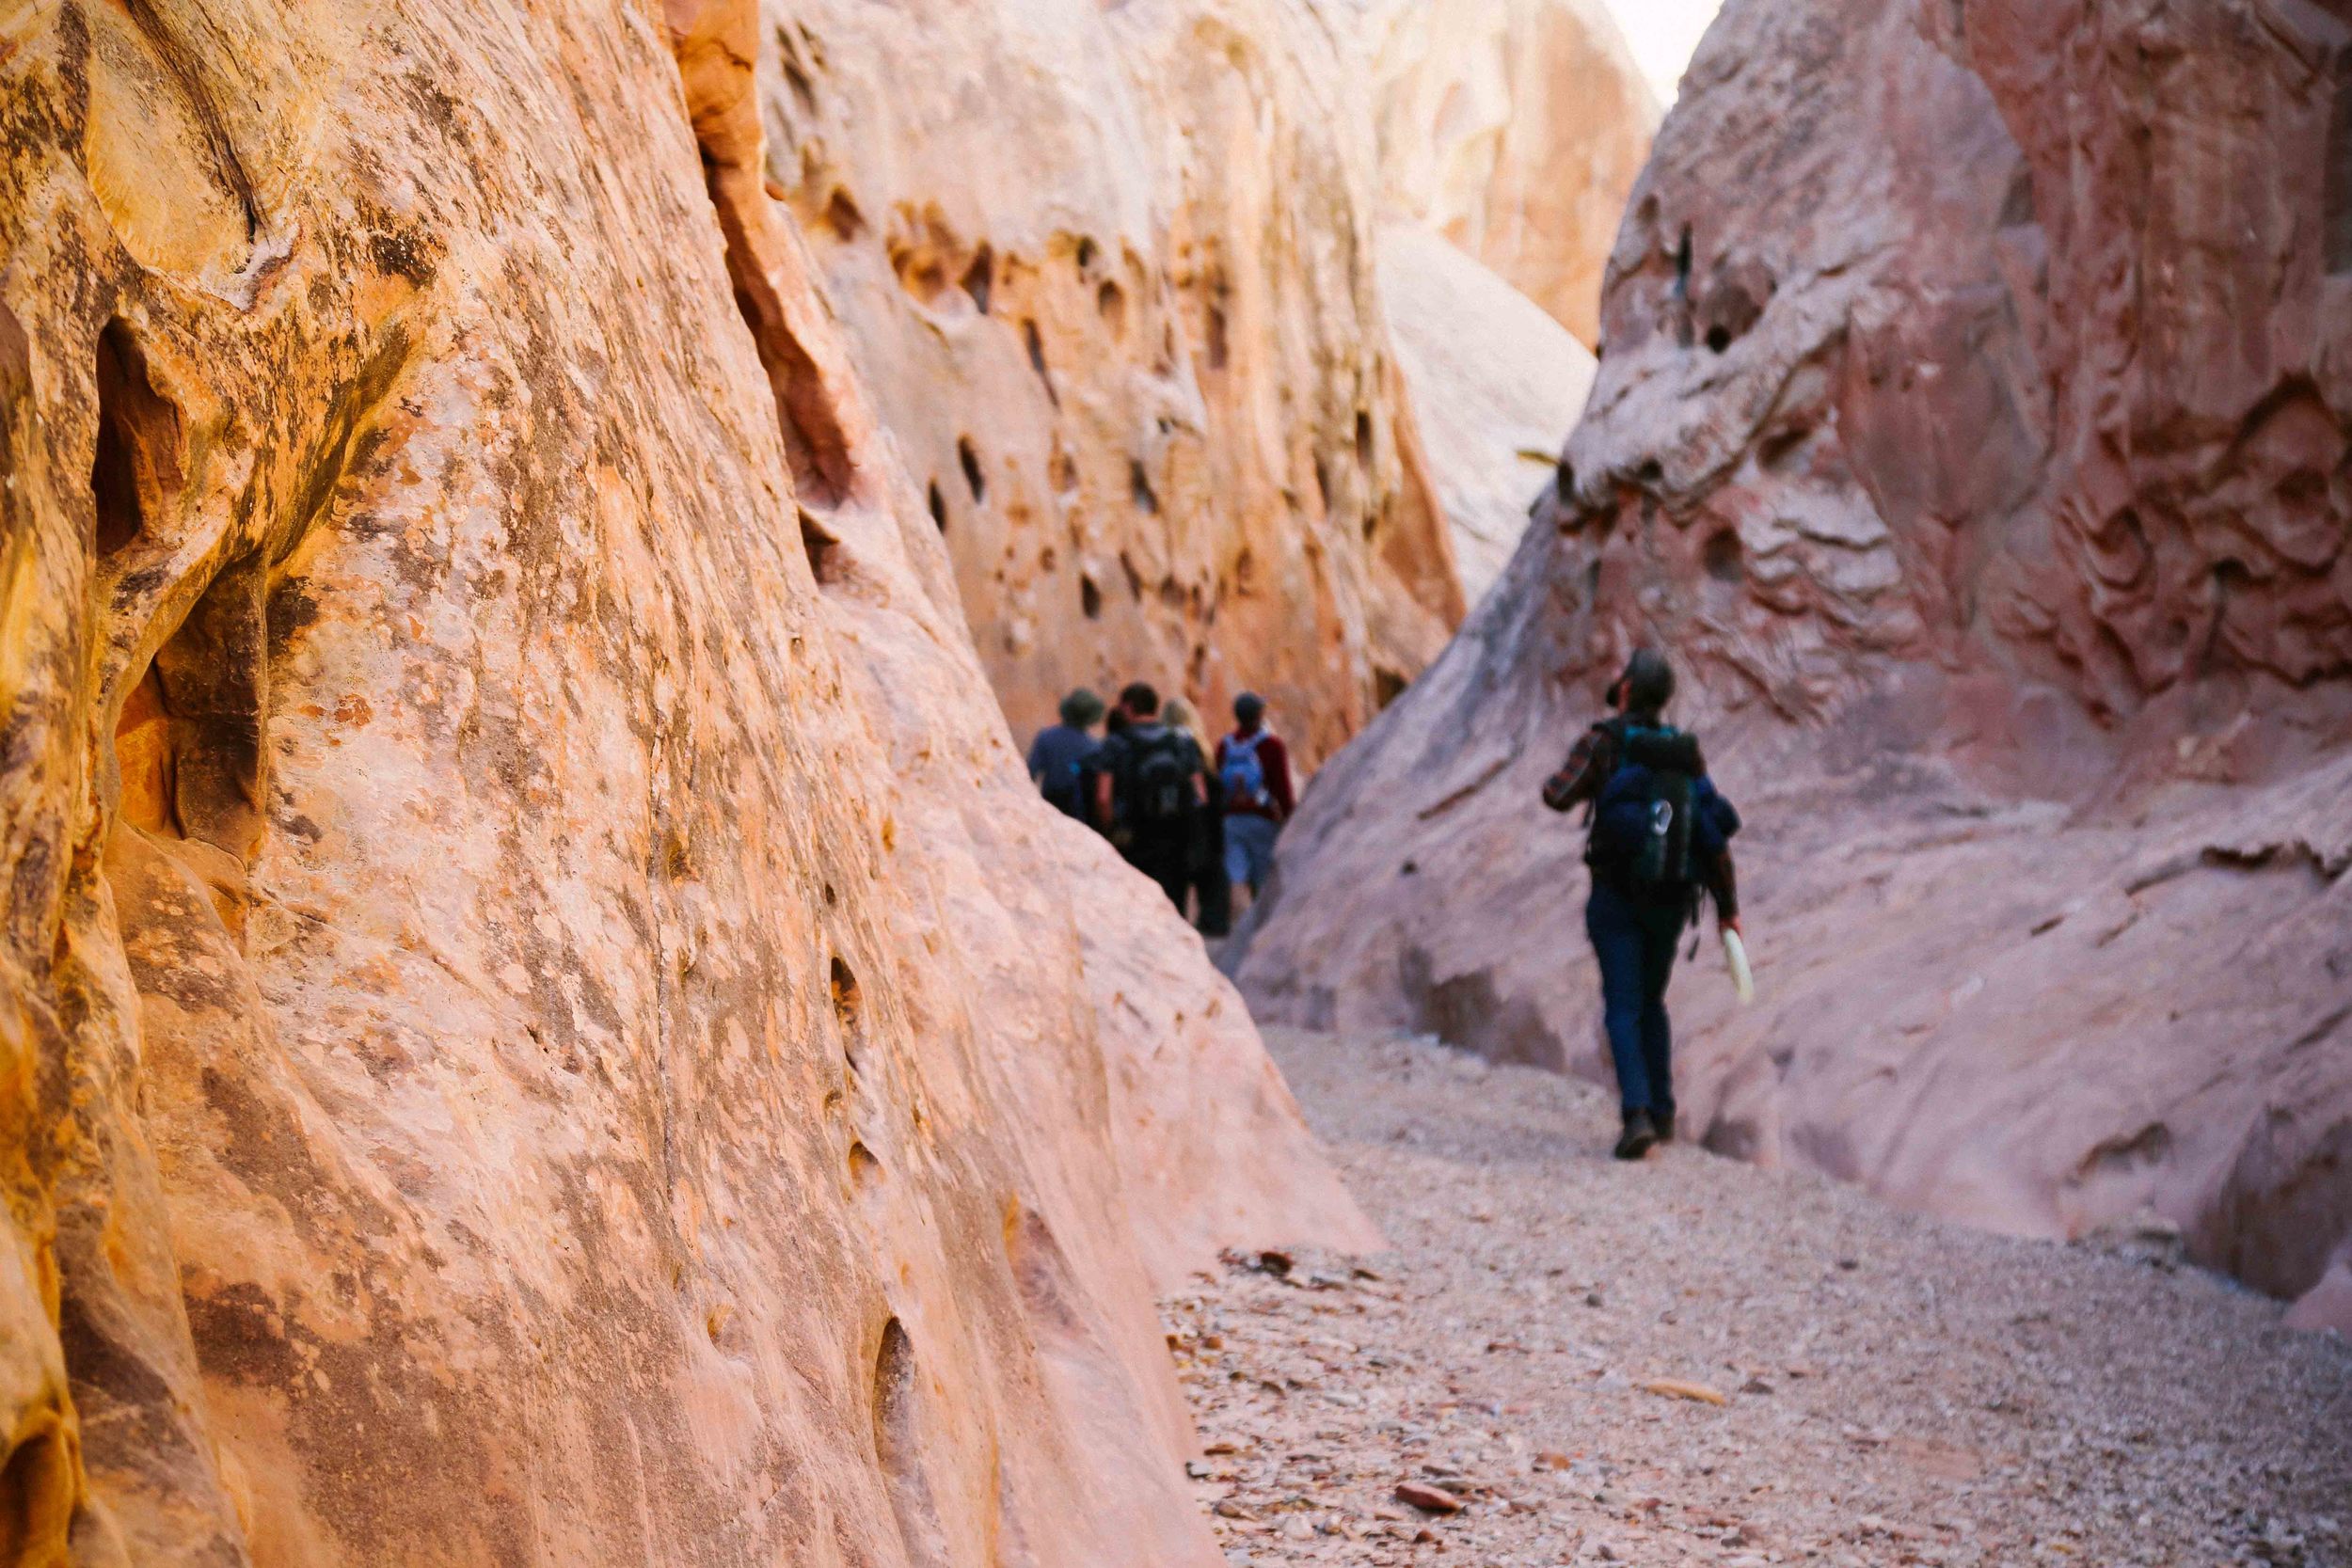
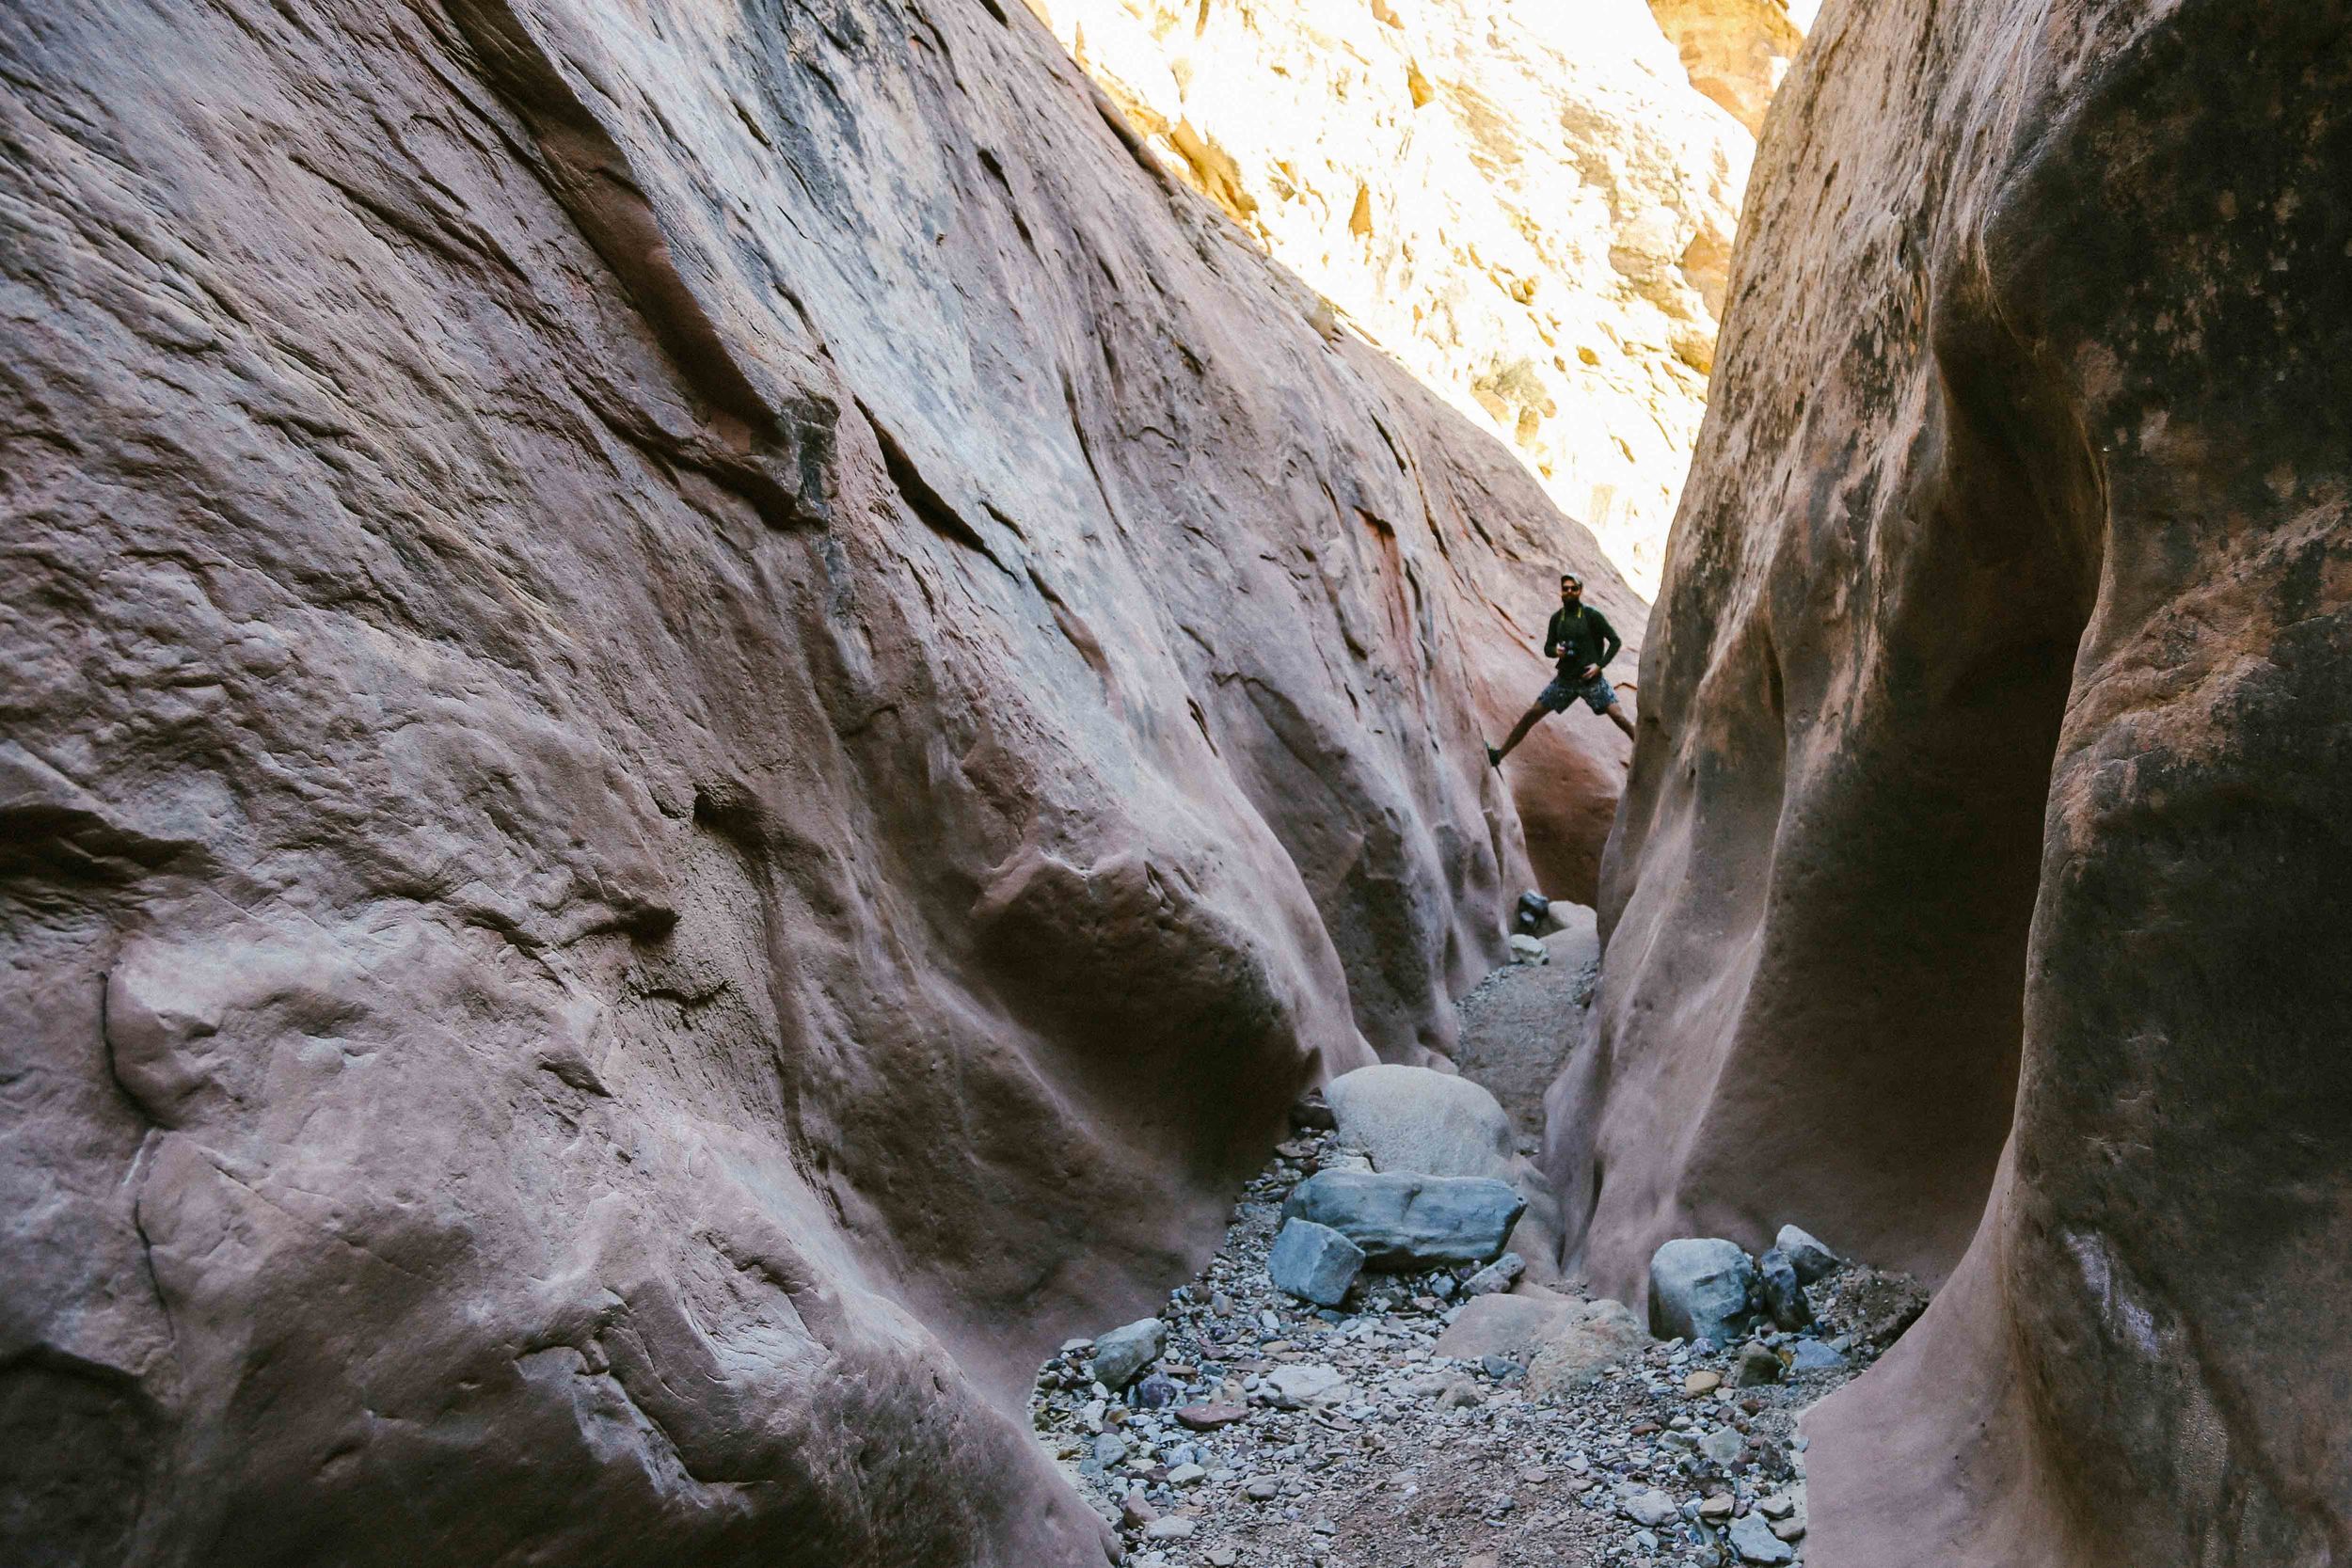
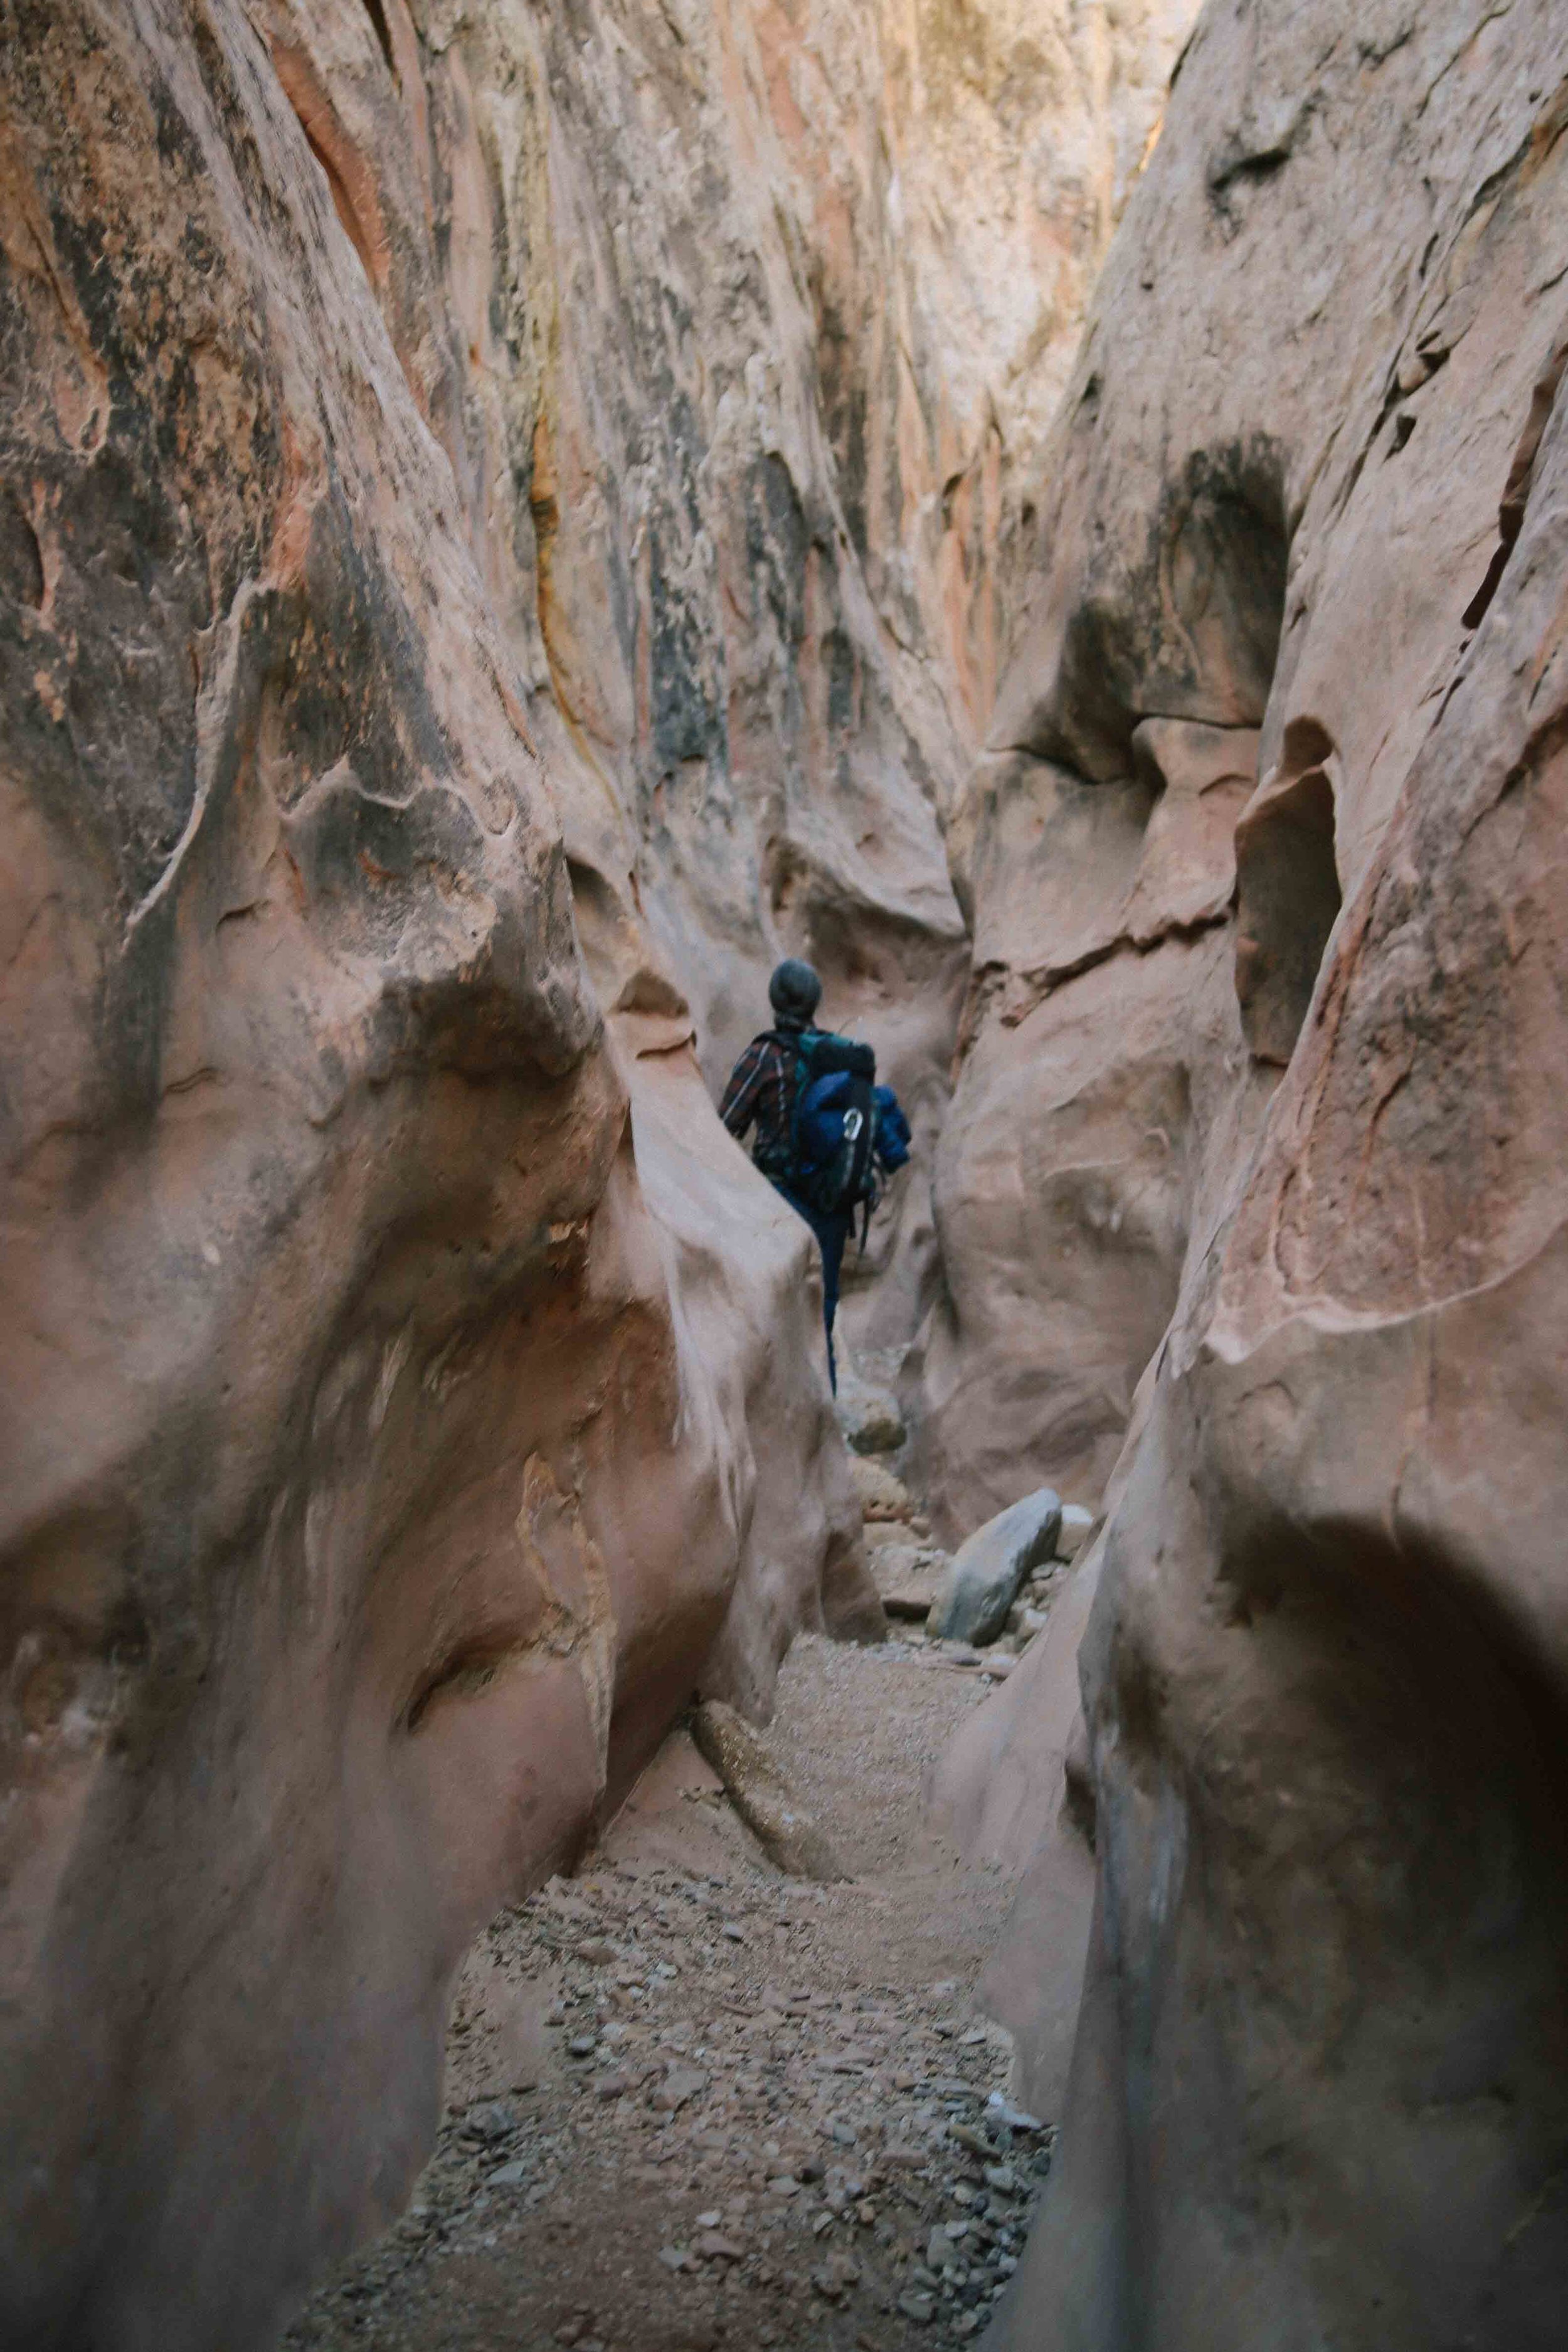
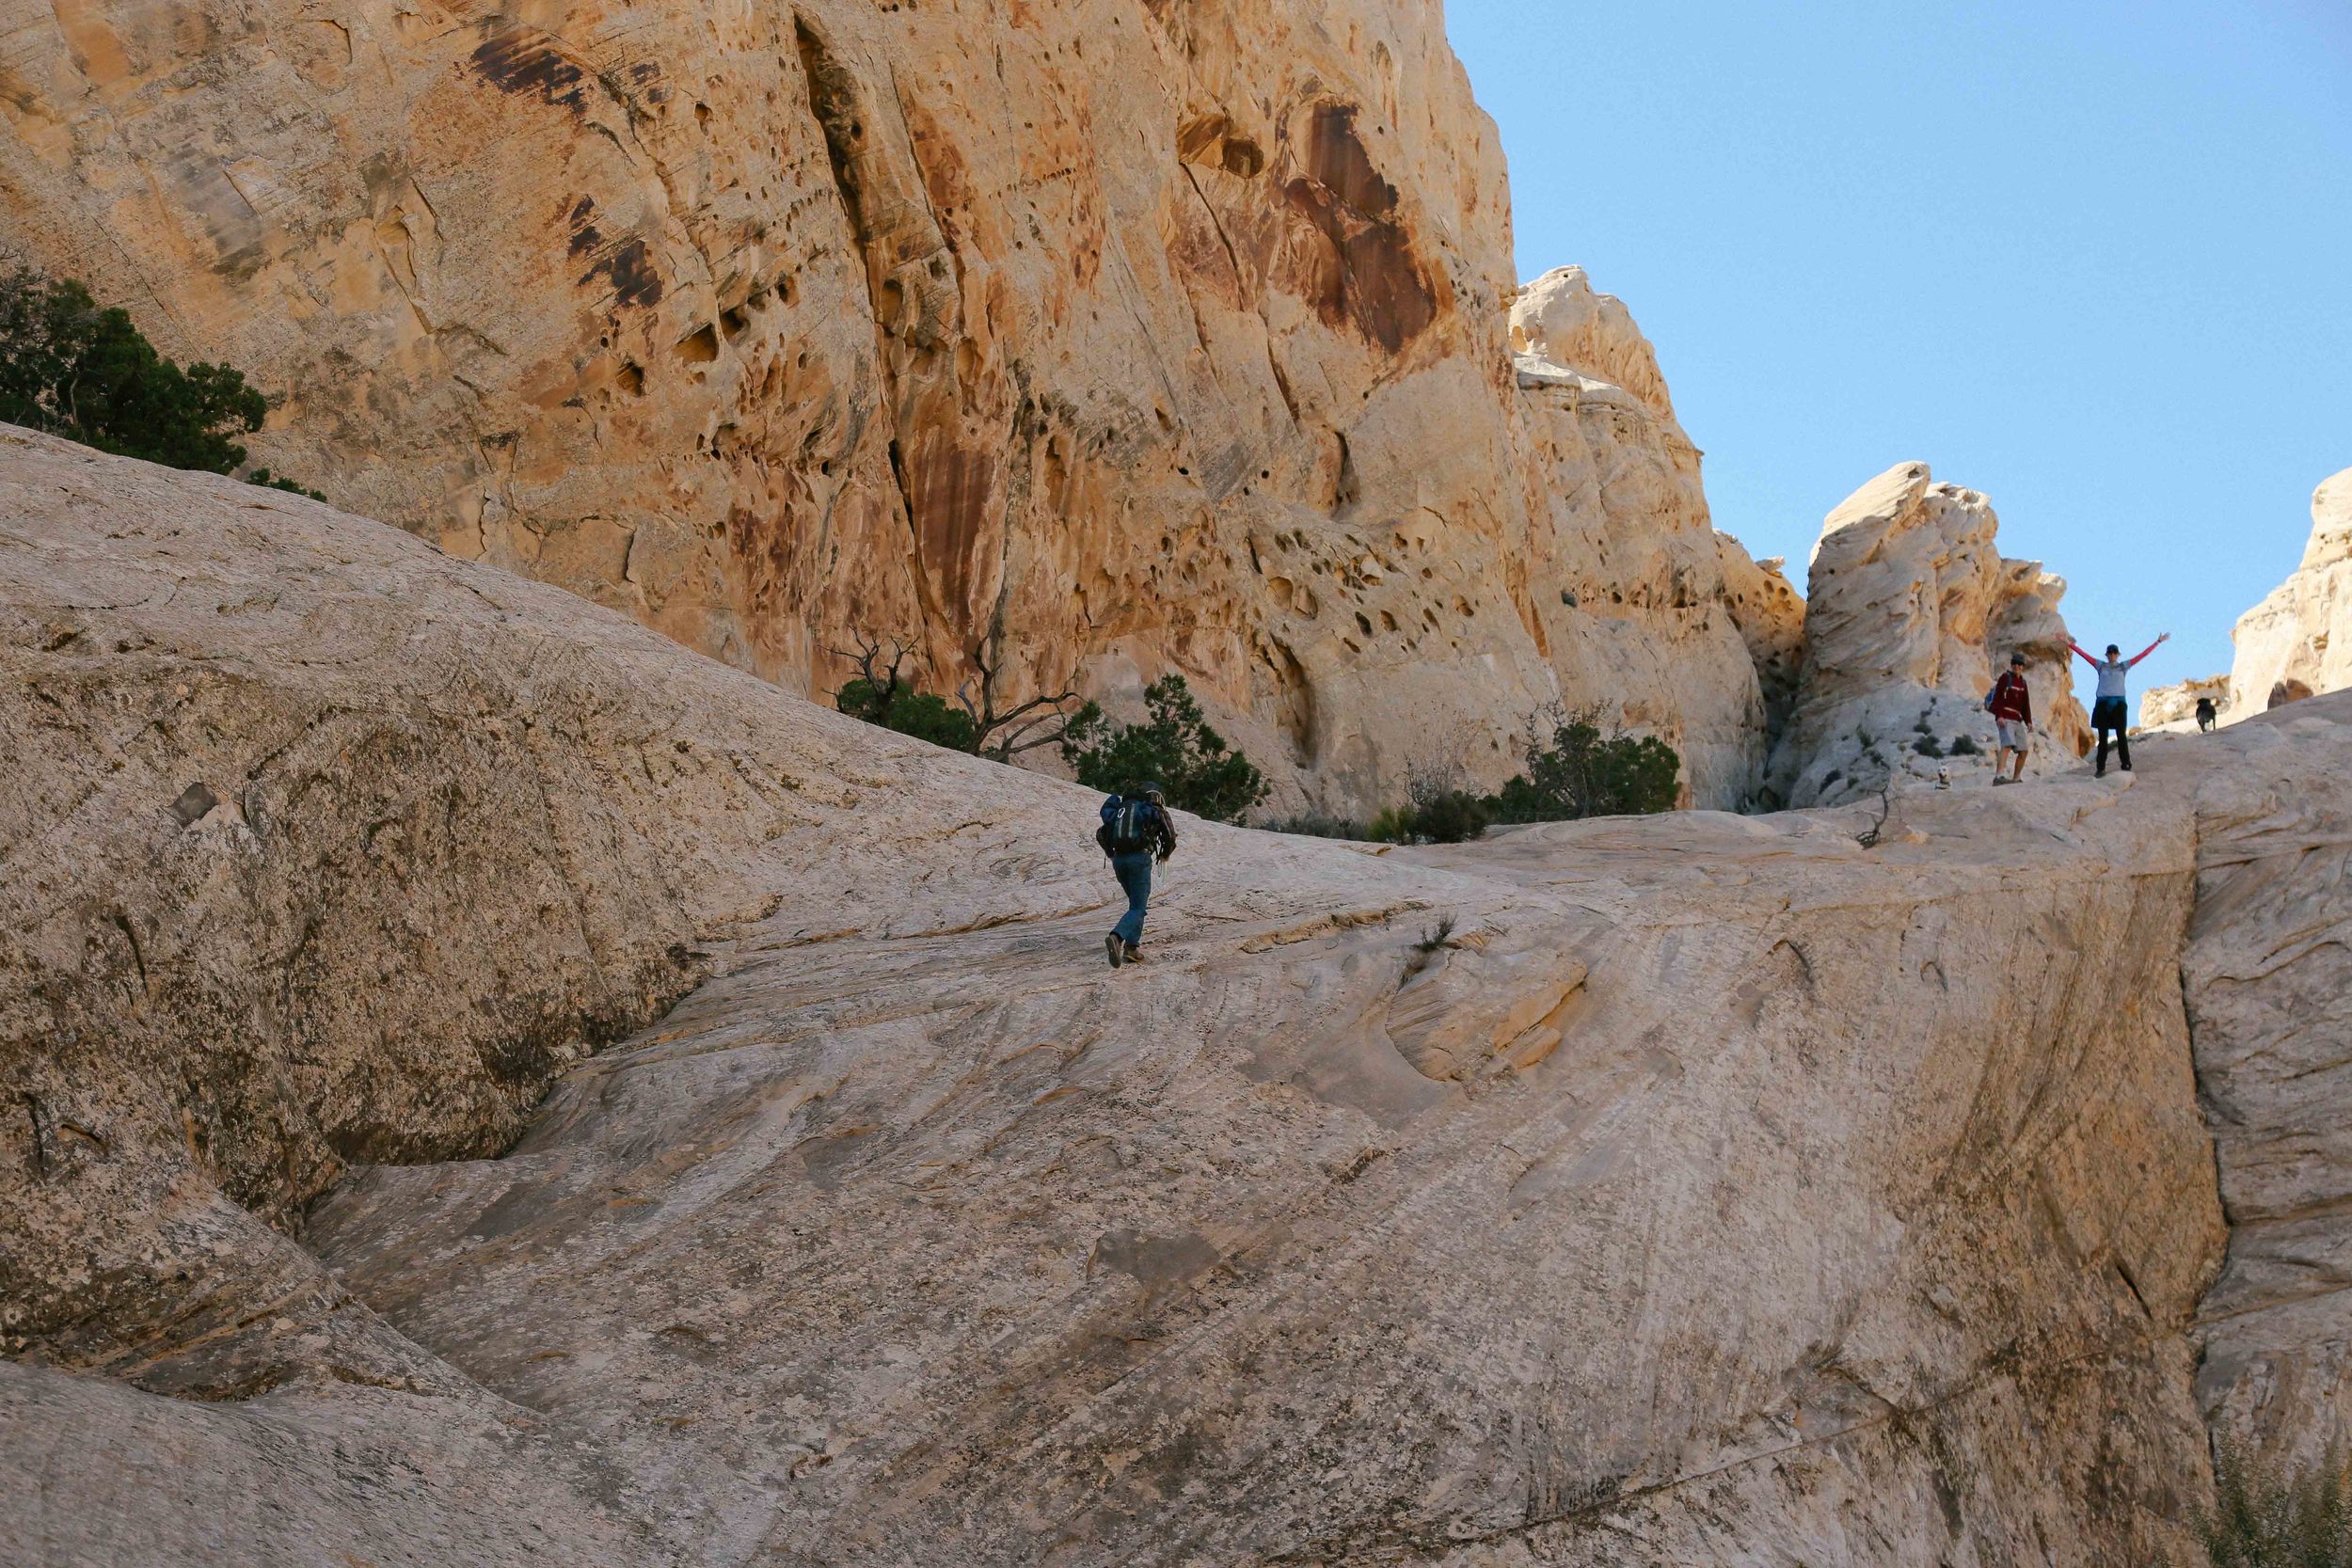
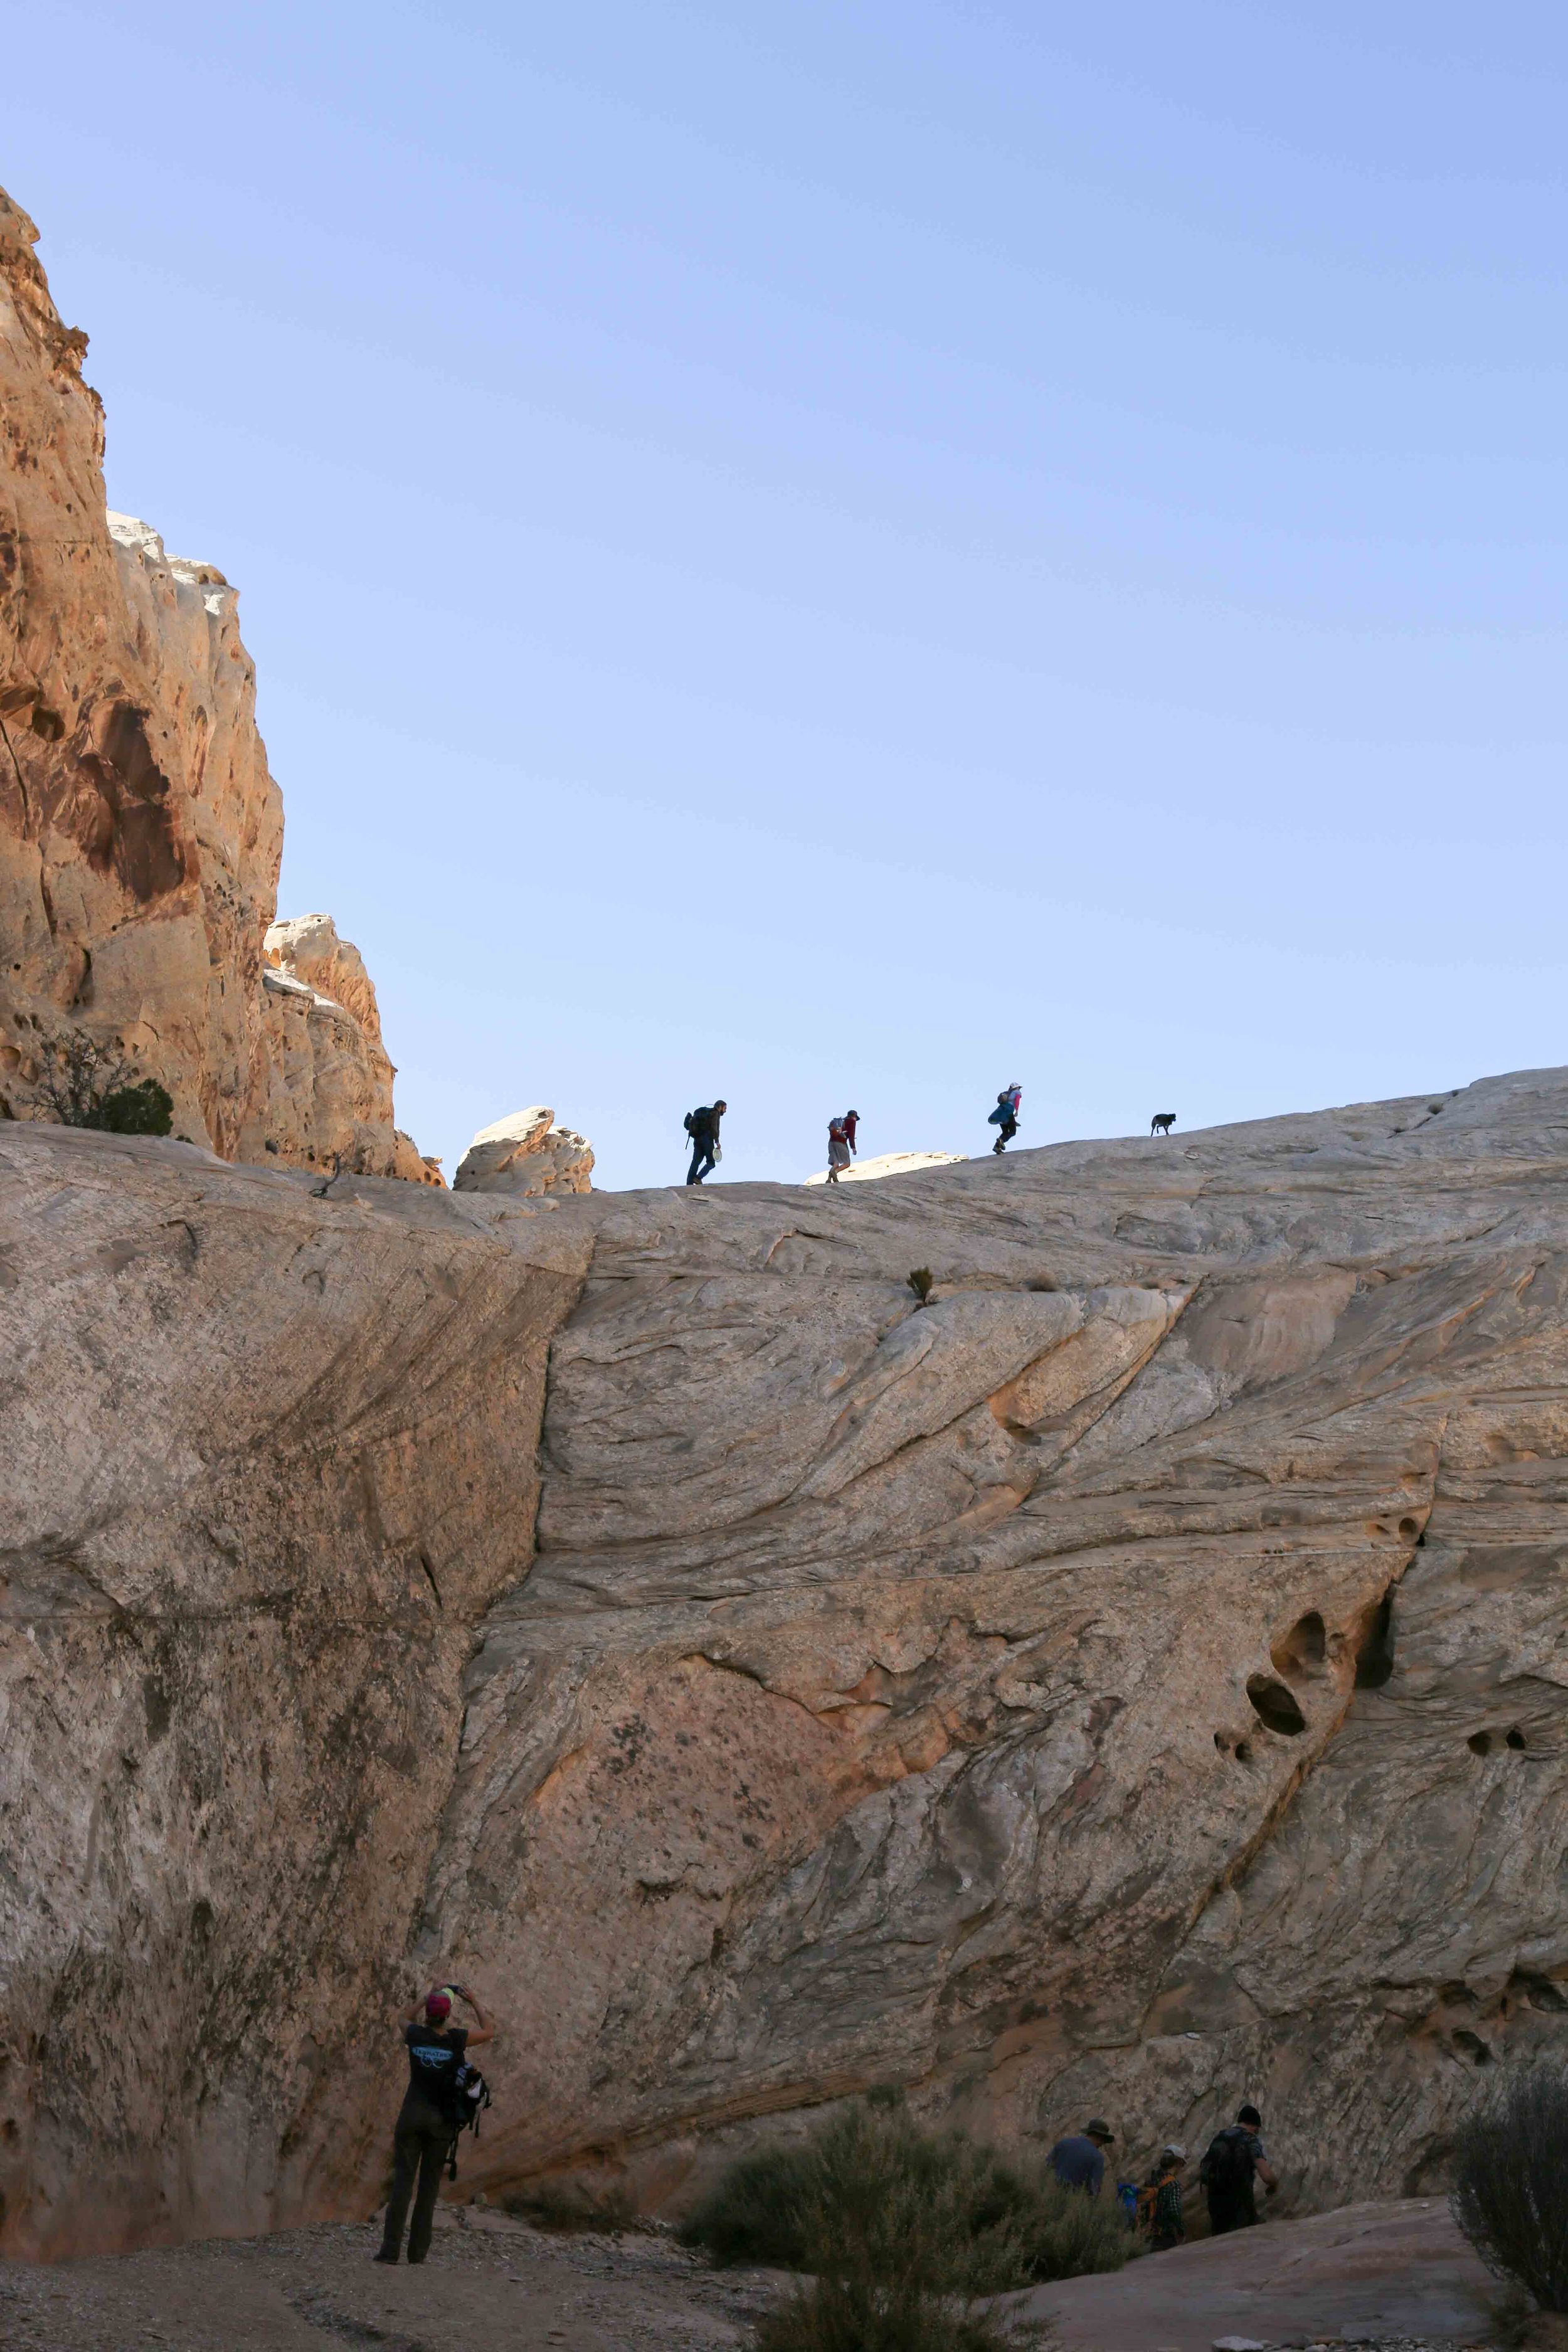
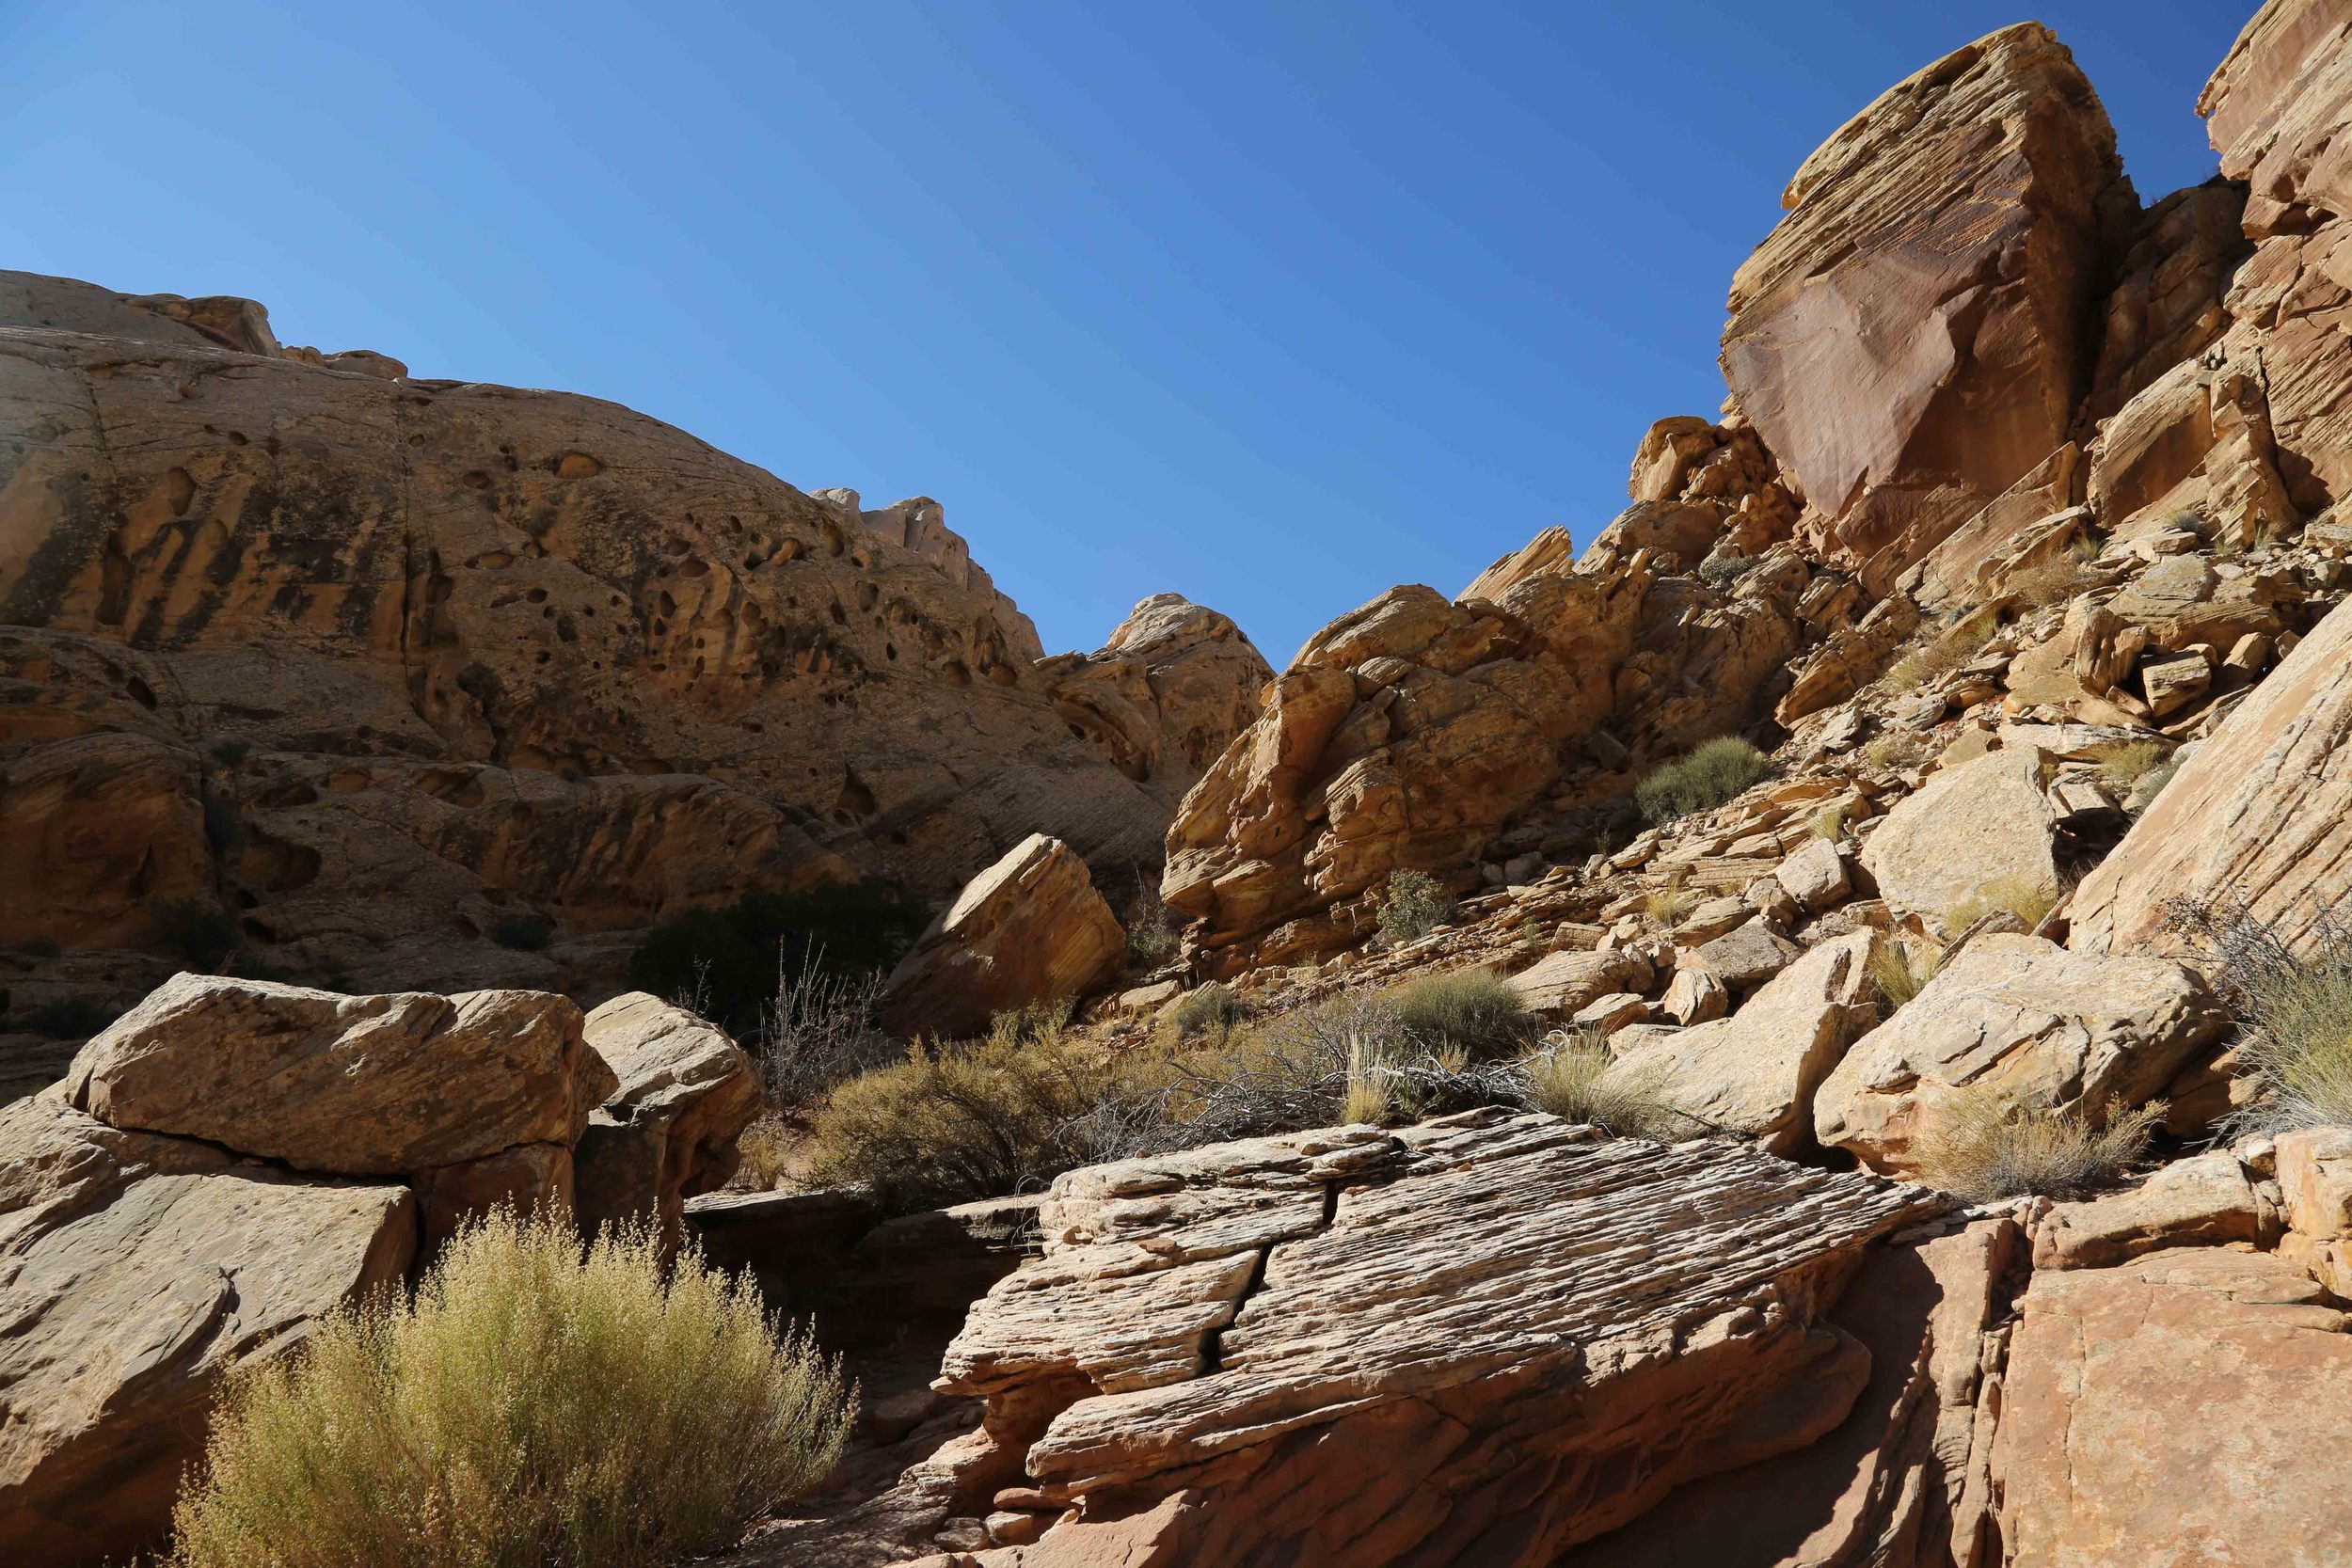
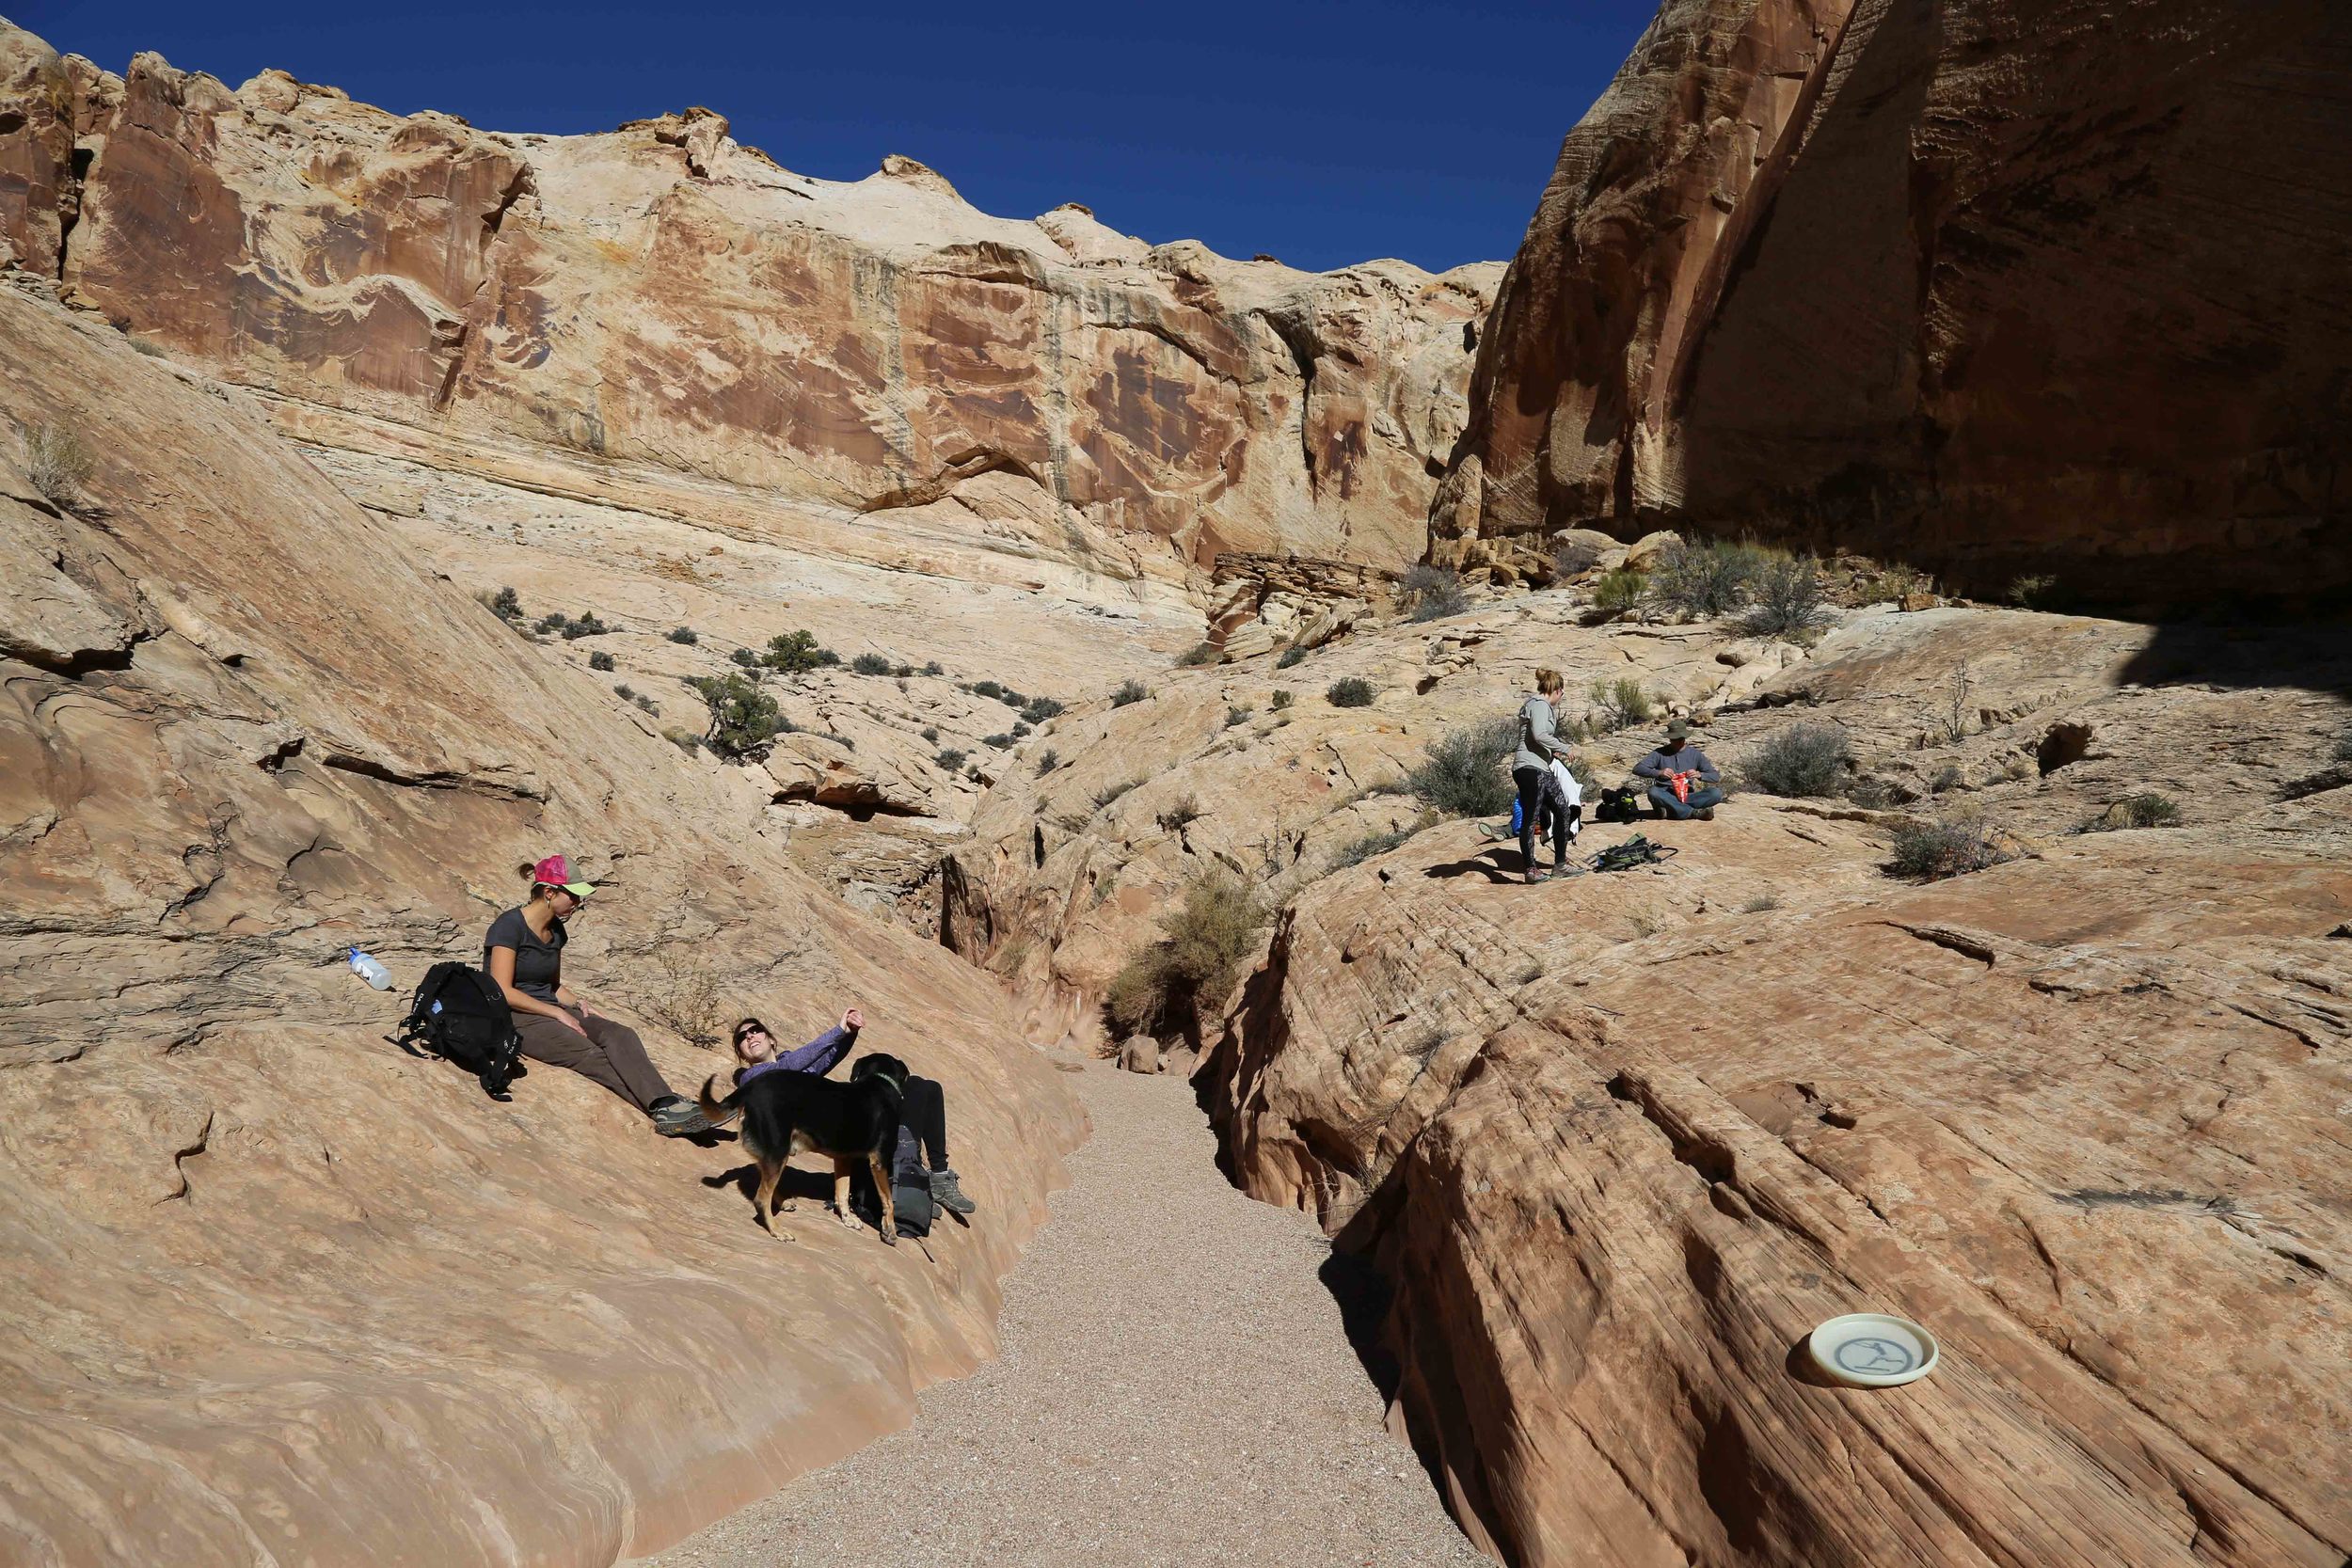
Ermagahd. How kerhl are rocks?

If you are planning a vacation in the near future, here is some math: you can pay 1300 clams for a ticket to Paris and see La Tour Effiel, OR you can throw your ass into the back of your friend's car and pay $40-60 for gas and go and hang out in arguably one of the most visually stunning places in Utah (and there are LOTS of visually stunning places here) and camp on BLM land for days for FREE. Plus you'll get some exercise and probably return home with a sweet tan. Though, admittedly, there are few if any croissants.

I totally get it if that is a deal-breaker for you.

But when Richard is given the choice between rock-hopping and pastries for his birthday, he chooses rocks. And tacos! Because nothing motivates you to book it through a canyon or up and down a mountain like the knowledge that tacos are waiting for you at the end.

(Spoiler alert: you'll be getting a taco recipe soon! In the meantime, scroll through the photos below and read on for notes on our slot canyon adventure.)

DISTANCE (bell & little wild horse canyon loop) ~ 8.65 MILES

Trail type(s) - exposed/rocky/slot canyon/possible shallow pools

ELEVATION GAIN/LOSS - +721 feet

LOWEST ELEVATION (trailhead) - 4,952 FEET

HIGHEST ELEVATION - 5,673 FEET

DIFFICULTY - MODERATE (involves some class 3 climbing)

WATER SOURCE - none (nearest tap water - goblin valley state park)

DOG-FRIENDLY - YES

PARKING FEE - N/A

IDEAL SEASON(s) TO hike/CAMP - spring, fall

Closest RANGER STATION - goblin valley state park

CLOSEST DEVELOPED CAMPING - GOBLIN VALLEY STATE PARK


TRAIL OVERVIEW:

Some scrambling/climbing is required, though it can be completed without aid.

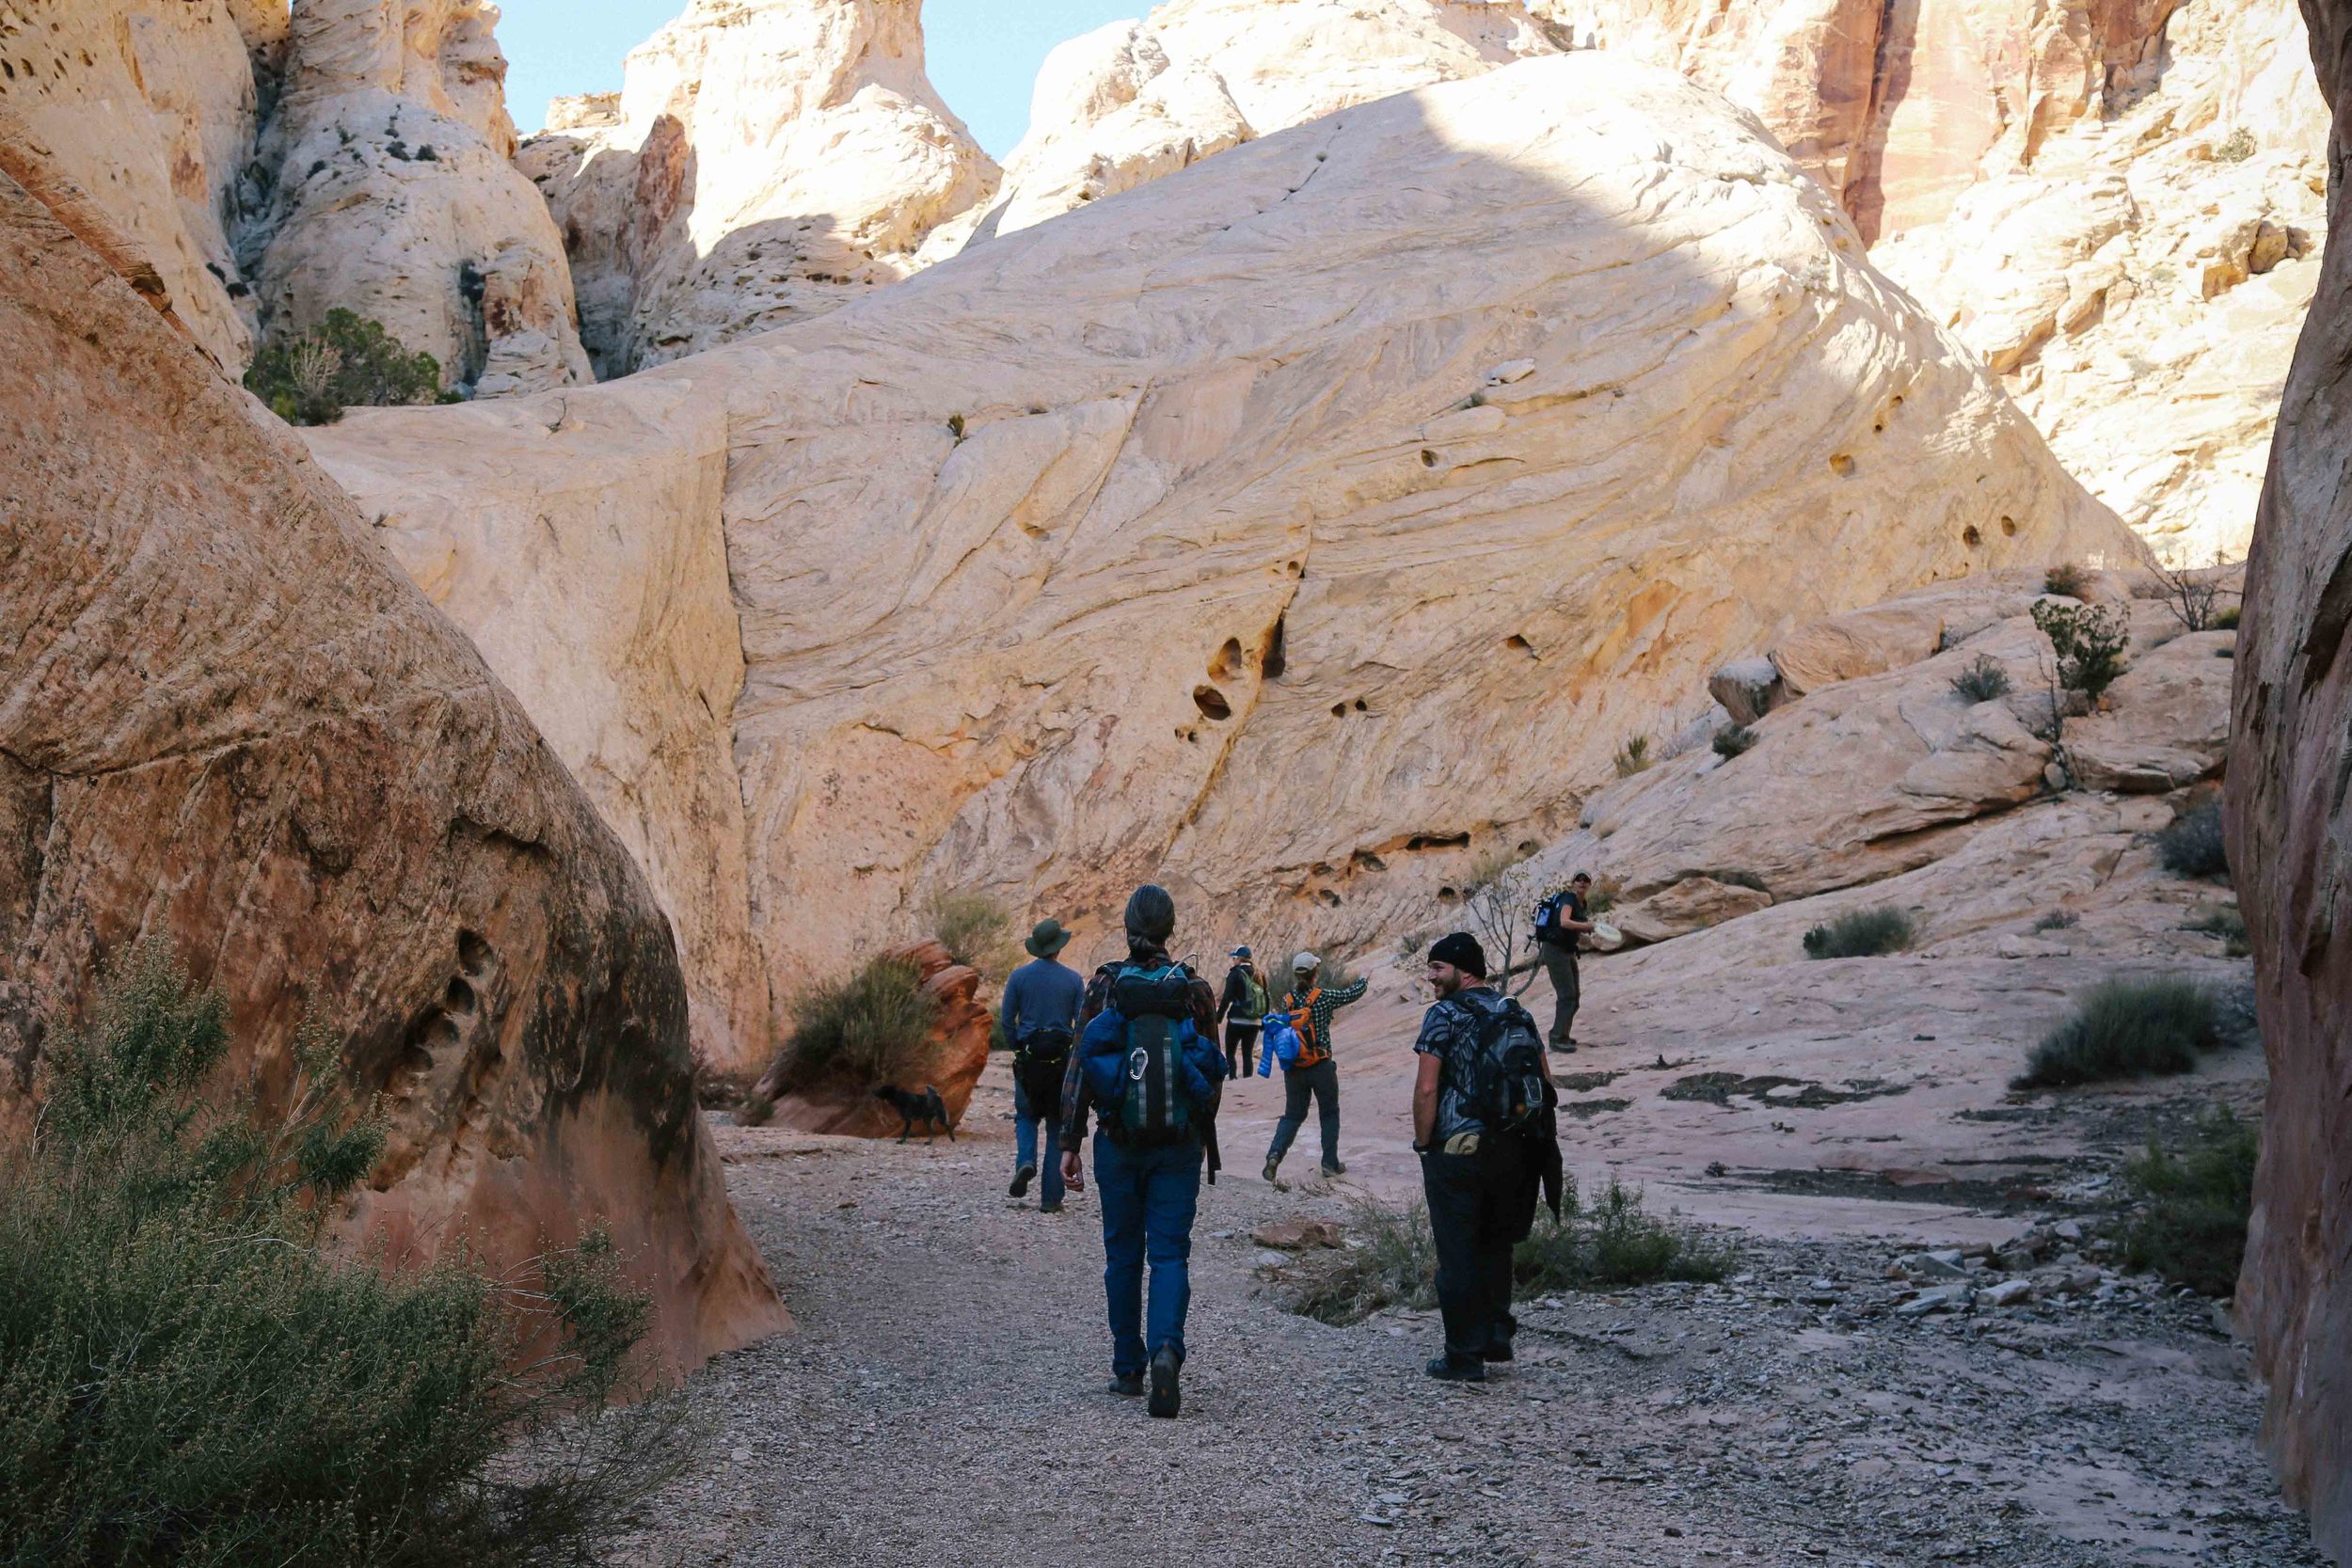
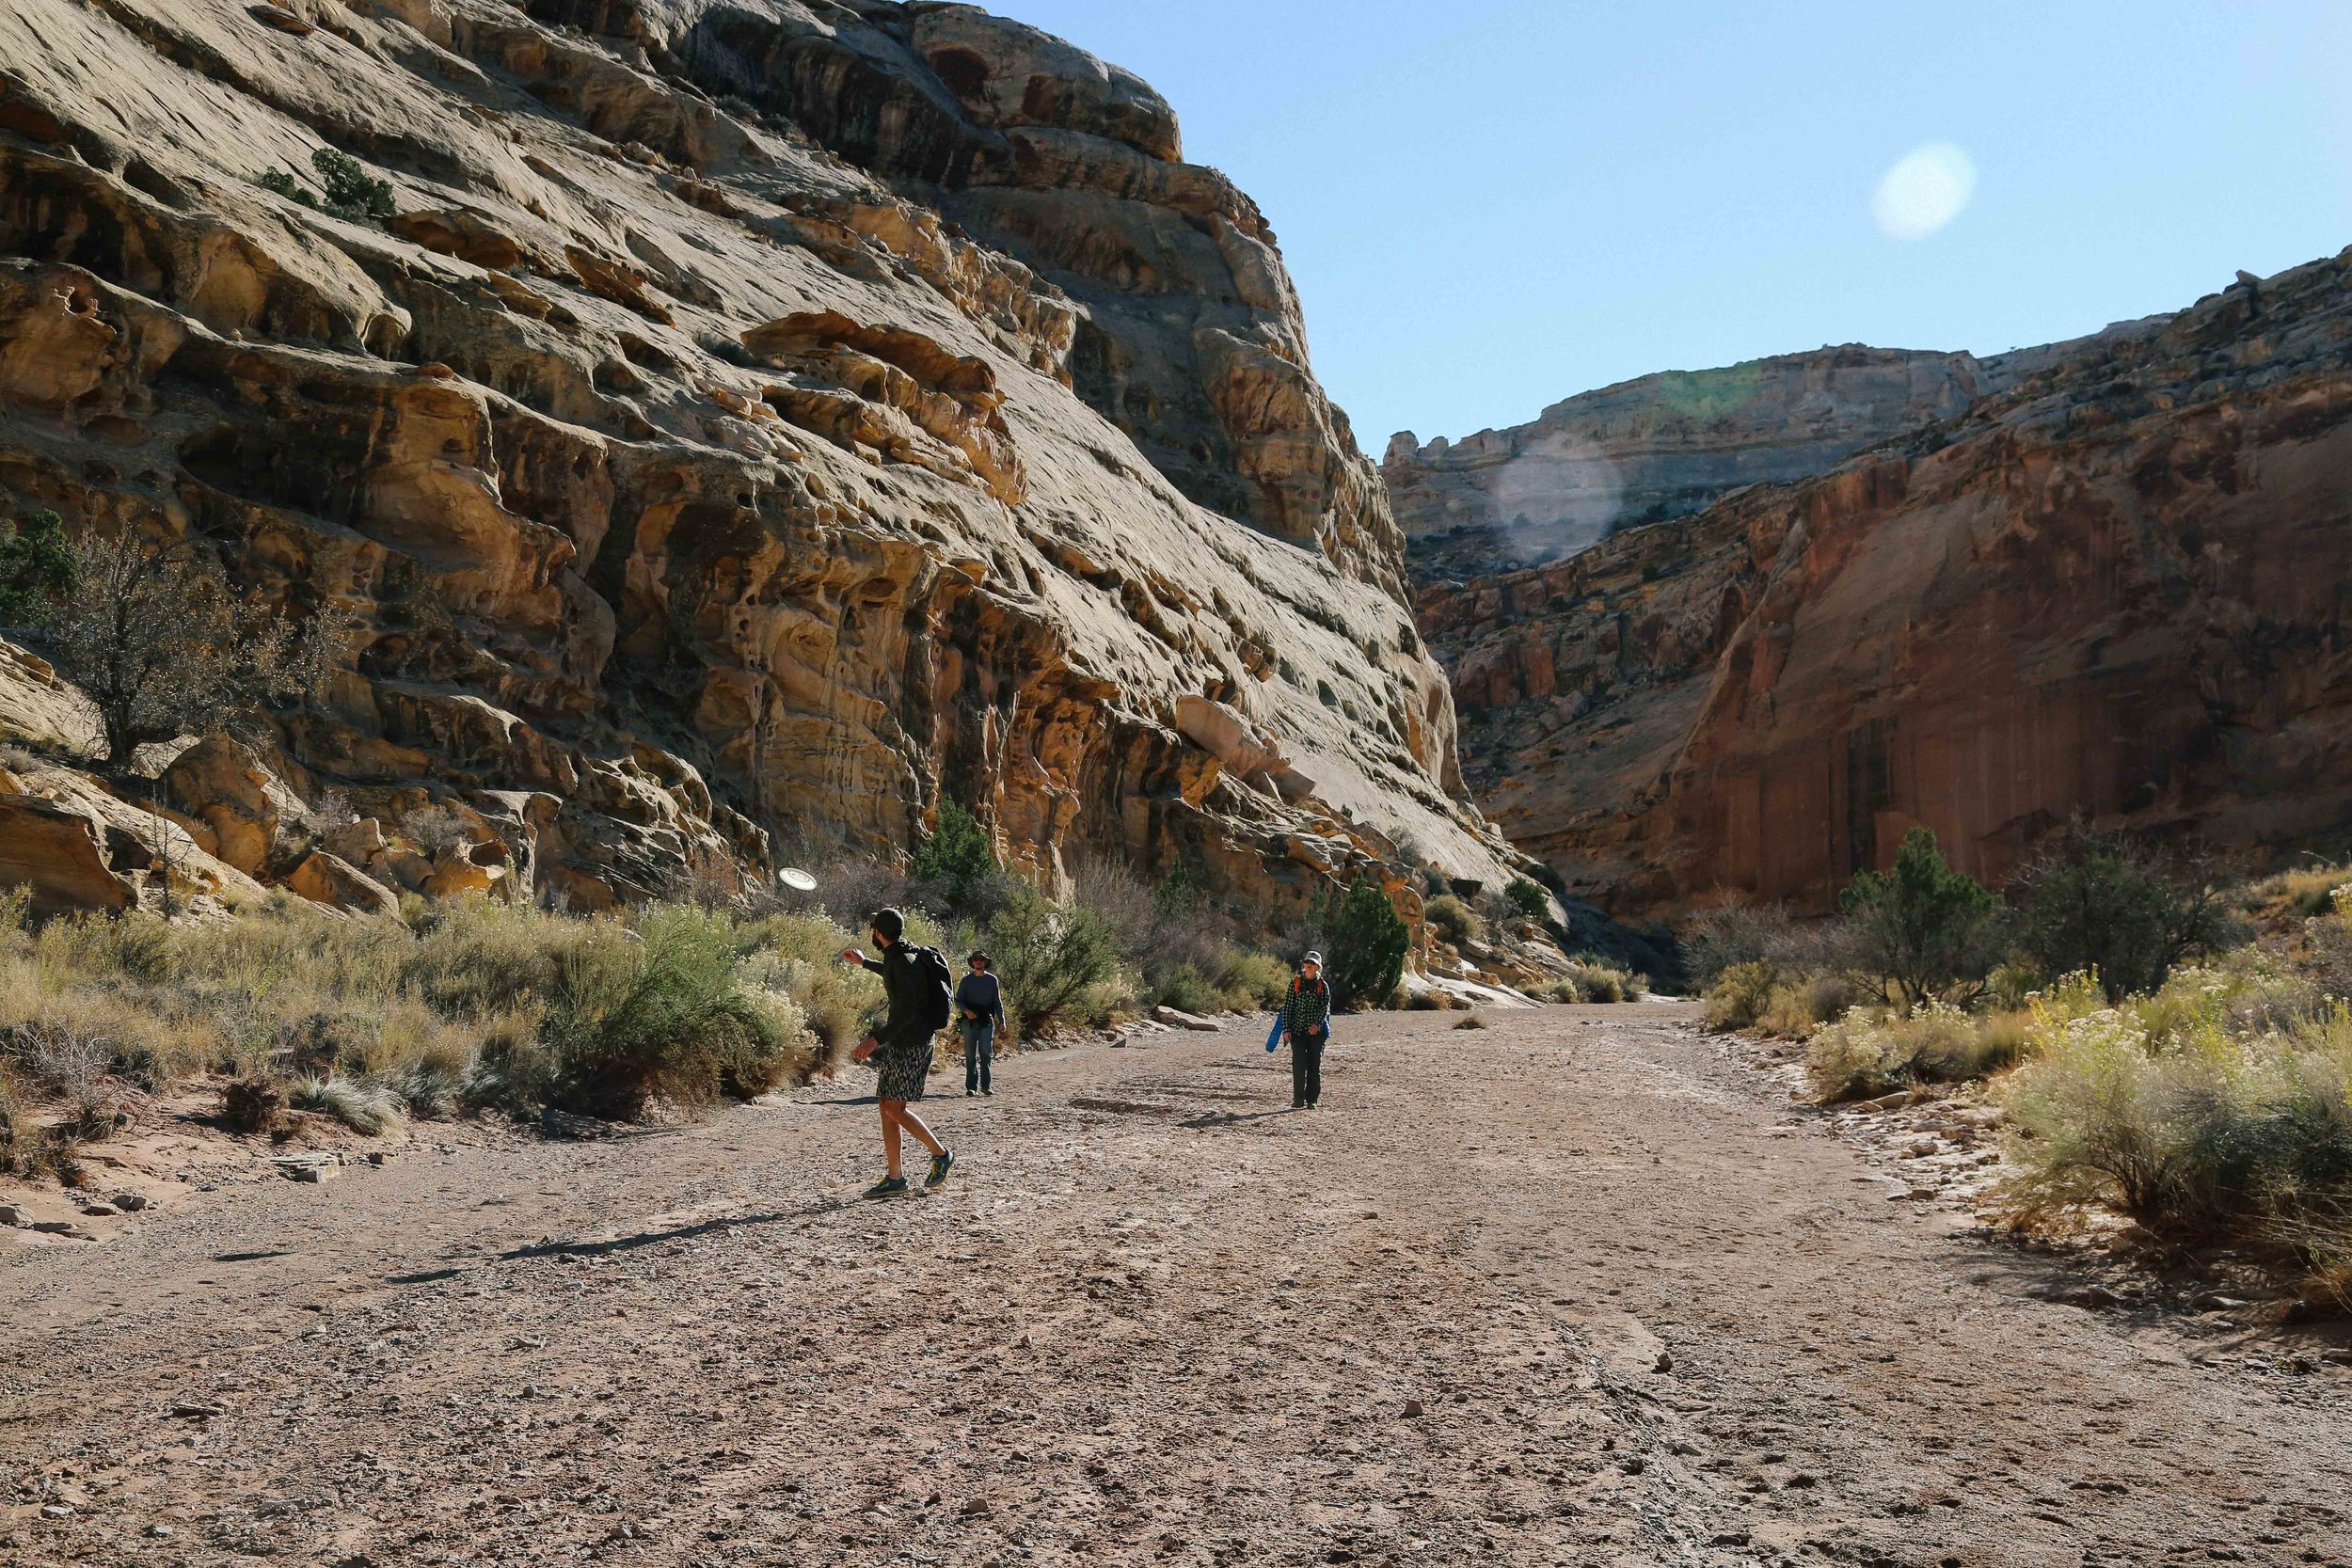
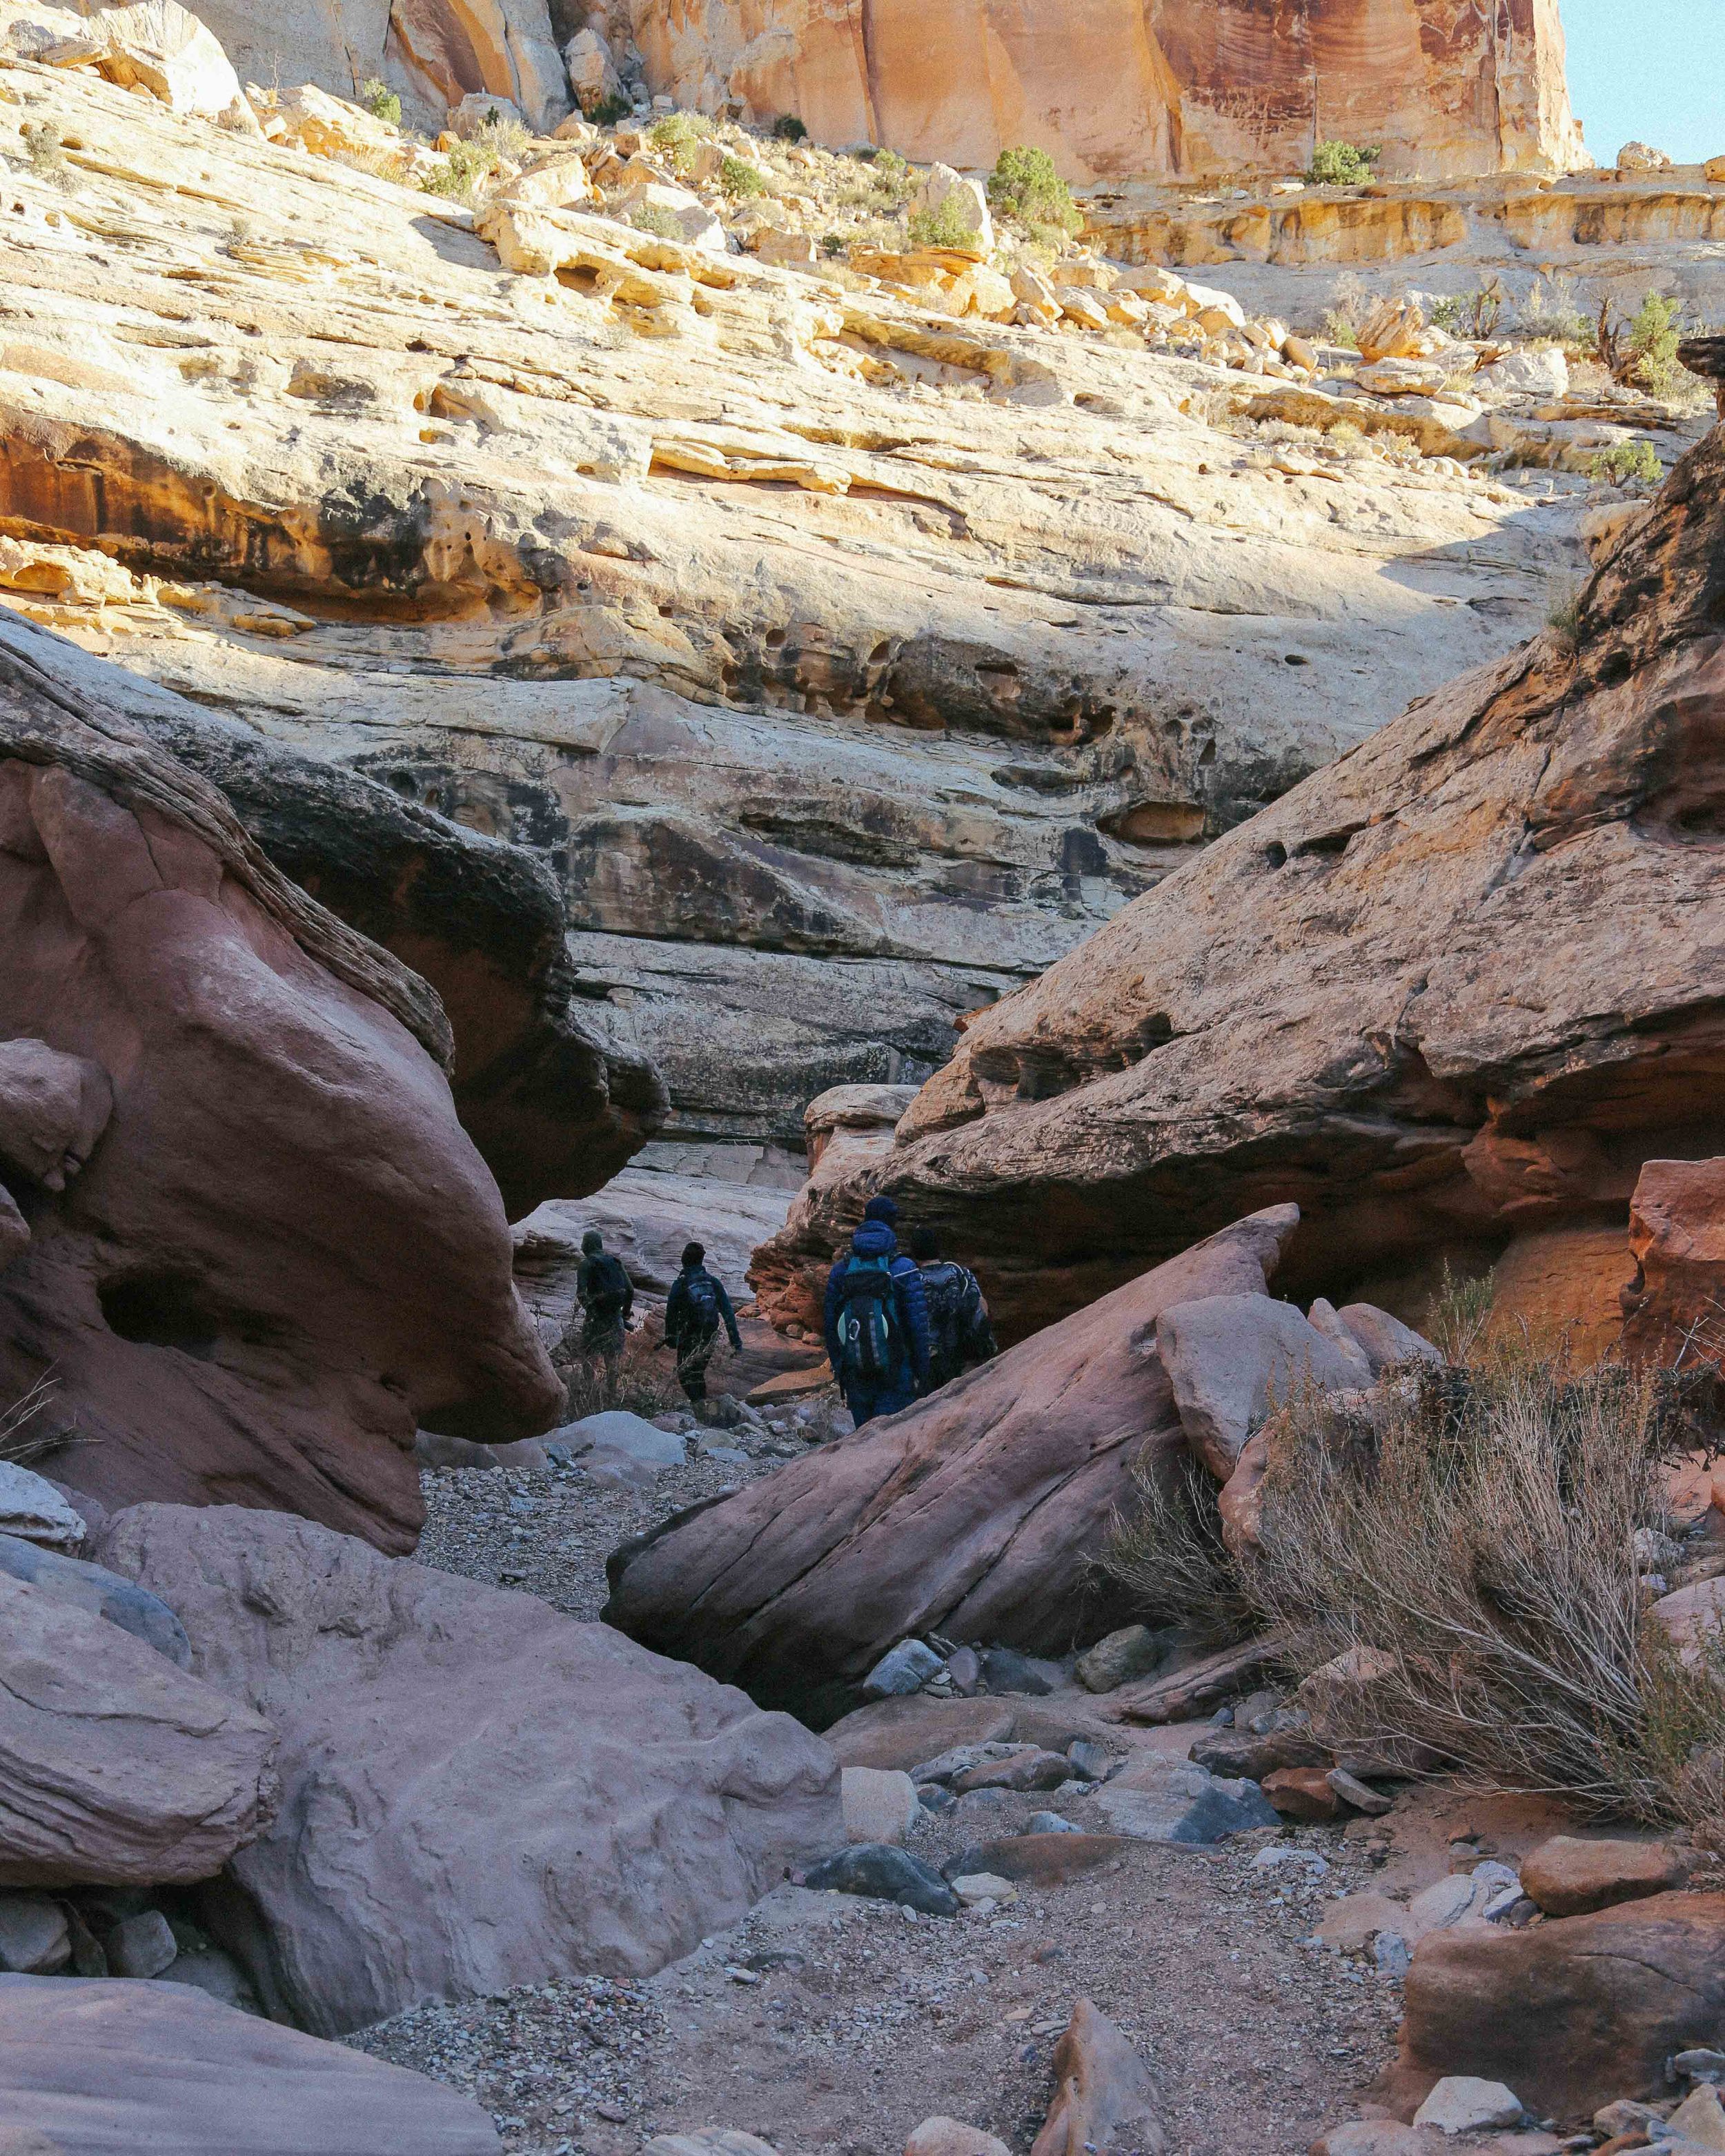
Bell Canyon and Little Wild Horse Canyon are two sets of slot canyons connected by an open, expansive wash, forming a hiking loop that begins and ends at the Little Wild Horse Canyon trailhead. Of the two, Little Wild Horse is considered by many to be "more spectacular," and certainly contains the narrowest of the slots. Little Wild Horse is made up of three distinct slots punctuated by larger openings and atriums, while Bell is a continual, long and winding slot which widens and narrows in different areas.

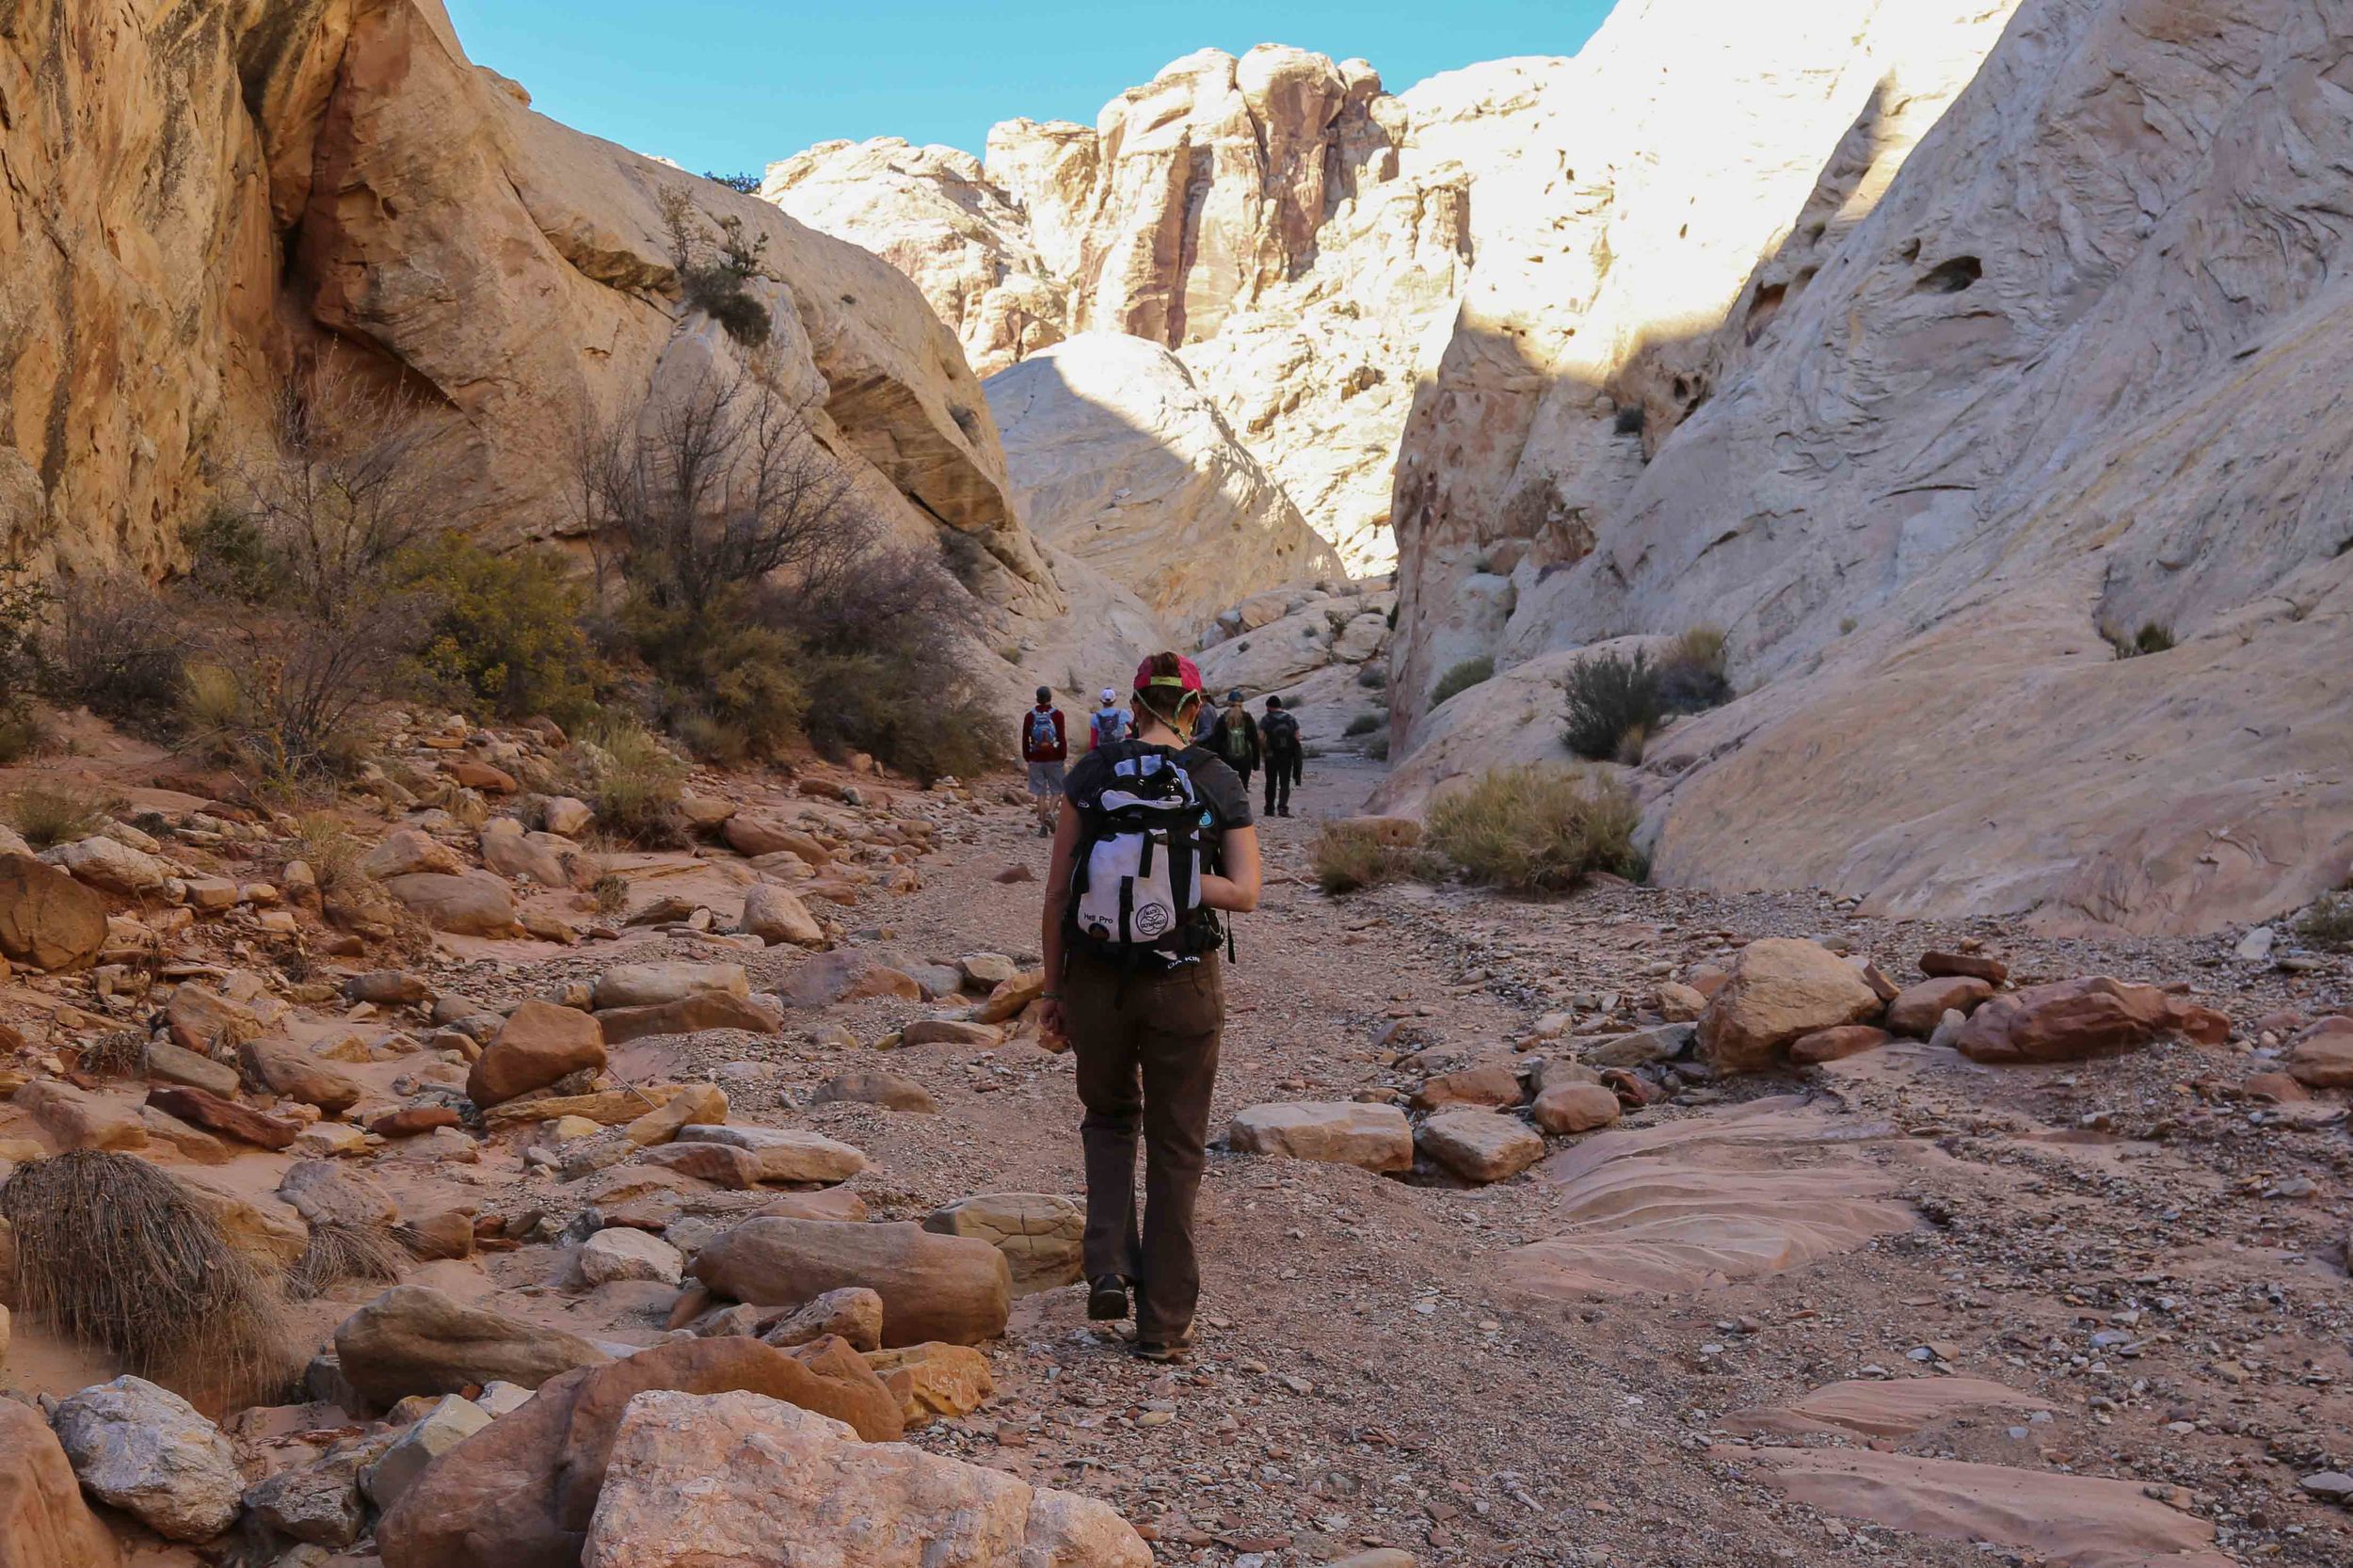
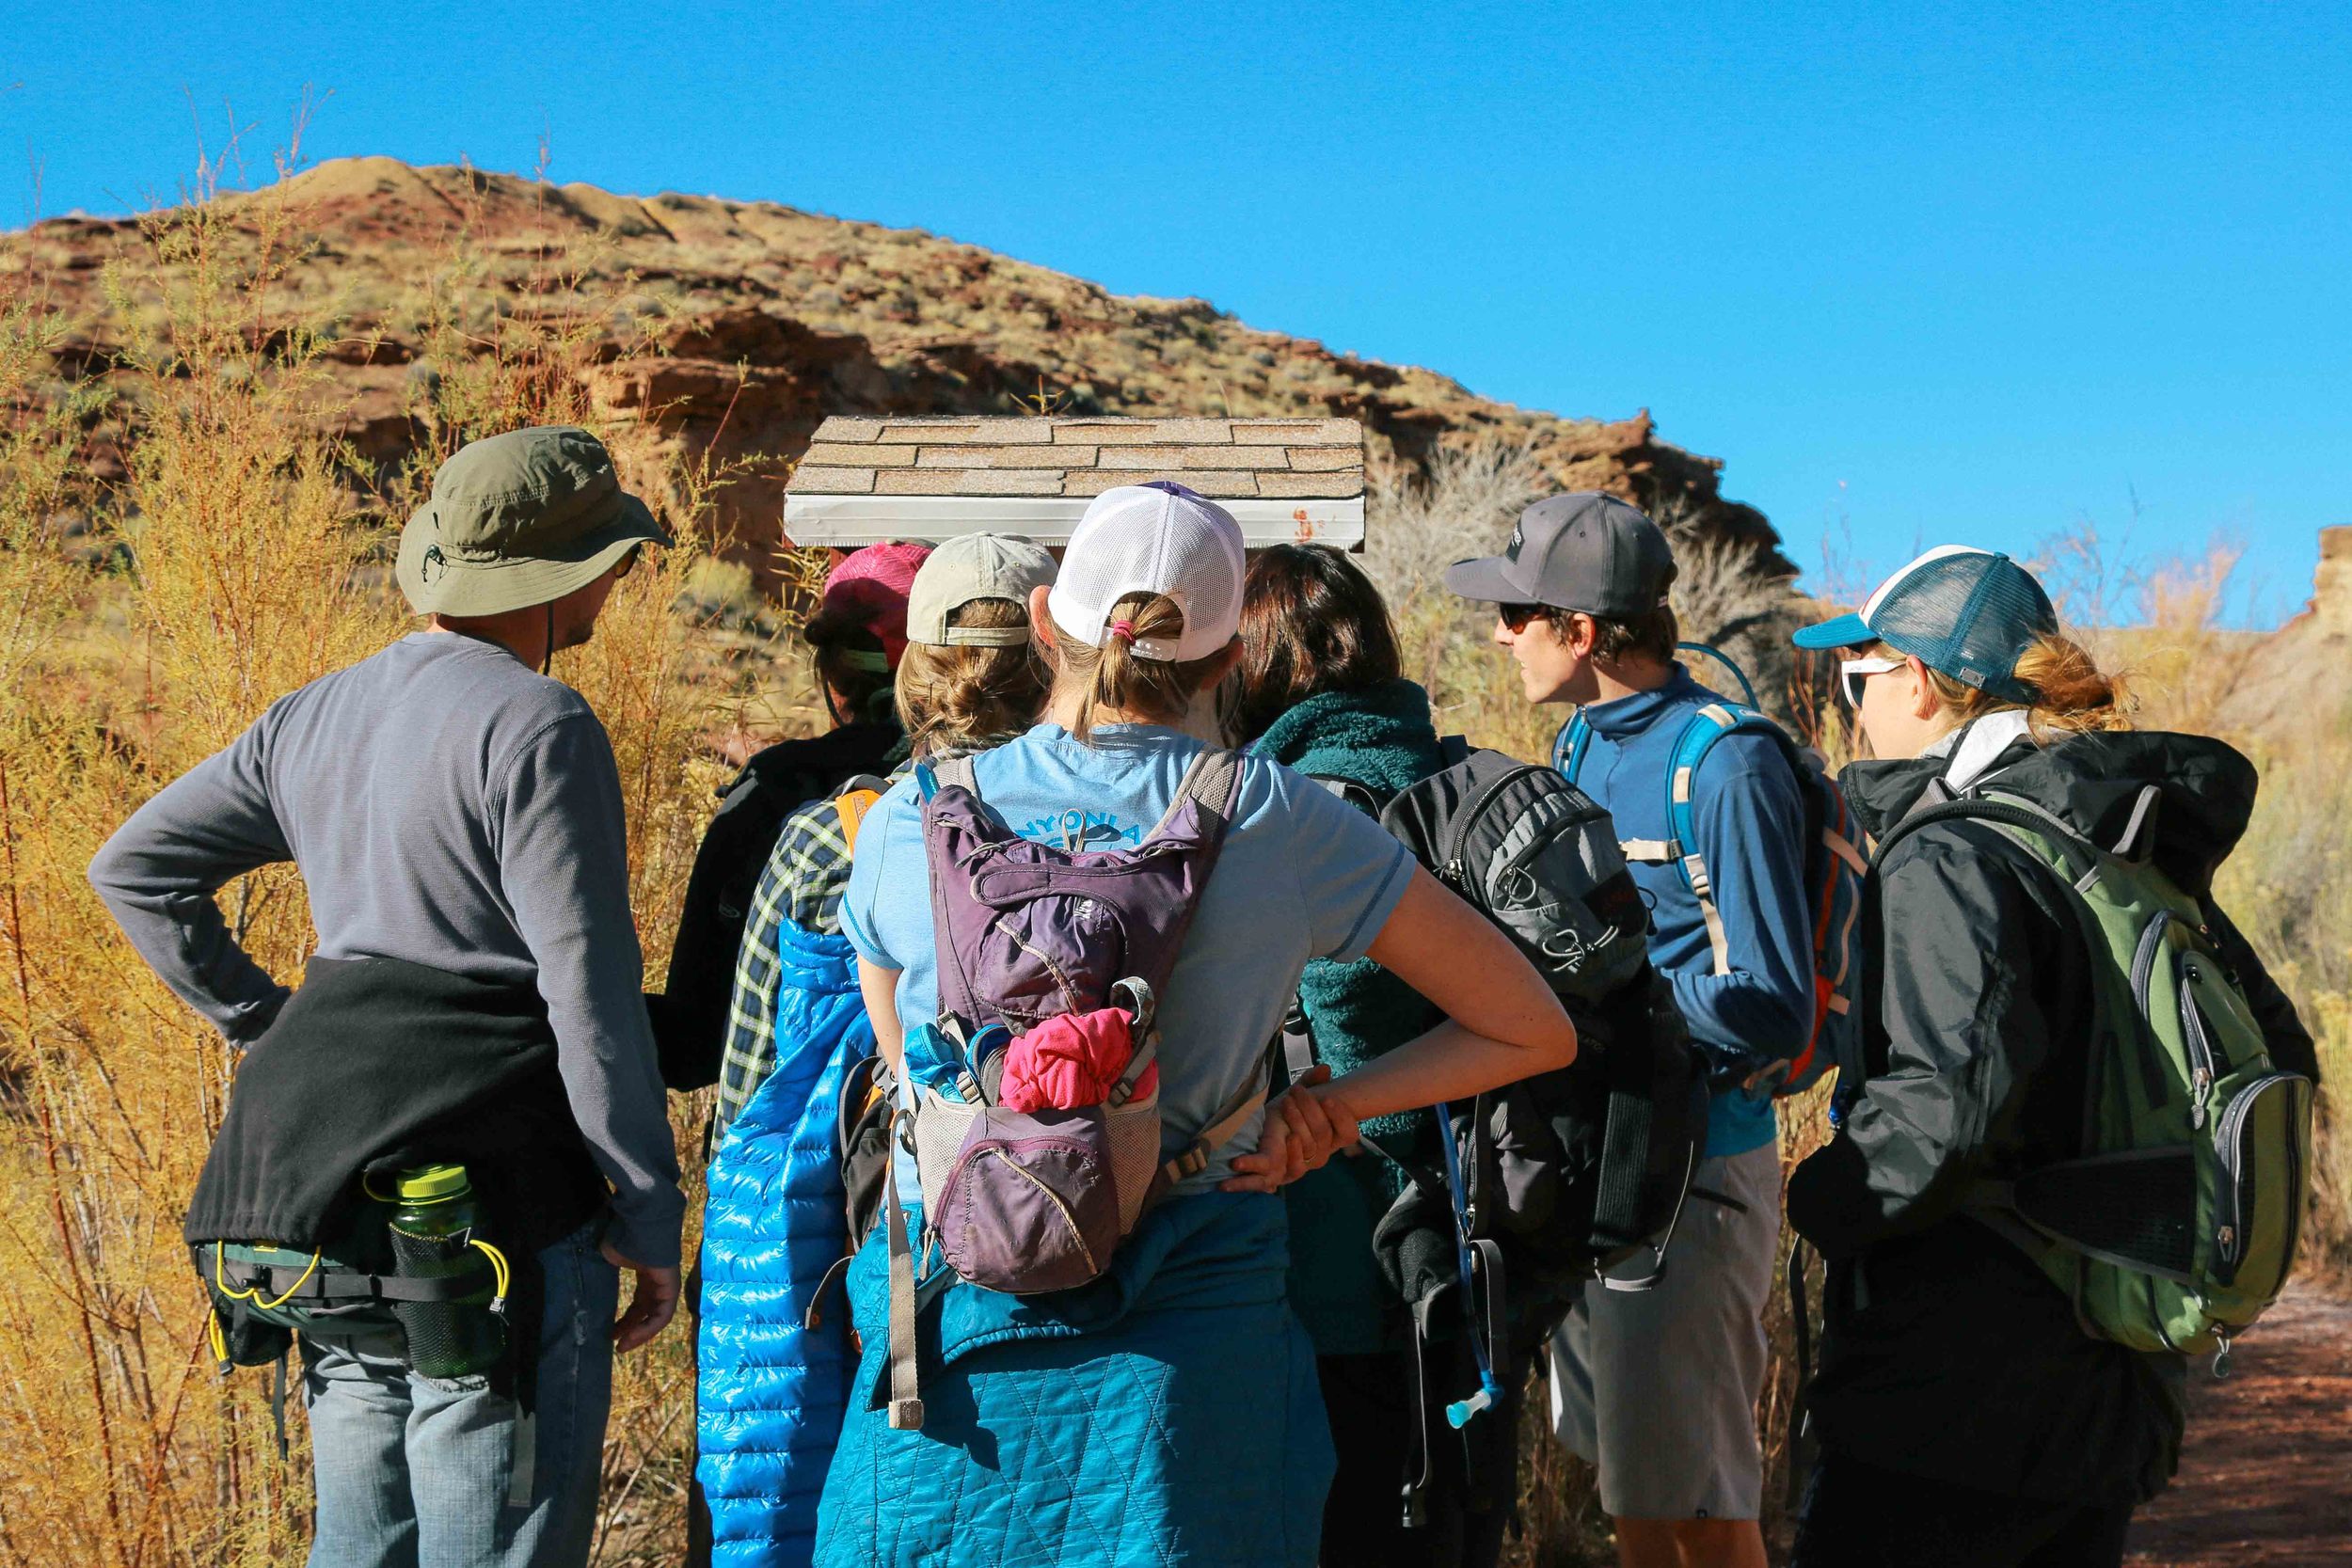
The trailhead is the same for both canyons, and involves a half-mile hike to the fork for both trails. To start with Bell Canyon, take the left trail in the fork. To start with Little Wild Horse, take the right trail. The trails are quite obvious, given that you follow the path of water cutting through rock, though there are a few cairns in spots where the trail is less clear. The main area where you should pay attention is in the wash; there is an obvious sign with a map when you are heading from Bell Canyon in the direction of Little Wild Horse Canyon, though it is harder to see the sign when coming from Little Wild Horse toward Bell Canyon. If you started the loop in Little Wildhorse Canyon, you will want to favor the left (West) side of the canyon and keep your eye out for the sign for Bell and for the split that begins the canyon.

Entering the wash from Bell Canyon.

Some people will simply walk down the Little Wild Horse Canyon trail for as long as they feel comfortable, just to get a sense of what it is like to be in a slot canyon. But being that it is possible to drive to the trailhead, the trail is relatively flat, and the hike can be completed well within a day (if not a few hours), it is well worth hiking the full loop. And, given that the Class 2-3 scrambling can be accomplished without aid, it is also a great introduction to canyoneering.


DIRECTIONS TO LITTLE WILD HORSE CANYON/BELL CANYON TRAILHEAD


From I-70 West (Green River):

  1. Take Exit 149 for UT-24 W toward Hanksville
  2. Turn left onto UT-24 West
  3. Turn right onto Temple Mountain Road
  4. Turn left onto Goblin Valley Road
  5. Turn right onto Wild Horse Road (destination will be on the right)

Visit here for full directions from Salt Lake City.

4J5A9564.jpg

THINGS WE LEARNED ABOUT CAMPING (LATE FALL/EARLY WINTER CONDITIONS):

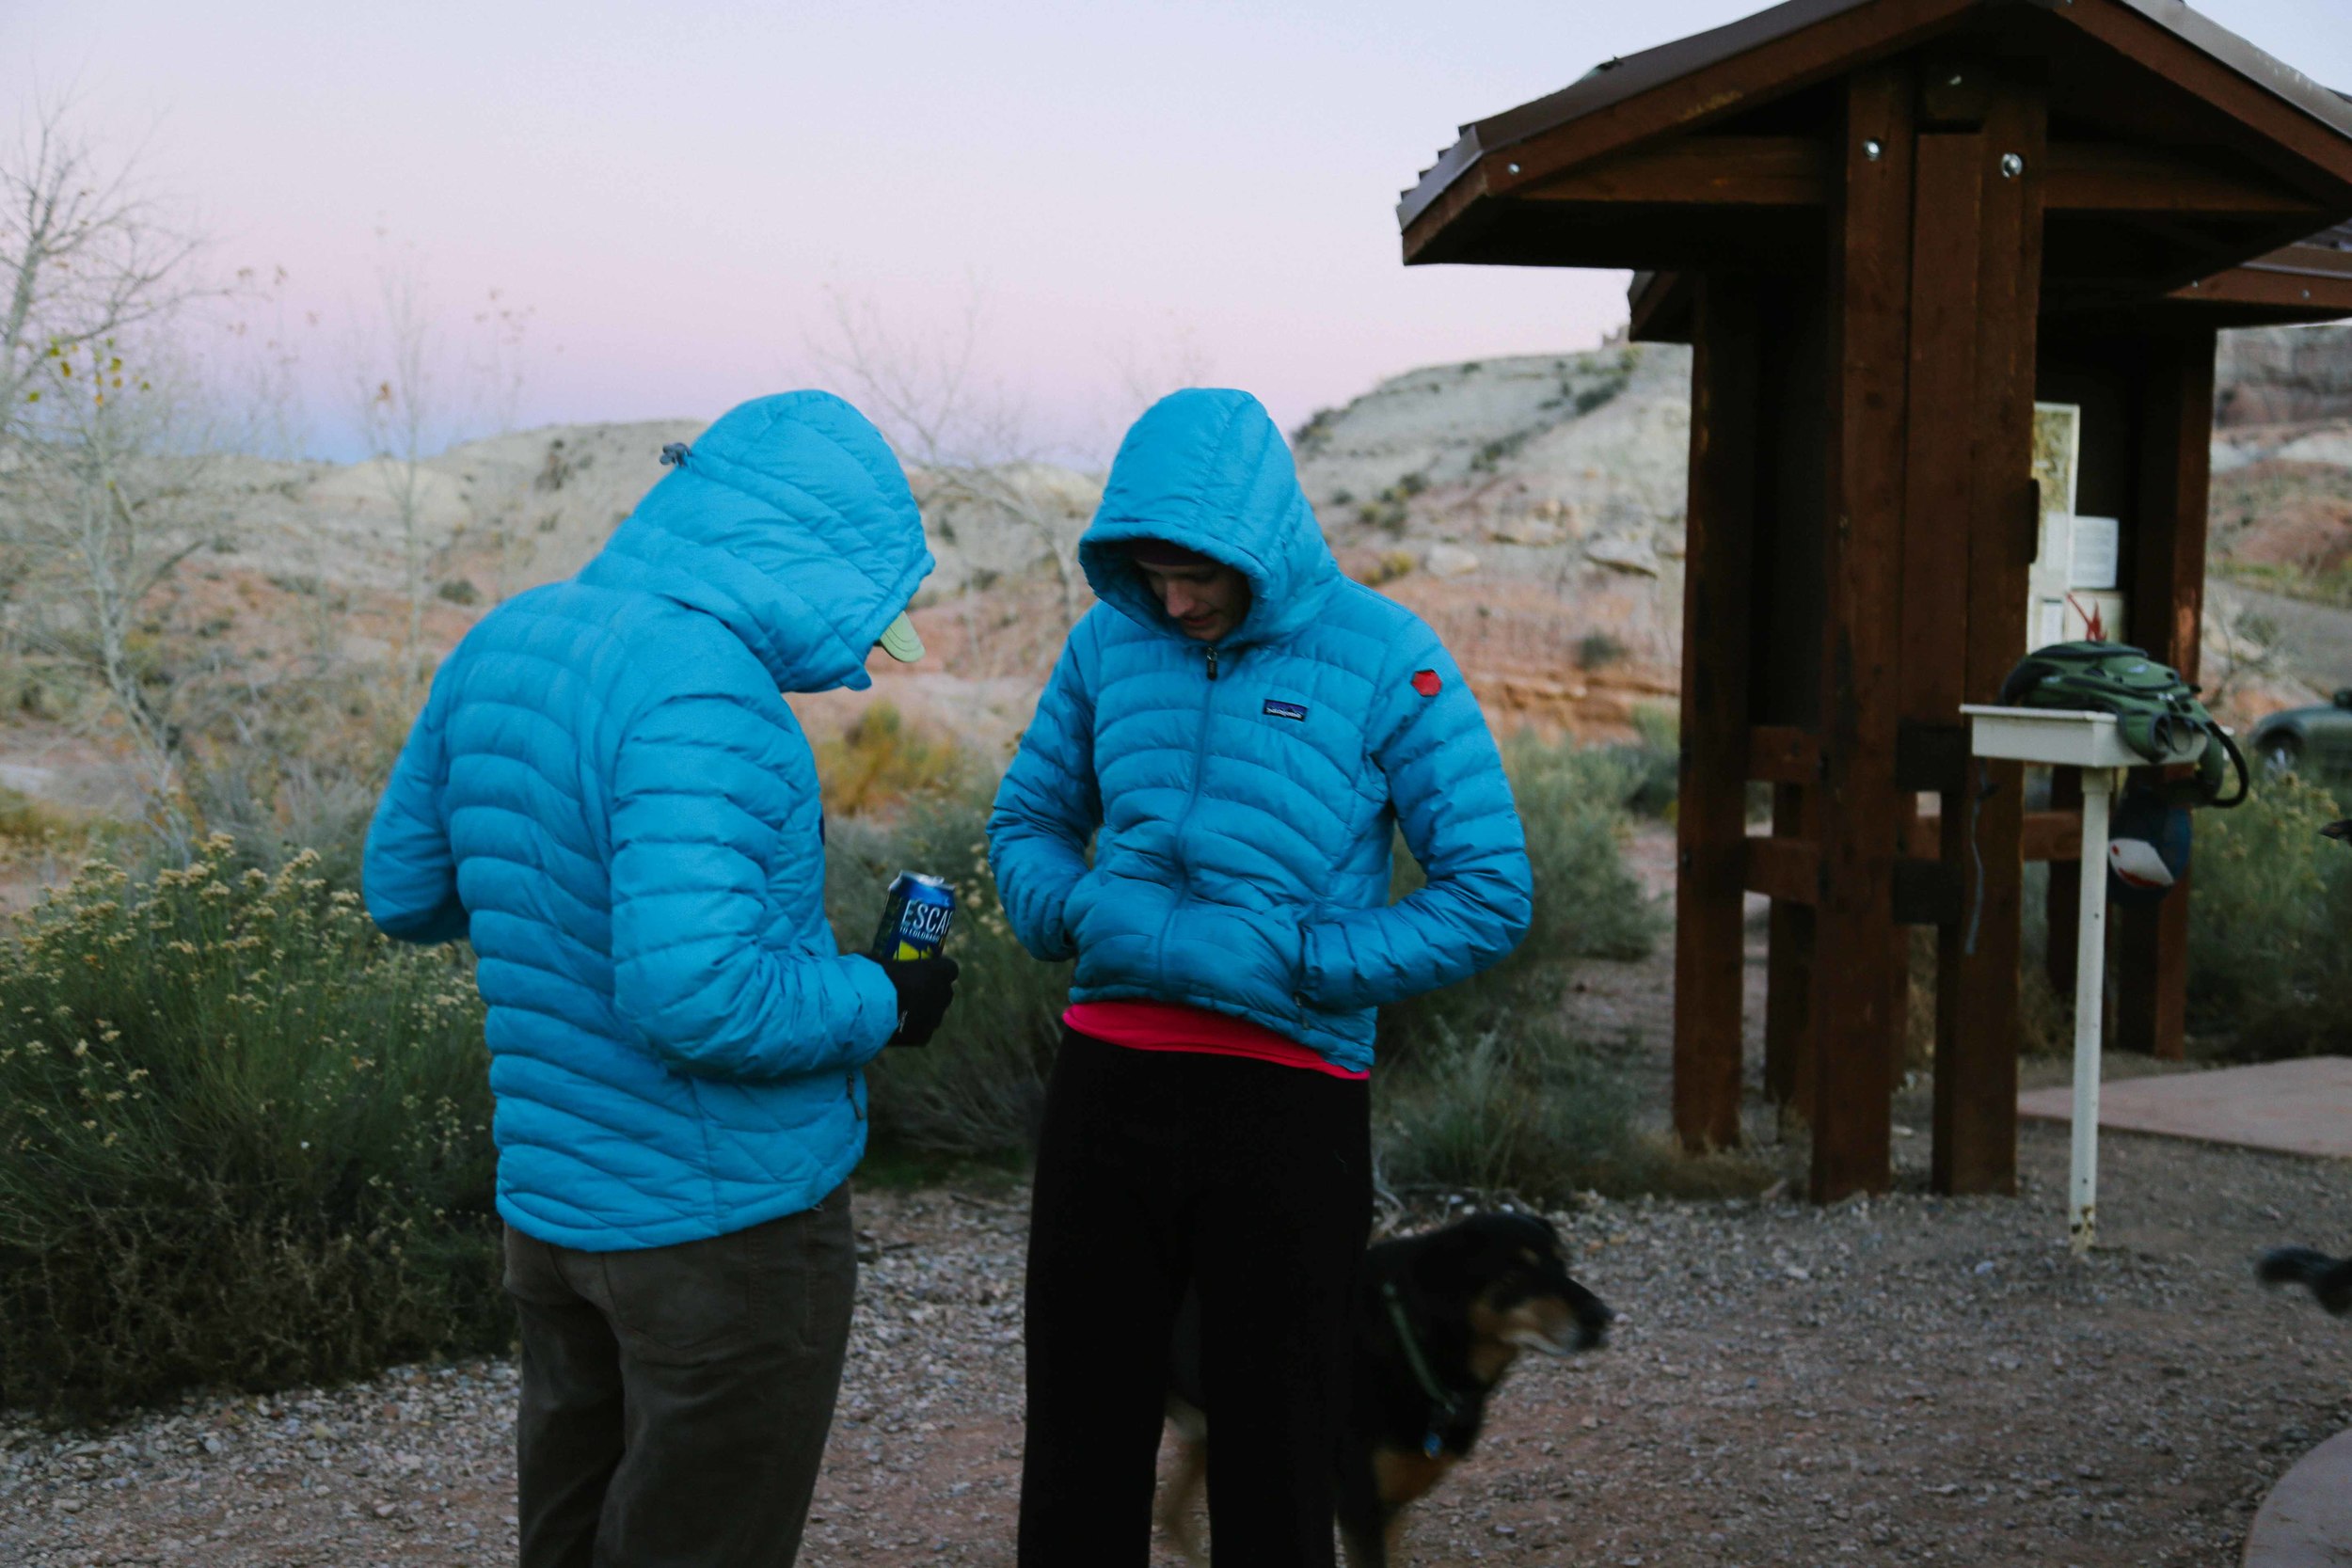
  • Holy crap, does it get cold at night. I woke up to pee sometime between 2-4am and there were ice crystals on the inside of the tent. Bring the warmest sleeping bag you own. In fact, bring two. I have this bag and my toes were popsicles when I came back from my nighttime pee, and it took them forever to warm up again.
  • One of the best ways to keep warm (with a partner or friend) is to zip two sleeping bags together into one giant bag, slip two individual sleeping bags next to each other in the big bag, and then sleep in the individual sleeping bags like you are some kind of poofy, inedible turducken. Any dogs can go in between the two sleeping bags within the giant bag. Props to Richard for knowing to do this.
  • Speaking of dogs, make sure you bring a jacket or blanket for your furry friend(s), plus a dog bed or pad for him/her to sleep on so s/he isn't lying on the freezing-cold ground. We think of Lucca as an Arctic wonder dog because he voluntarily takes naps in the snow, but I have never in my life seen him so cold. We put him on a dog bed after our hike and wrapped him in a jacket and wool blanket and he stayed there, all frozen-burrito like, until we scooped him up and went to the tent to sleep.
  • If I have just freaked you out about the cold, know that there are other places for you to stay, such as yurts! Two yurts are located about a quarter mile from the the Goblin Valley State Park visitor's center, and look quite cozy. You're going to have to redo that math from earlier, though, as it costs just over $100/night to stay in a yurt (and no pets are allowed).
  • Camping at Goblin Valley State Park is popular, and campsites quickly fill up. There is ample BLM camping off of dirt roads nearby, and many of the BLM spots are actually closer to the Bell/Little Wildhorse trailhead than the Goblin Valley campsites. Everything is quite close together, however (the Goblin Valley Visitor's Center is about 7 minutes from the trailhead), so you'll be in a good spot wherever you camp.

THINGS WE LEARNED ABOUT HIKING (LATE FALL/EARLY WINTER CONDITIONS):

  • If you are doing the full Bells/Little Wild Horse loop (which you should!), we recommend starting at Bells (which is the left trail at the fork just beyond the trailhead, with Little Wild Horse being the right trail). Most people start at Little Wild Horse, so you'll miss most of the crowds by beginning at Bells, and then you'll go through the final slot late in the day when few (if any) people begin to hike, so there is a slim(mer) chance you'll bottleneck in the slot.
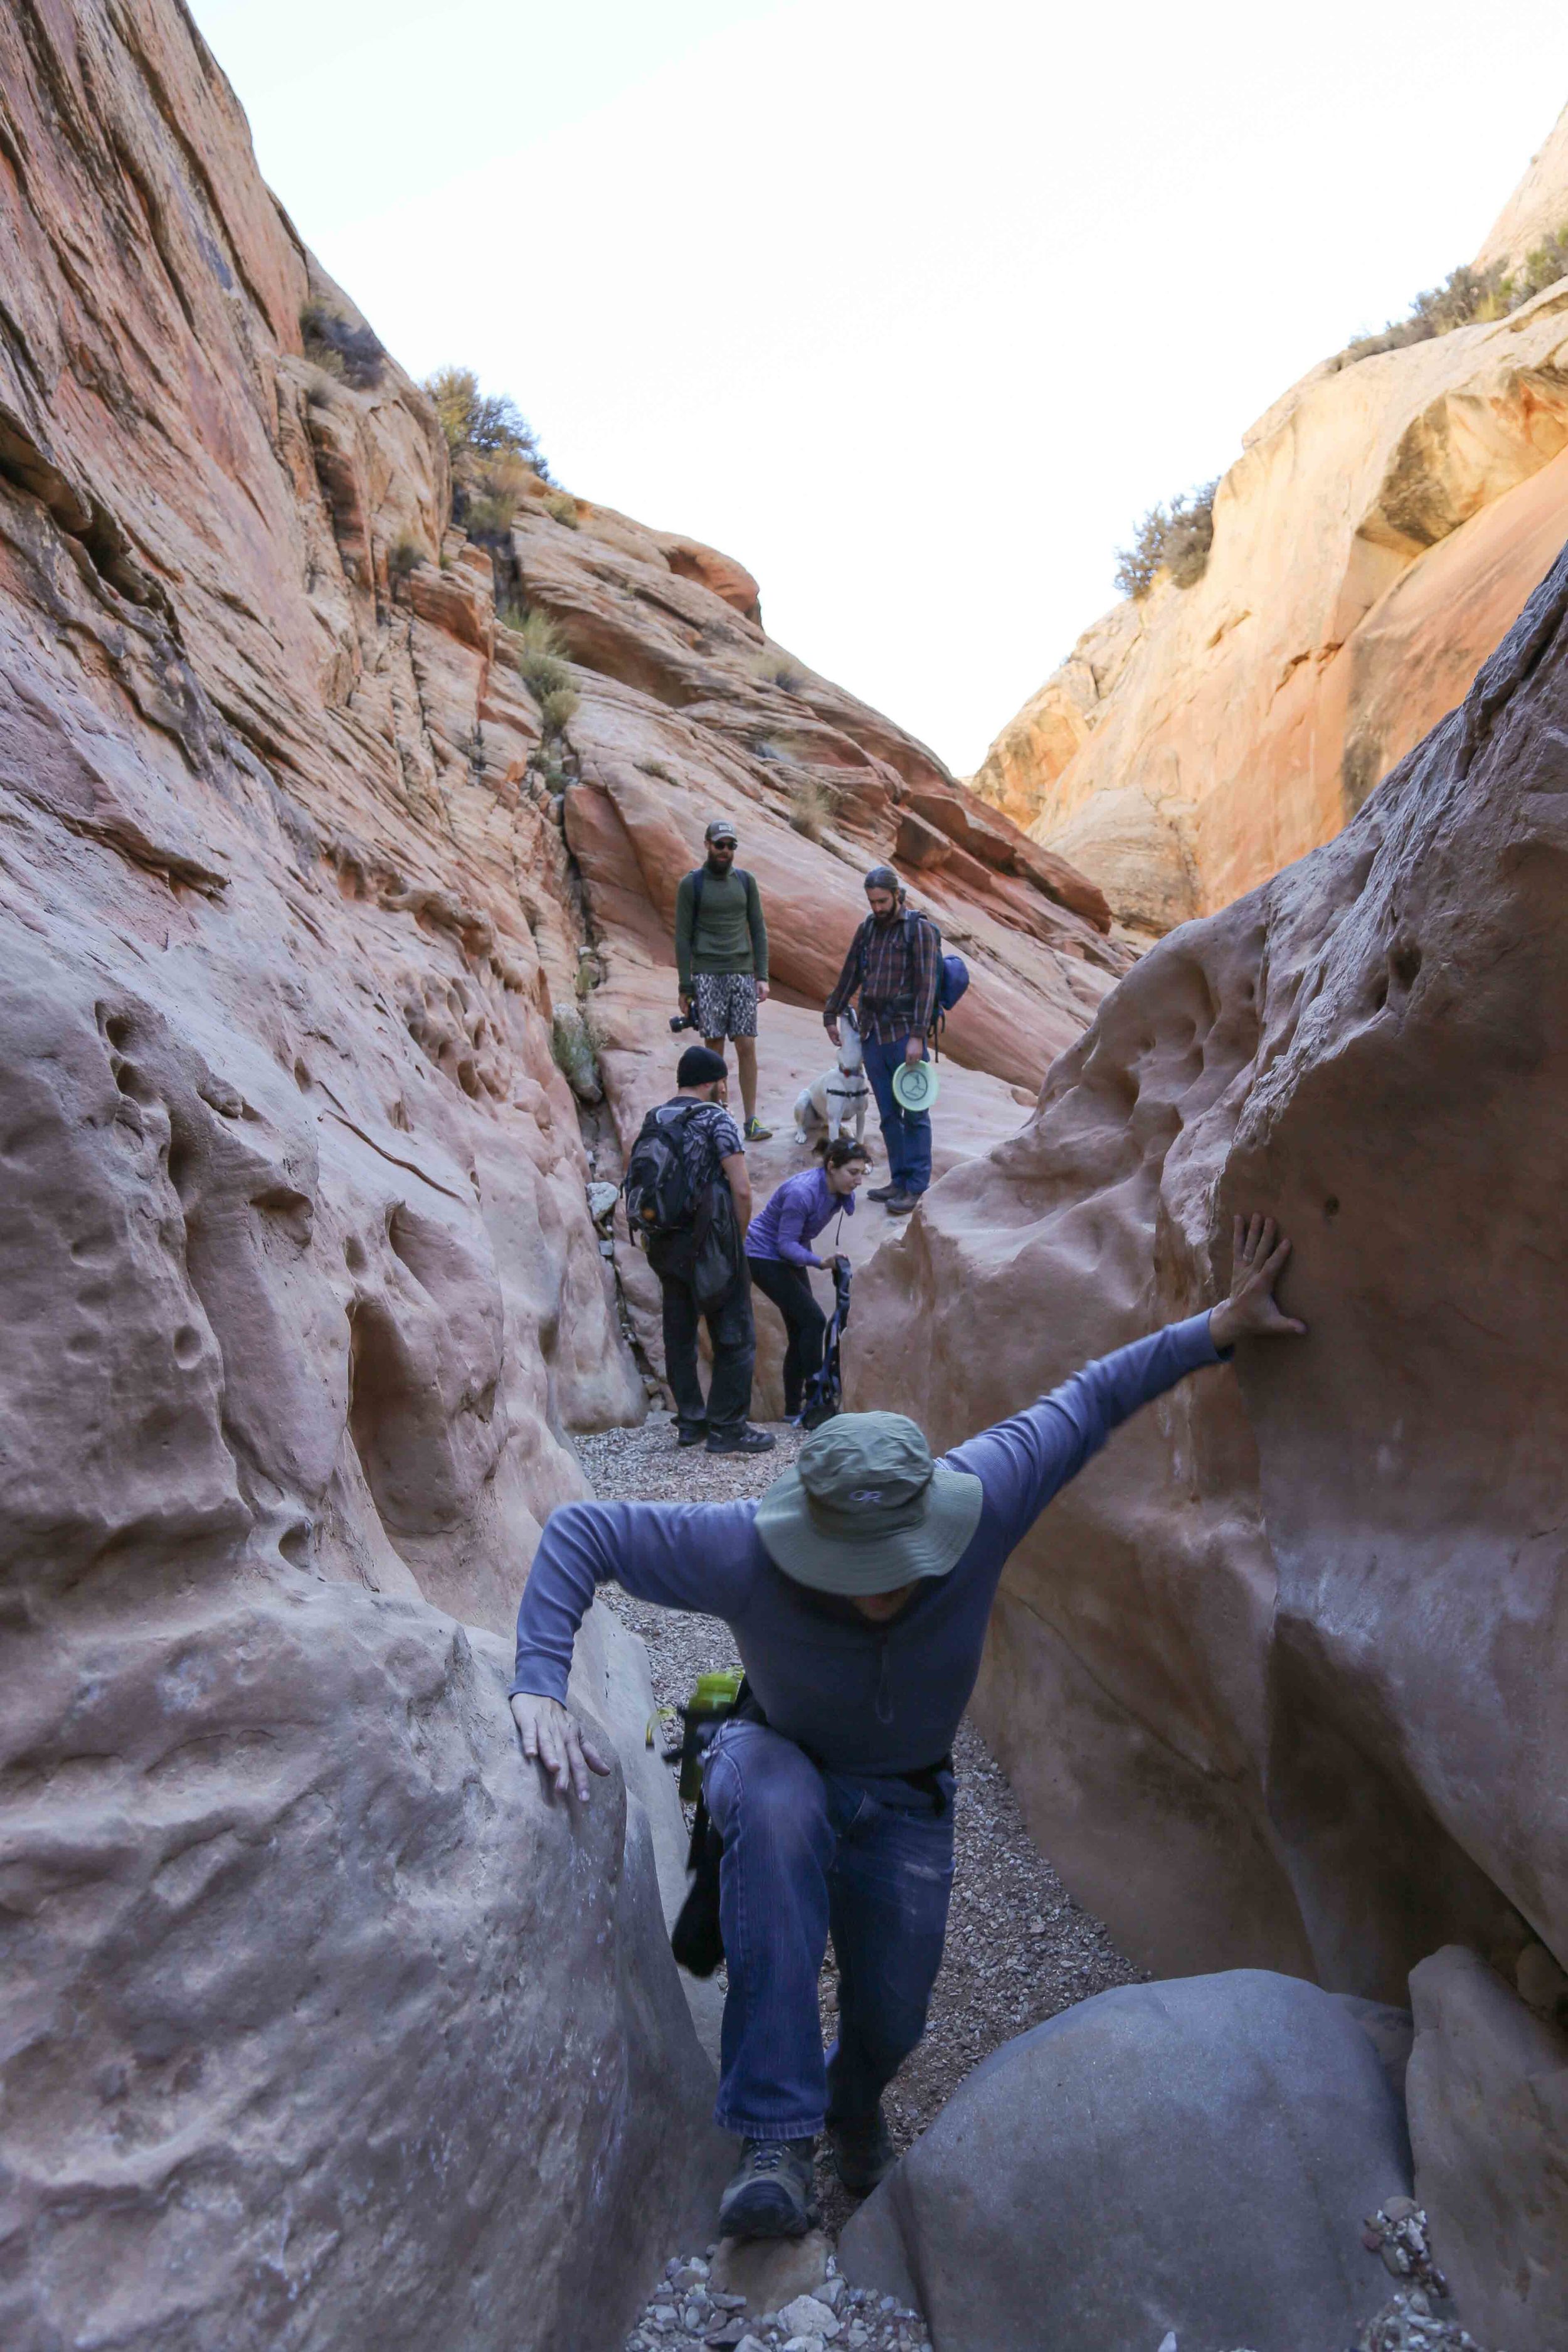
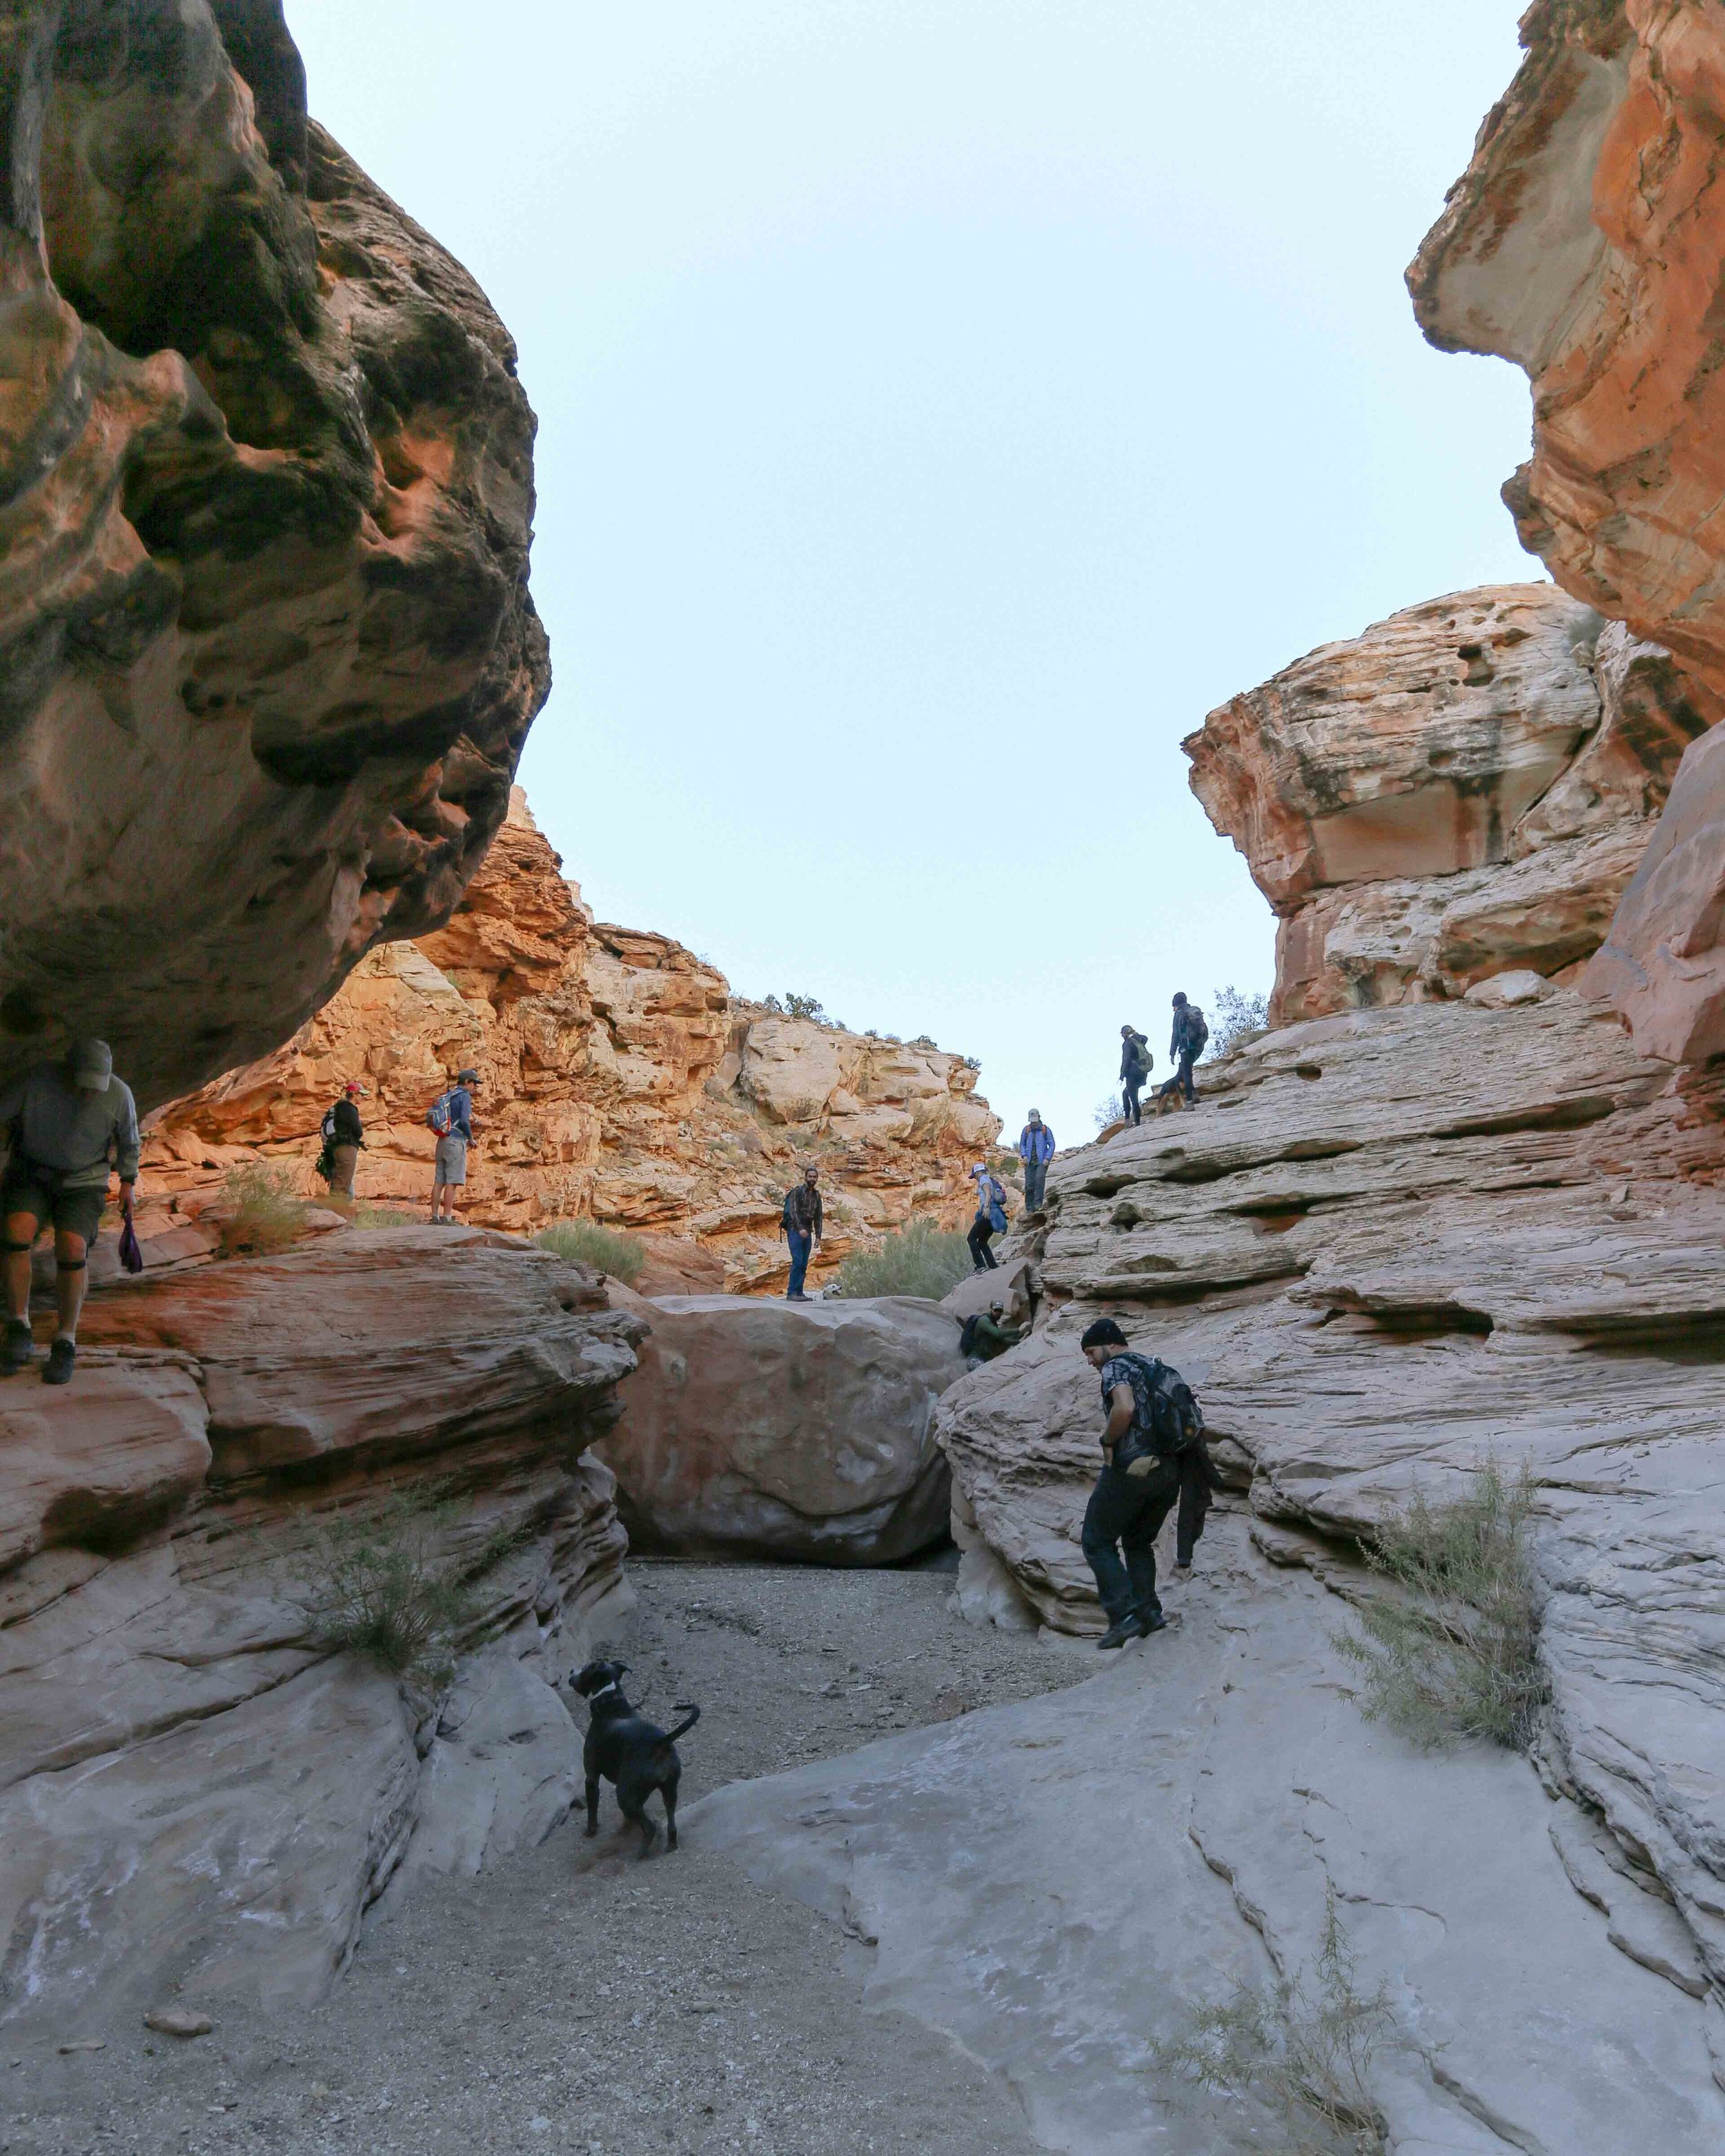
  • Be advised that you will be scrambling over boulders, loose rocks, etc. at various times during the trip. Wear sensible (close-toed) shoes. Tape or wrap any injured ankles/wrists to stabilize them, as you will be using all of your appendages to do stuff. The trail is punctuated with Class 2 and Class 3 climbing (meaning scrambling + more dicey scrambling) due to boulders getting lodged in the slot canyons during floods.
  • If you are bringing a dog, note that some of the areas in the canyons are rather technical, and that the rock is slick. Your dog needs to be confident and physically fit, and you need to prepare yourself to lift your dog over rocks/boulders that your dog can't manage himself. Get your dog a harness with a handle on the back (like this one) to help with maneuvering, and to hopefully catch your dog if he slips. Also make sure that at least two people in your group are physically able to lift the heaviest dog in the group. If you can't do that, leave the dog at home for both human and dog safety. Lucca weighs 60 pounds, for reference.
  • Dogs may get scared while you are lifting them over rocks, and they may pee on you or your friends. Make sure you have really nice friends.

THINGS WE LEARNED IN GENERAL:

  • There are kangaroo rats in the desert, and they like to hide in your suitcase and eat your pants. No, really. Beware that any car doors/tent flaps left open are fair game. Also, kangaroo rats are very cute, in spite of eating pants. Or, possibly because? There's an NSF research grant opportunity here.
  • There is very spotty cell service. Make plans with your group ahead of time, preferably through email so everyone has the same instructions/itinerary.
  • Know before you go, and CHECK THE WEATHER. This is IMPORTANT. The flood line in the slot canyon was 15 feet above our heads, which means the water can get that high in a rainstorm. DO NOT ATTEMPT THIS LOOP IF THERE IS A CHANCE OF RAIN. IF YOU SEE STORM CLOUDS, GET OUT OF THE CANYON IMMEDIATELY. Seriously. Don't be the doofus that is all "this is the weekend we chose to do this and we drove all this way to get here and we are going in that canyon!" You will have, best case scenario, a very bad time. Also, nobody likes that guy. See resources (below) for a link to an account of being in and surviving a flash flood.

pantry flatbread with arugula and aleppo pepper

autumn, breads, breakfast, dinner, lunch, main dishes, snacks, spring, winterRachel SandersComment

In the beginning of many cookbooks, there is a chapter with no pictures where the chef/author talks about the foods they like to keep on hand at any given time, how to stock a pantry properly, etc. Sometimes they'll go over unique ingredients - what they are, where to find them, why you should use them - or pieces of equipment that they can't live without that they've added to their finely curated list of kitchen gadgetry. Or maybe they'll talk a bit about their process - how they clean as they cook, or how they write out recipes on post-its that they stick on the counter while they work. The abundance of care and work that go into creating this pantry/equipment/process chapter is obvious. You know? Don't you usually read this section?

Yeah, me neither. I want to look at the pretty pictures already.

But when I went to see family for Thanksgiving, I ended up going to a spice shop I've been wanting to check out for a while and subsequently dropped a fair amount of cash on some spices I've been having trouble finding (and some that I have never seen before but am so excited to use). And then I came home to our hap-hazard pantry with its crazy amount of beans and nearly empty boxes of pasta, and thought "This is no place for my spices!" So I cleaned out the shelves, reorganized everything, and took note of stuff that was about to run out, and I now have a well-oiled pantry machine. I didn't expect that it would have a profound effect on my efficiency and enjoyment of cooking, but it did! It is crazy! I have joined the Clean Pantry Cult and I am going to prosthelytize to anyone who will listen!!

One of these days I'll write a post on the things that are in my pantry (there will be pictures, promise), but let's talk about this flatbread for a moment. I get most excited by foods with flavor contrasts (salty/sweet, rich/bright, etc.), and I wanted to bring that kind of excitement to this recipe so that it didn't feel like an "I don't know what to make for dinner" kind of a meal (which it most definitely was). It worked sort of like this:

If I ever publish a cookbook, there will be a lot of Venn diagrams (which will probably break up the text a bit in my pantry section, which y'all had better read).

There are so many ingredients that fall into each of these categories (I even listed a few more than I put on the flatbread), so don't feel like you have to limit yourself to what I did, especially because the whole point of this thing is to utilize stuff you have on hand! Just grab a prepared crust or some pizza dough and something bright and fresh on your way home from work, and you'll have a tasty, simple, and homemade meal in the time it takes to order a pizza.

(A quick pantry tip: buy things that you use frequently every time you go to the store, whether you need them immediately or not! I do this with onions, sweet potatoes, and lemons, because I use them multiple times throughout the week, if not every day. And I'll usually also buy some arugula or spinach every week because a pop of green easily takes something from blah to beautiful.)

pantry flatbread

Makes 1 flatbread; serves 4 as a light main, or 6-8 as an appetizer/snack

Aleppo pepper flakes are different from the standard red pepper flakes you can find in the spice aisle, and they are certainly different from the packets that come when you order a pizza to go. Instead of punching the inside of your mouth with heat, these flakes are bright, tart, and pleasantly warming. I don't know if this reflects a level of quality, but the flakes I purchased are also just pepper flakes, with no included seeds. You can find them at specialty stores or online, and a little jar will last you for quite some time.

Also, keep in mind that this is not a pizza, so there is no ooey-gooey-cheesy base holding all of the ingredients on board. Some things will bake together, and some things will be looser. If you want a more cohesive flatbread, omit the olive oil that you drizzle over the dough and replace it with a generous smear of creme fraîche.


1 pound pizza or flatbread dough (I grabbed a container of prepared dough at Whole Foods)
olive oil
1 red onion, thinly sliced from top to tail
1/4 cup white wine (optional) or water
kosher salt
4 oz bacon, sliced into lardons
1/3 cup pitted kalamata olives, torn in half with your fingers
4 oz feta cheese (I used goat's milk feta)
flaky sea salt (I used Maldon)
a couple of handfuls of arugula
Aleppo pepper or other red pepper flakes


About an hour before you want to bake the flatbread, remove the dough from the refrigerator to proof and come to room temperature (it will bake more evenly and be much, much easier to work with).

Preheat your oven to 425˚F. Line a baking sheet with parchment paper.

Place a heavy-bottomed skillet over medium low heat, and add a generous swig of olive oil (enough to coat the bottom of the pan). Add the onions to the oil and sauté, stirring frequently, until they soften and begin to become translucent. Add the white wine and a pinch of kosher salt to the pan and cook for another 2-5 minutes, until the wine has evaporated and the onions are quite limp, but not falling apart. (Note: you do not need to caramelize them to a darker color unless that is what you want; I happen to like some of the brighter purple on the flatbread, and they'll get a little charred anyway during baking.) Remove the onions to a small bowl and set aside.

Place the pan back over the heat and add the bacon lardons. Cook, watching closely (and occasionally stirring), until the lardons are just barely cooked and beginning to get crispy edges. Remove the lardons to a paper towel-lined plate and drain.

Remove the pizza dough from its container and stretch with your hands, pizza parlor style. Don't worry about it being perfect or crazy-thin! Rustic looks best here, so just stretch it as much as you can without tearing the dough.

Place the dough on the parchment-lined baking sheet, and drizzle the dough with a little olive oil. Spread the onions over the dough, and scatter with the bacon and olives. Crumble the feta cheese over the bacon and olives. Gently press the toppings into the dough, just enough to help them stick to the surface while baking (not so much that the dough envelops them and they cannot be seen).

Bake at 425˚F until the dough is fully cooked and the onions at the edge of the dough are crisp and a little charred, about 20-25 minutes (check after 20 minutes). Remove from the oven and let cool for 5-10 minutes, then top with a couple of handfuls of arugula, and some generous pinches of flaky salt and Aleppo pepper flakes.

chiogga beet tart with ricotta, walnuts, and lemon thyme

autumn, breakfast, dinner, lunch, main dishes, spring, summer, vegetarianFieldandForest1 Comment
4j5a7882.jpg

I've rewritten this post a number of times. Each time has been a bit too verbose, a bit too flowery in waxing about the farmers' market, a bit too enthusiastic without really giving you the meat of the recipe. I mean, really. This is a tart. It's nothing we haven't seen before.

That said, this particular tart is a combination of one of Richard's favorite things, which is pie, and one of my favorite things, which is salad. I'm thinking "salad pie" sounds quite oxymoronic, not to mention sort of gross, so we'll keep calling this a vegetable tart. But really, the only reason why this tart is cooked at all once it is assembled is so that you can eat it hot. By all means, if your ingredients are still warm from cooking (or if you've cooked everything far in advance and are cool with eating your tart cold, salad style), you can feel free to fill up the tart shell with all of your goodies and immediately go to town.

Voila, veggie tart!

Chiogga Beet Tart with Ricotta, Walnuts, Caramelized Onions, and Lemon Thyme Makes 1 9-inch tart - Serves 6

Notes: A minimum 1-inch tall tart, quiche, or springform cake pan is recommended for this recipe to make sure your tart shell can hold all of the ingredients. Blind baking the shell is necessary as the ricotta is rather wet and the shell will not properly crisp in the oven if filled while unbaked. Be sure to read the instructions in full, as I gave them to you all mashed up together in the order in which I cook the various elements for the tart (I've emboldened the points at which various things are cooked, Joy of Cooking style, to try and clarify my process)! You can also always roast your beets, sauté your greens, and caramelize your onions ahead of time and then blind-bake your tart shell on the day you plan to bake your fully assembled tart.

3 pounds baby chiogga or yellow baby beets, with greens attached
olive oil
1 package all-butter puff pastry, such as Dufour, defrosted according to the package instructions (I'll often leave mine in the fridge overnight)
2 medium yellow onions, thinly sliced from top to tail
2 tablespoons butter
2 cloves garlic, minced
1/2 pound whole-milk ricotta cheese (basket ricotta is a good option, as it will be partially drained and less wet than normal ricotta)
1/2 cup coarsely chopped walnuts
2 sprigs lemon thyme or regular thyme, leaves removed from stems
kosher salt, to taste
flaky sea salt, such as Maldon, to taste

Preheat your oven to 400˚F.

Cut the greens away from the beets. Thoroughly wash both the beets and the beet greens, and set the greens aside. To roast the beets, place the beets on a large square of aluminum foil and drizzle with olive oil and sprinkle with a large pinch of kosher salt. Tightly wrap the foil around the beets, and place on a baking sheet to catch any juices that may leak. Roast in the oven for 30-40 minutes, until tender (I test this by piercing a beet with a paring knife).

While the beets are roasting, roughly chop the beet greens, and sauté them in a drizzle of olive oil in a heavy-bottomed pan or skillet over medium heat until they are wilted, but still quite bright green. Season with a pinch of salt, and remove from the heat, and set aside.
Wipe out the beet green pan, and place over medium-low heat to caramelize your onions. Melt the butter in the pan, and add the onions, stirring to coat them all in the fat. Cook, stirring occasionally, until the onions have softened and are translucent, about 15 minutes. Make a well in the center of your onions, add a drizzle of olive oil if the pan is dry, and add your minced garlic to the well. Let the garlic cook for 20-30 seconds, before mixing it into the onions. Add a large pinch of salt to the pan, increase the heat to medium-high, and cook, stirring occasionally, until the onions' color has reached a deep amber. Deglaze the pan with a little water to stir up any lovely caramelized bits on the bottom of your pan, cook for another 30 seconds or so, and remove the onions from the heat.
While the onions are cooking, check your beets. Once they are tender, remove the whole packet from the oven, and let them cool while still wrapped in the foil. Decrease the oven temperature to 375˚F for blind-baking your tart shell.

Flour a baking surface and roll out the puff pastry so that it can easily line a 9-inch x 1-inch tart or quiche pan. Drape the pastry over the pan, and press it into the bottom and sides of the pan. Use scissors or a bench scraper to cut the puff pastry just above the edge of the pan, so the pastry is slightly taller than the pan (it will shrink a little during blind baking, and this will help ensure that it doesn't end up too low in the pan). Place the lined pan on top of a baking sheet for easy maneuvering in and out of the oven.

Prick the bottom of the pastry all over with the tines of a fork. Line the inside of the pastry shell with a piece of parchment paper, and fill with pie weights or dried beans (this, plus the pricking, helps keep the puff pastry from puffing up during blind baking). Bake in your preheated oven for 25-30 minutes, or until the pastry is golden and crisp (start checking it at 20 minutes). Set aside.

Peel your cooked beets, and cut them into wedges. Lightly toss them in a little (1-2 teaspoons) of olive oil along with the lemon thyme.

To assemble your tart, spread the caramelized onions evenly over the bottom of the pastry shell. Spread the ricotta evenly over the onions, and top with the beet greens. Place the beets on top of the greens. Bake at 375˚F for 15-20 minutes, until the tart is hot. Remove from the oven and drizzle with a little more olive oil before sprinkling with a few good pinches of flaky salt. Let the tart sit for a couple of minutes before removing it from the pan and cutting into wedges. Serve hot, warm, or at room temperature.