FIELD & FOREST

autumn

pantry pea velouté with curry and lemon

autumn, soups, spring, summer, vegetarian, winterFieldandForestComment

This week has been a flurry of travels, family time, dog adventures, stresses, cooking, and happiness.  And then, like that, we slowed things down for just a moment and I woke up sniffly and headachy and car-runneth-me-over-y.  I am not very good at caring for myself when I am sick; I am better at caring for others, by way of soup, tea, entertainment (in the form of 2nd grade-level jokes and/or interpretive dance moves), and collaborative movie-watching.  When I am sick, there is little I feel like doing other than couching-it hardcore, eating toast, and watching reruns of Gilmore Girls.

Those kinds of things are cathartic, and they also help you forget that you are in a house which is lacking in groceries and general stuff that makes sick people better.  This makes for a sad 5 minutes of shuffling around the kitchen while wrapped babushka-style in a blanket. But, after a little scrounging, maybe you find a bag of frozen peas.  Some butter.  An old onion, and a little curry powder. Plus a lonely fridge lemon. And you think, hey, I could totally make soup with this.  So you do. And it kind of rocks.

And you feel better.

(And you call your soup "velouté" because it helps you to feel fancy in spite of your red nose and raging case of bedhead.)

Pantry Pea Velouté with Curry and Lemon
This recipe is very loosely based on an amazing soup that my Aunt Diane makes regularly.  Her version has half-and-half, but I've made it before with whole milk or coconut milk (so creamy, so vegan) and loved it just as much.  Dealer's choice on this one.  Also, apologies in advance for all the notes by the ingredients, though I hope they make you confident in your ability to make this soup since apparently you can forget almost 30% of the ingredients and have it still be awesome.

2 tablespoons butter, ghee, or coconut oil 1 onion, finely chopped
2 tablespoons all-purpose flour (omit if making GF)
1 tablespoon curry powder
4 cups chicken stock, vegetable stock, or water (I used water this time, which gives you a clean, bright soup, albeit with less depth)
1 large pinch kosher salt
1 large pinch sugar (optional; I forgot to add this, and I didn't really miss it... though keep in mind my nose is stopped up)
1 pound frozen peas (equivalent to 1 bag)
1/2 pound frozen spinach (again, I forgot this... whoops)
1/2-1 cup half-and-half, whole milk, or coconut milk (yup, didn't add this either)
lemon juice, to taste


Melt the butter, ghee, or coconut oil in a pot over medium-low heat.  Add the chopped onion and sauté, stirring occasionally, until the onion softens and becomes translucent (5-7 minutes).  Add the flour and curry powder to the onions, and stir continuously for a couple of minutes while the flour cooks.  Add a little stock or water and stir up any flour stuck to the bottom of your pan, then add the rest of the stock, the salt, and the sugar (if using), and let everything simmer for 5 minutes.

Add the frozen peas and spinach (if using) to the pot, and let everything simmer for 15 minutes.  Take the pot off of the heat, and purée the soup using a stand blender or immersion blender.  Add the half-and-half, whole milk, or coconut milk, and stir to combine.  Taste soup, and add lemon juice for brightness and additional salt if necessary.

Optional garnishes - I've had this with buttered croutons (amazing), creme fraîche (amazing), and lemon yogurt (yummmmmy).  The soup in the picture is topped with yogurt mixed with a little lemon juice and some piment d'Espelette for color and a smidge of heat (just in case you were wondering!).

roasted vegetable soup with brown butter and sage

autumn, soups, vegetarian, winterFieldandForestComment

I am a soup person 365 days out of the year, but if I had to limit my intake to one season, it would be winter. There is a place in my heart that goes soft for homely cabbages and cauliflower, and especially so for squash. While summer vegetables like tomatoes tend to play a harmonic role in soup, with a constant, identifiable presence, winter vegetables are melodic and subtle and infinitely supportive of complex flavors.  They can be gently nudged towards sweetness, or given immense savory depth.  I especially love swirling bright green, herby oils into creamy squash soups, a crucial addition to help stave off my longing for spring.

The following recipe is based on the classic flavor trio of butternut squash, browned butter, and sage, but the soup itself is basic enough that it can be drastically altered by the garnishes and flavorings.  I've included a few ideas below, and I would love to hear the ways in which you choose to enjoy this soup yourself.  But if I may offer a suggestion, I think you should make the sage breadcrumbs regardless of whether you plan to use them on the soup.  They keep for weeks, though they probably won't last very long since, if you're like me, you'll want to sprinkle them over everything.

Roasted Vegetable Soup with Browned Butter and Sage
serves 4-6 as a starter

1 butternut squash (weighing about 2 pounds), peeled and cut into large (1 1/2-inch) chunks
4 small parsnips, peeled, cut into 1 1/2-inch chunks
1 cauliflower, cut into florets
olive oil
3 tablespoons butter
1 onion, diced
2 cups sliced leeks (roughly 2 medium leeks; once sliced, rinse thoroughly to remove any grit, then drain before using)
lemon juice, to taste
salt, to taste

For the garnish:
A small knob of butter (1 1/2 - 2 tablespoons)
1 cup fresh breadcrumbs
2 tablespoons chopped fresh sage + 12 small fresh sage leaves
osher salt


Preheat the oven to 400˚F.  Line two baking sheets with parchment paper.  Place the butternut squash and parsnips together on one baking sheet, and drizzle with olive oil.  Place the cauliflower florets on the second baking sheet, and drizzle with olive oil.  Put both baking sheets in the preheated oven, and roast, turning occasionally, until the vegetables are fork tender and beginning to turn golden brown (20-30 minutes).

Meanwhile, heat the 3 tablespoons of butter in a large pot over medium-low heat, and add the onions and leeks.  Cook slowly, stirring frequently, until the onions and leeks are soft, translucent, and taste mellow and sweet.  Add the butternut squash, parsnips, and half of the roasted cauliflower (reserve the rest) to the onions and leeks, plus a pinch of salt, and pour in enough cold water to just cover the vegetables.  Bring to a simmer, and cook for about 10-15 minutes to further soften the vegetables.

Once the vegetables are soft, turn off the heat and purée the soup using a stand blender or immersion blender.  Add additional water if necessary to create a soupier consistency, and season to taste with lemon juice and salt (you should not be able to taste the lemon juice, but it will brighten and heighten the flavors of the soup, as will the salt).  Divide soup among bowls.  Garnish with the sage breadcrumbs, reserved cauliflower, and fried sage leaves, and serve immediately.

For the sage breadcrumbs: heat most of the butter in a small frying pan over medium heat, and add breadcrumbs.  Cook, stirring frequently, until breadcrumbs color and begin to turn golden brown.  Scoot the breadcrumbs over to 1 side of the pan, add a small pat of butter to the empty space, and add the chopped sage leaves.  Let fry in the butter for a minute, then mix them into the breadcrumbs.  Season with a good pinch of salt, and remove to a dish to stop the cooking.  The breadcrumbs may be made in advance and stored in an airtight container in a cool, dry place.

For the fried sage leaves and browned butter: heat butter in a small frying pan over medium heat.  Cook for a few minutes, paying attention when the butter stops foaming and begins to brown.  Keep cooking for a few more minutes until the butter approaches a golden brown color, then add the sage leaves.  Fry the sage leaves in the butter until they stiffen and crisp, but are still a bit green (they will darken a little).  Remove leaves to a towel or paper towel lined plate, and continue to cook butter until it reaches an amber color.  Immediately take butter off of the heat, and remove to a dish to stop the cooking.  The sage leaves and butter may be made a few hours in advance; gently reheat the butter on the stove or in a microwave before using it to garnish the soup.

Other ideas for garnishes/additions: Roasted chickpeas, yogurt, and harissa Toasted pepitas, salsa verde, and crema Toasted walnuts, fried sage, and crumbled goat cheese

4J5A1420
4J5A1420

easie's refrigerator rolls

autumn, breads, spring, summer, vegetarian, winterFieldandForest3 Comments
4j5a1333.jpg

I can understand if you think we're all about the pancakes and bread and cookies and rolls in this house. (I'm looking at the past few weeks of posts myself and thinking, phoo, that's a lot of carbs!)  That's actually not the case, and I fully intended to give you a vegetable-rich dish this week, but I'm willing to risk a bread-heavy reputation in order to get you these rolls in time for Thanksgiving.

Easie's refrigerator roll recipe was gifted to my mom by a very generous friend, and they have since become the stuff of legend among members of our family.  They have been present at Thanksgiving every year for at least the past decade.  They are what I think of when I hear the word "cakebread;" the shortening and sugar make them tender and sweet, and they are light enough that you can eat 3 of them and still feel confident in your stomach's capacity for pie (and believe me, you will eat 3 of them). If you are curious about the shortening, I tried making them with butter and ended up with a tasty, but somewhat denser result.  So I would like to play a devil's advocate card and encourage you to use shortening if possible, especially if you're like us and will only make this recipe once a year.

If you defy the laws of the universe and end up with leftover rolls, send them to me (!!!) or enjoy them with butter and jam for the next morning's breakfast.

Easie's Refrigerator Rolls
Adapted from Tre's recipe - Makes 60 small rolls (cut with a 1 1/2 inch biscuit cutter)

A few dough-rising notes: the time the dough spends in the fridge makes it rise VERY slowly.  You may be confused or concerned in the apparent lack of yeast activity, and you're not alone.  As long as you know the yeast was alive after you added it to the milk, sugar, and flour (i.e. you saw it bubble up after a couple of hours), you should be in a good place with the dough.  Give yourself enough time to let the dough rise the day of your Thanksgiving dinner by taking it out of the fridge when you wake up in the morning.  It can hang out for a few hours while you prep other dishes before it needs to be rolled out and cut.

2 cups milk
1/2 cup sugar
1/2 cup Crisco
1 package active dry yeast (2 1/2 teaspoons)
About 6 cups flour
1 teaspoon salt
1 heaping teaspoon baking powder
1/2 teaspoon baking soda

In a saucepan over medium-low heat, gently heat milk, sugar and Crisco just until Crisco melts, stirring occasionally.  Set aside to cool to 105-110 degrees F (if you don't have a thermometer, cool until it is barely warmer than room temperature).  Once cooled, add 1 package yeast to the mixture and stir to dissolve.  Add enough flour to make a thick batter (about 2 cups flour), and transfer the mixture to a large bowl.  Cover and let stand in a warm place for 2 hours; it should begin to rise and bubble.

In a medium bowl, whisk together the salt, baking powder, baking soda, and 3 1/2 cups of the remaining flour.  Add the flour mixture to the milk mixture and mix to combine.  It is not necessary to knead this dough, but bat it while adding the flour.  If the dough is wet or sticky, add the remaining 1/2 cup flour.  Place dough in refrigerator, covered, overnight.

Remove in the morning to bring up to room temperature (this will take 2-3 hours).  Roll out on floured board or wax paper.  Cut into rounds with a 1 1/2 inch biscuit cutter, and place on a parchment-lined baking sheet; space them according to how soft/browned you'd like them to be (1/2 inch apart for soft, light-colored sides, 1 inch or greater for more all-over browned rolls).  Cover and let rise in a warm place 2 1/2 hours.

While the rolls are rising, place a rack in the top third of your oven and preheat the oven to 400˚F.

Bake the rolls for 10-12 minutes, or until the tops are beginning to brown (placing the rolls closer to the top of the oven will encourage faster browning).  Place in a napkin lined basket or bowl to keep warm.  These rolls are best enjoyed the same day they're made.

concord grape and rosemary focaccia

autumn, breads, breakfast, desserts, vegetarian, winterFieldandForestComment

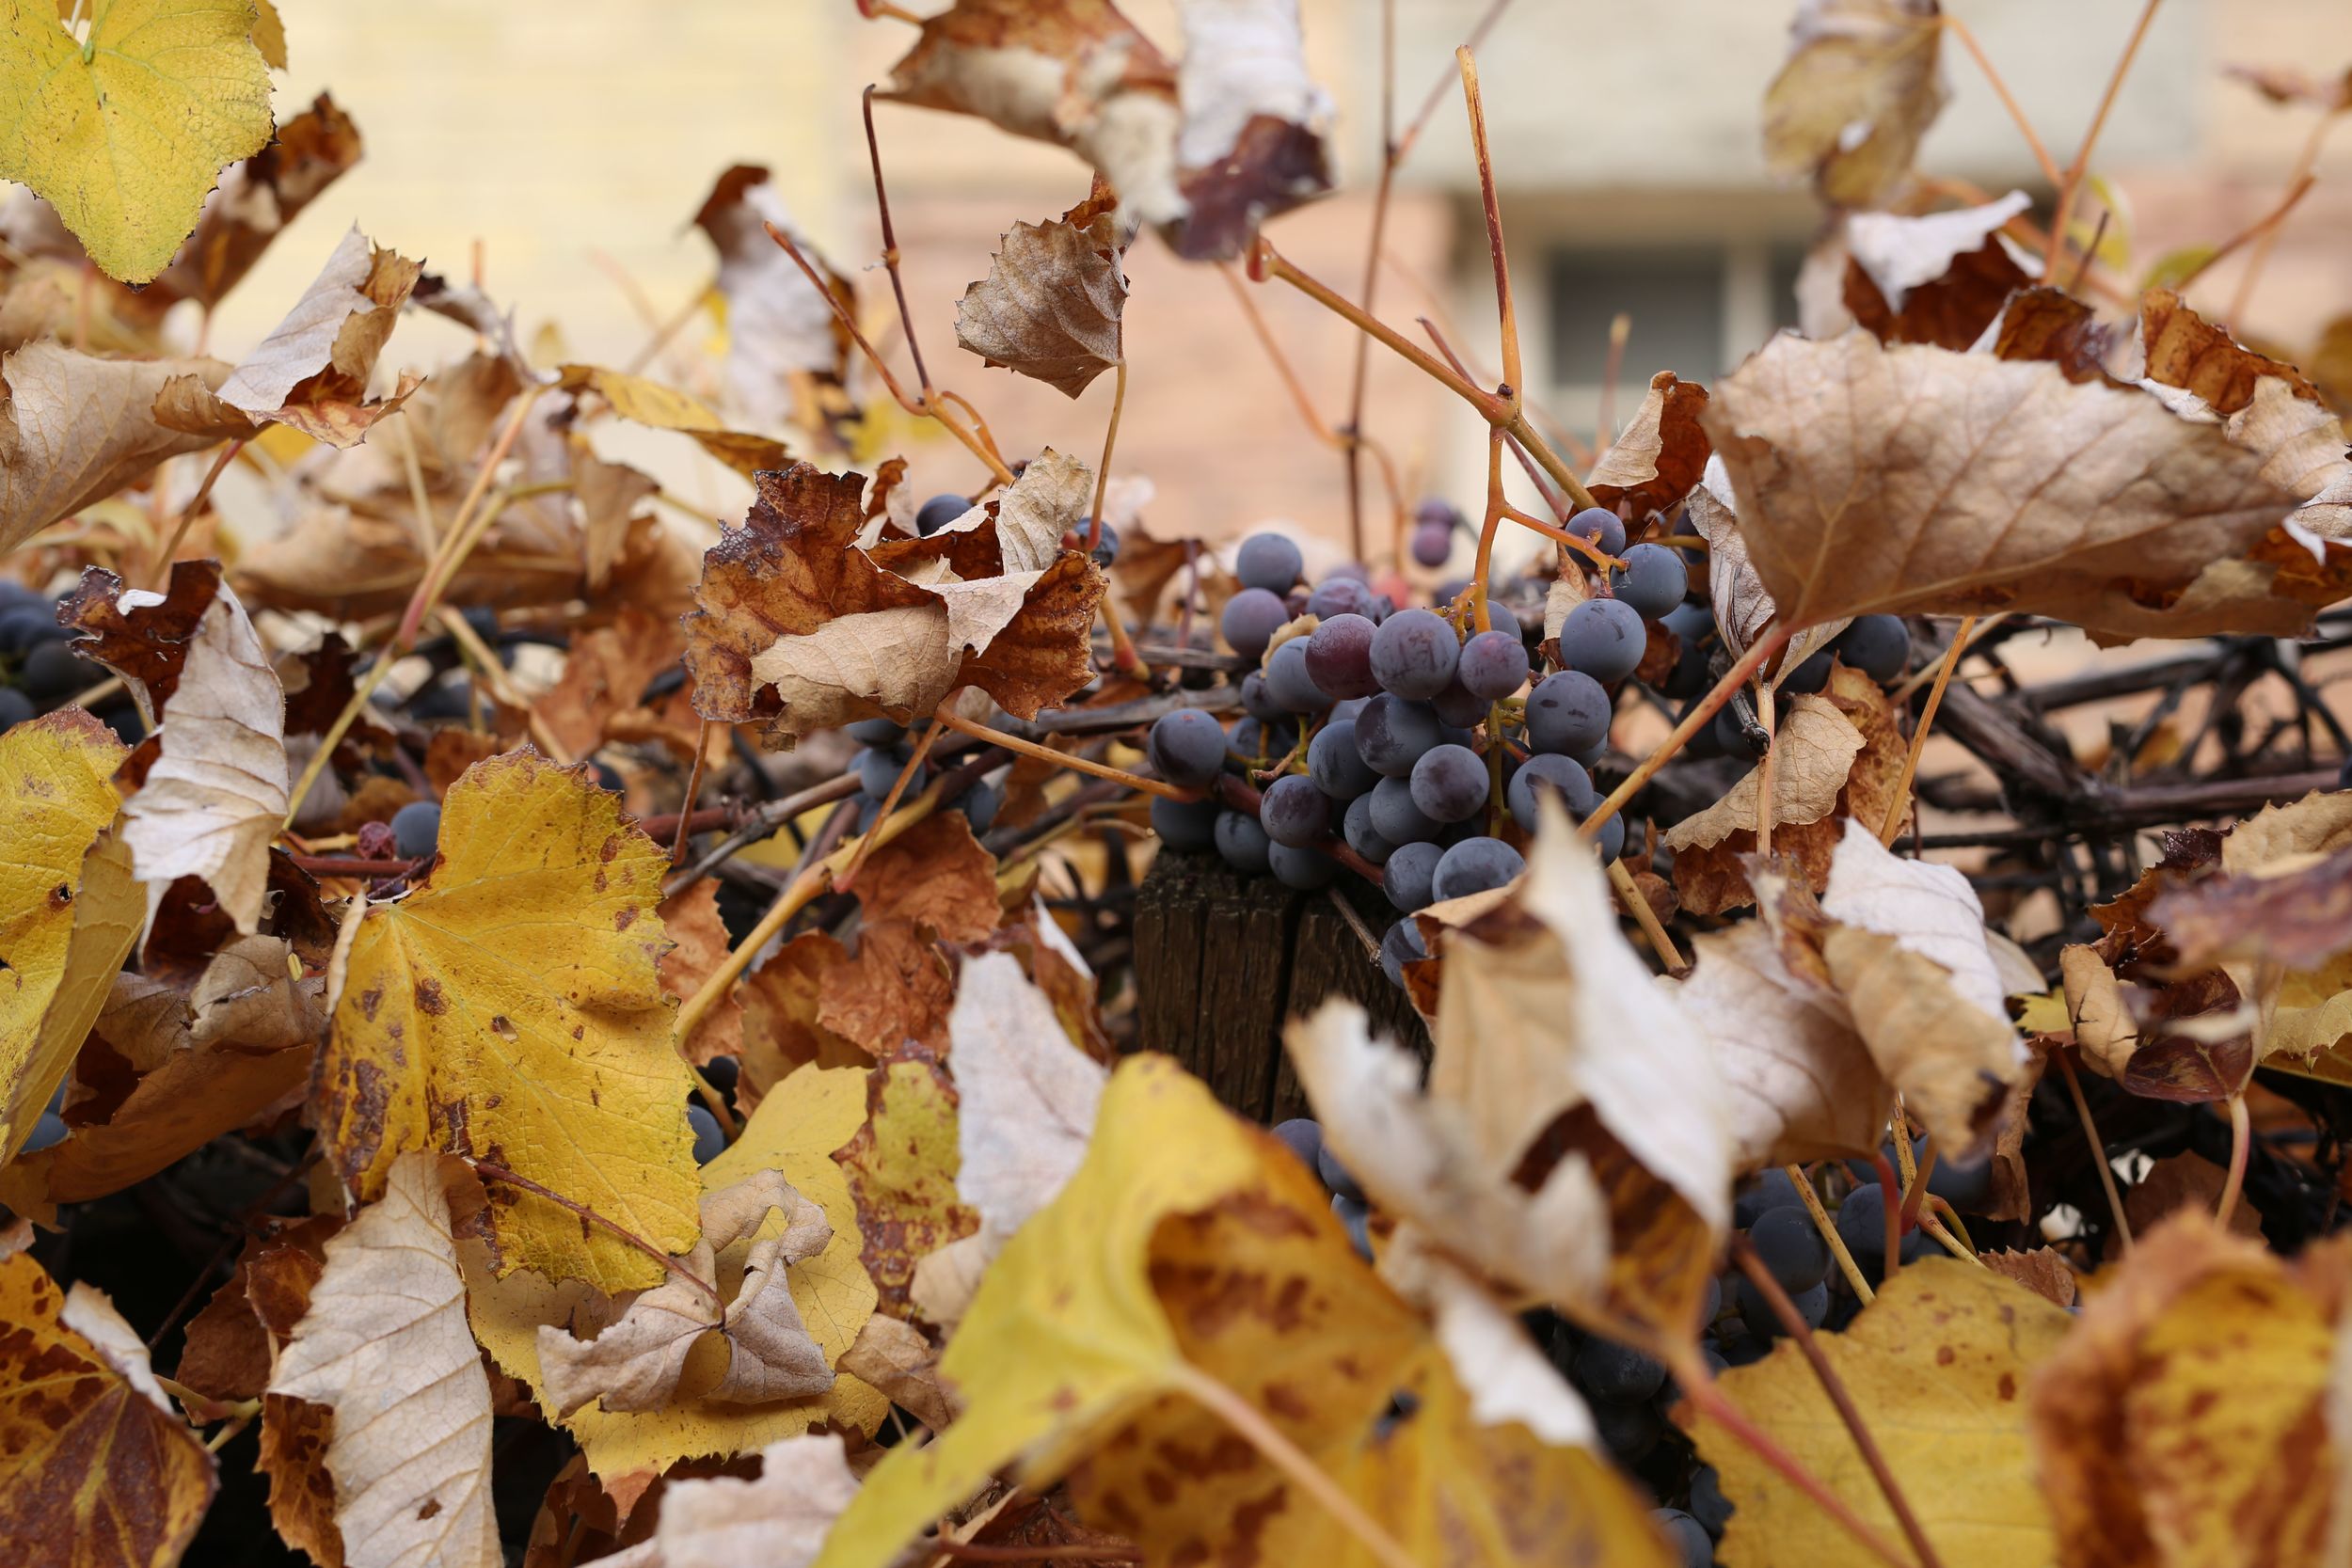
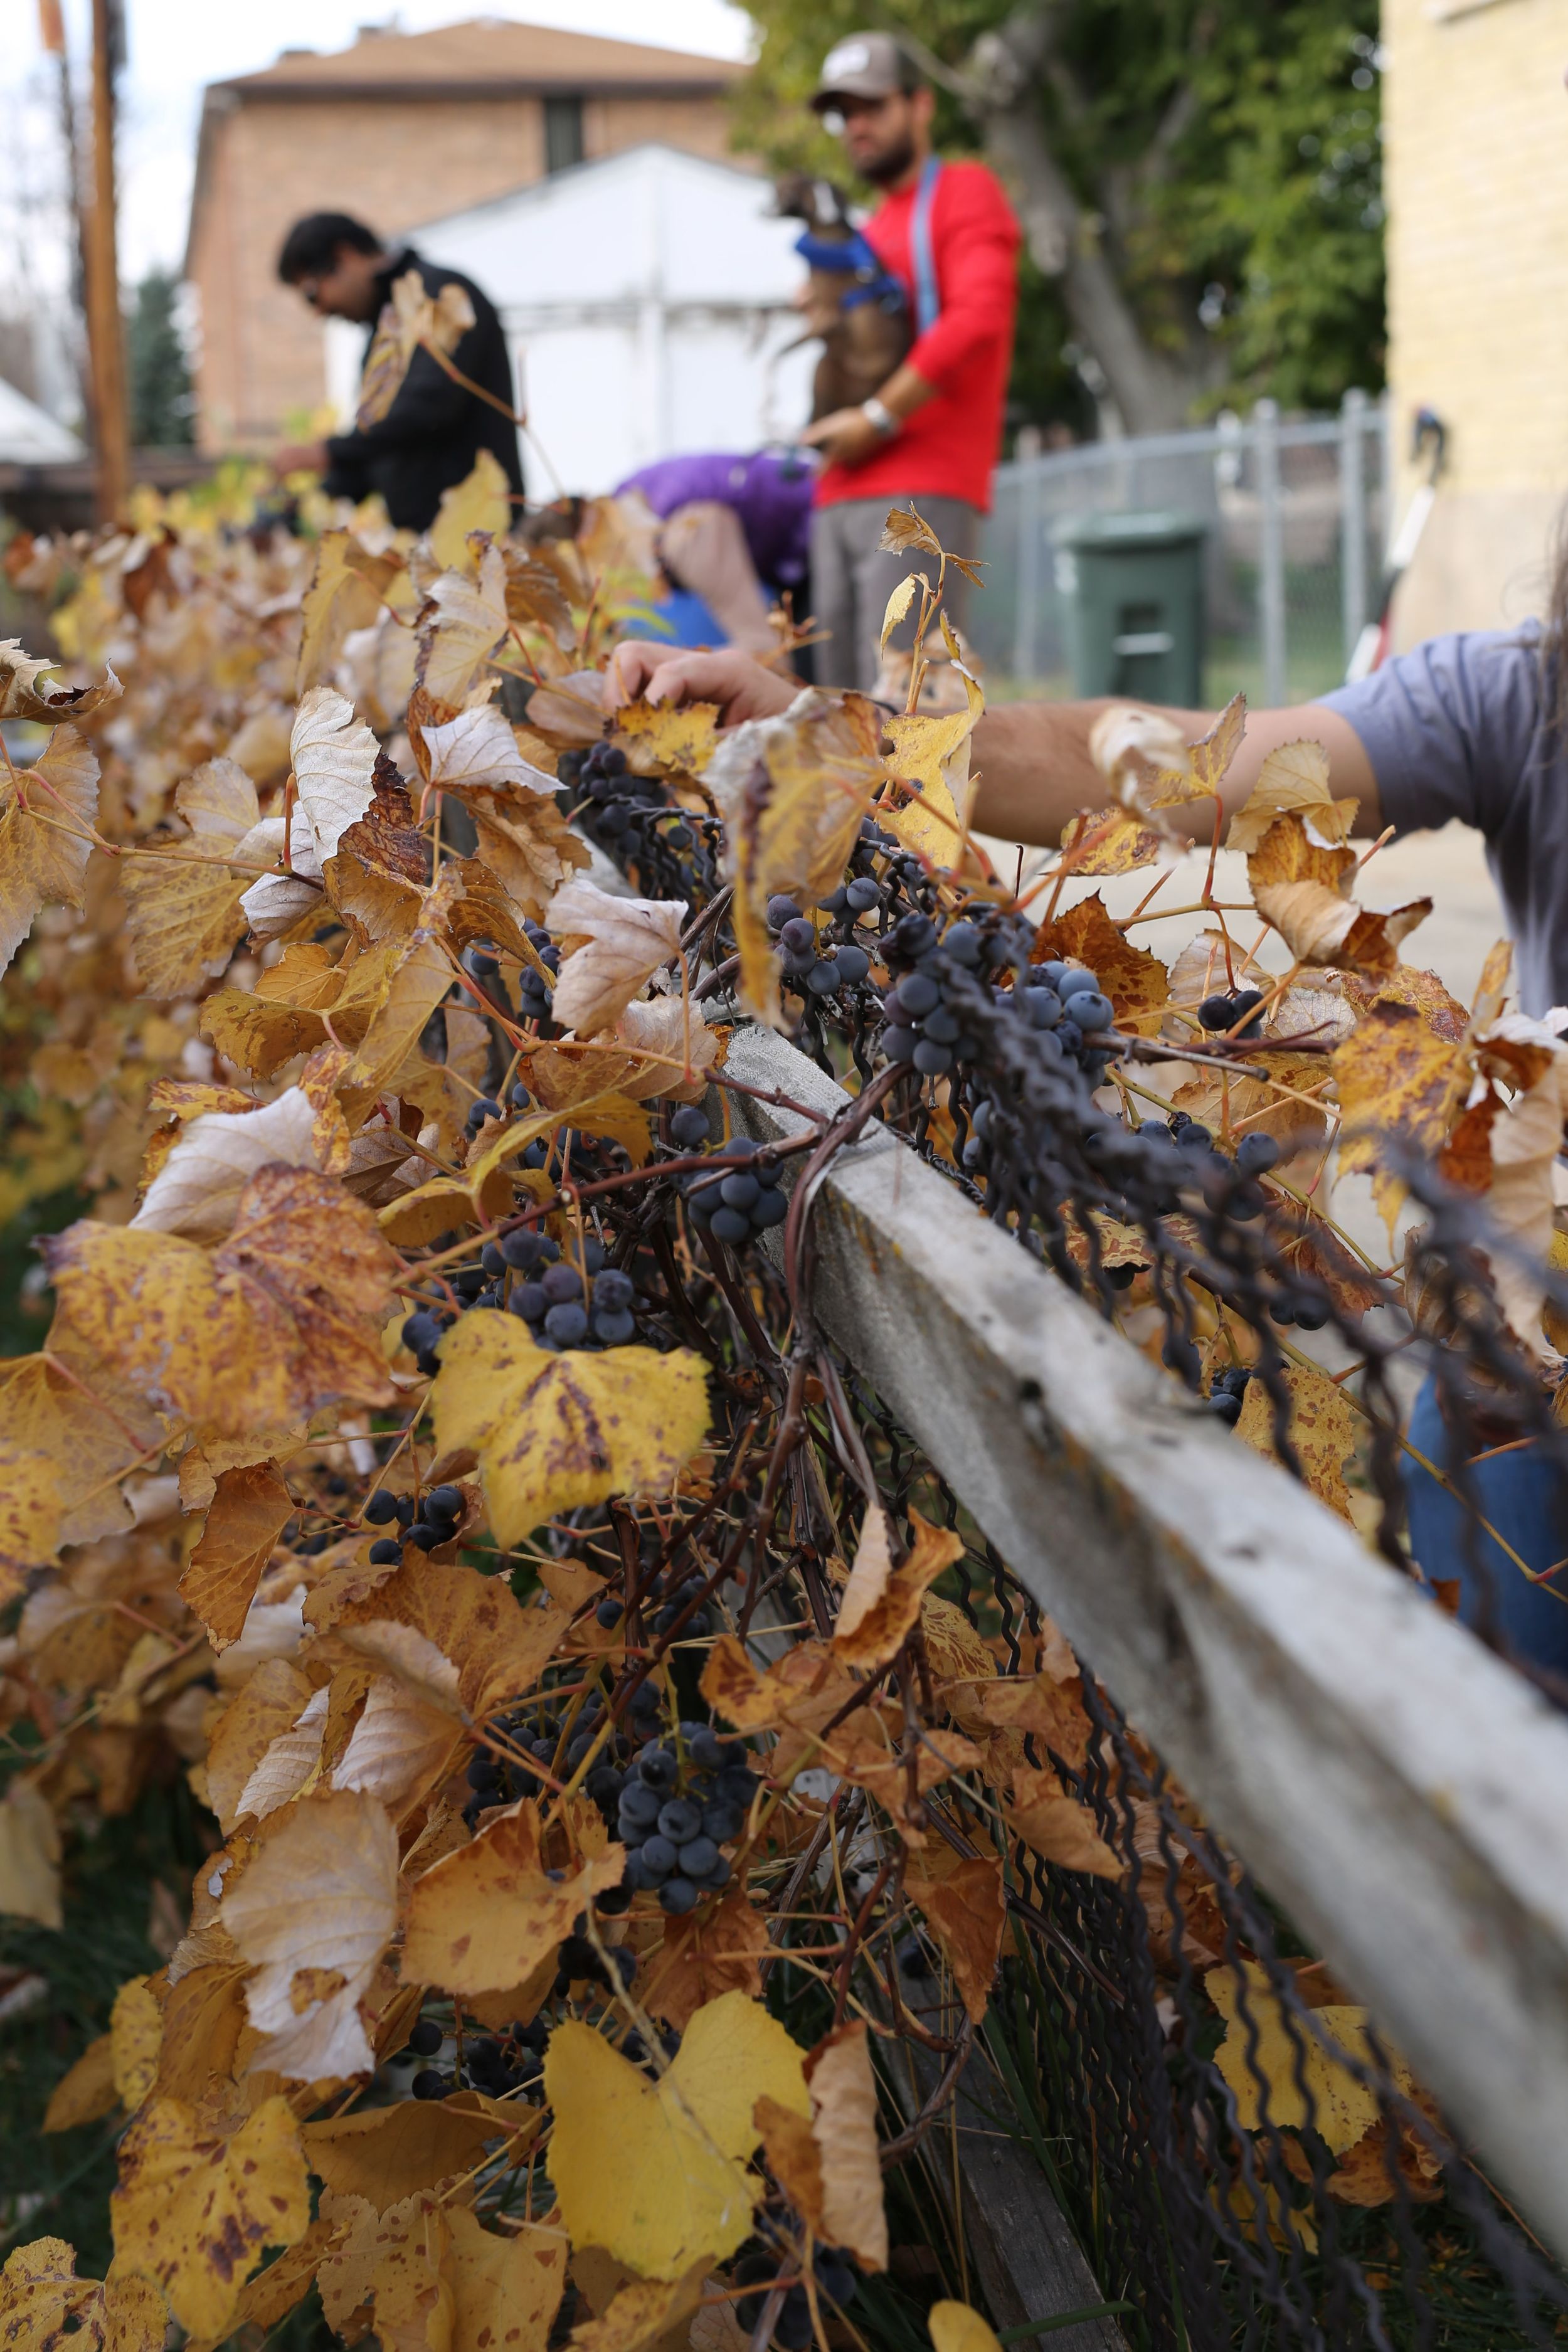
It is rare to walk a block in Salt Lake City without passing a grape vine or two draped over a fence or stealthily climbing a tree. Grapes grow well here, and are one of the first plants to offer an abundance of foliage in the spring. I think, for that reason, they’ve become a popular choice for home gardens since it seems like we’re all starving for something lush and green after months of brown earth and snow. They also produce plenty of fruit, more than most people can consume on their own, which is why some will reach out to the grapeless and invite us to help (and eat). There is now a palpable sense of urgency to rehome fruit since we don’t know when the first snow will arrive; the window for picking some varieties will close following a deep freeze as their skins will crack and burst as their cells expand in the cold.

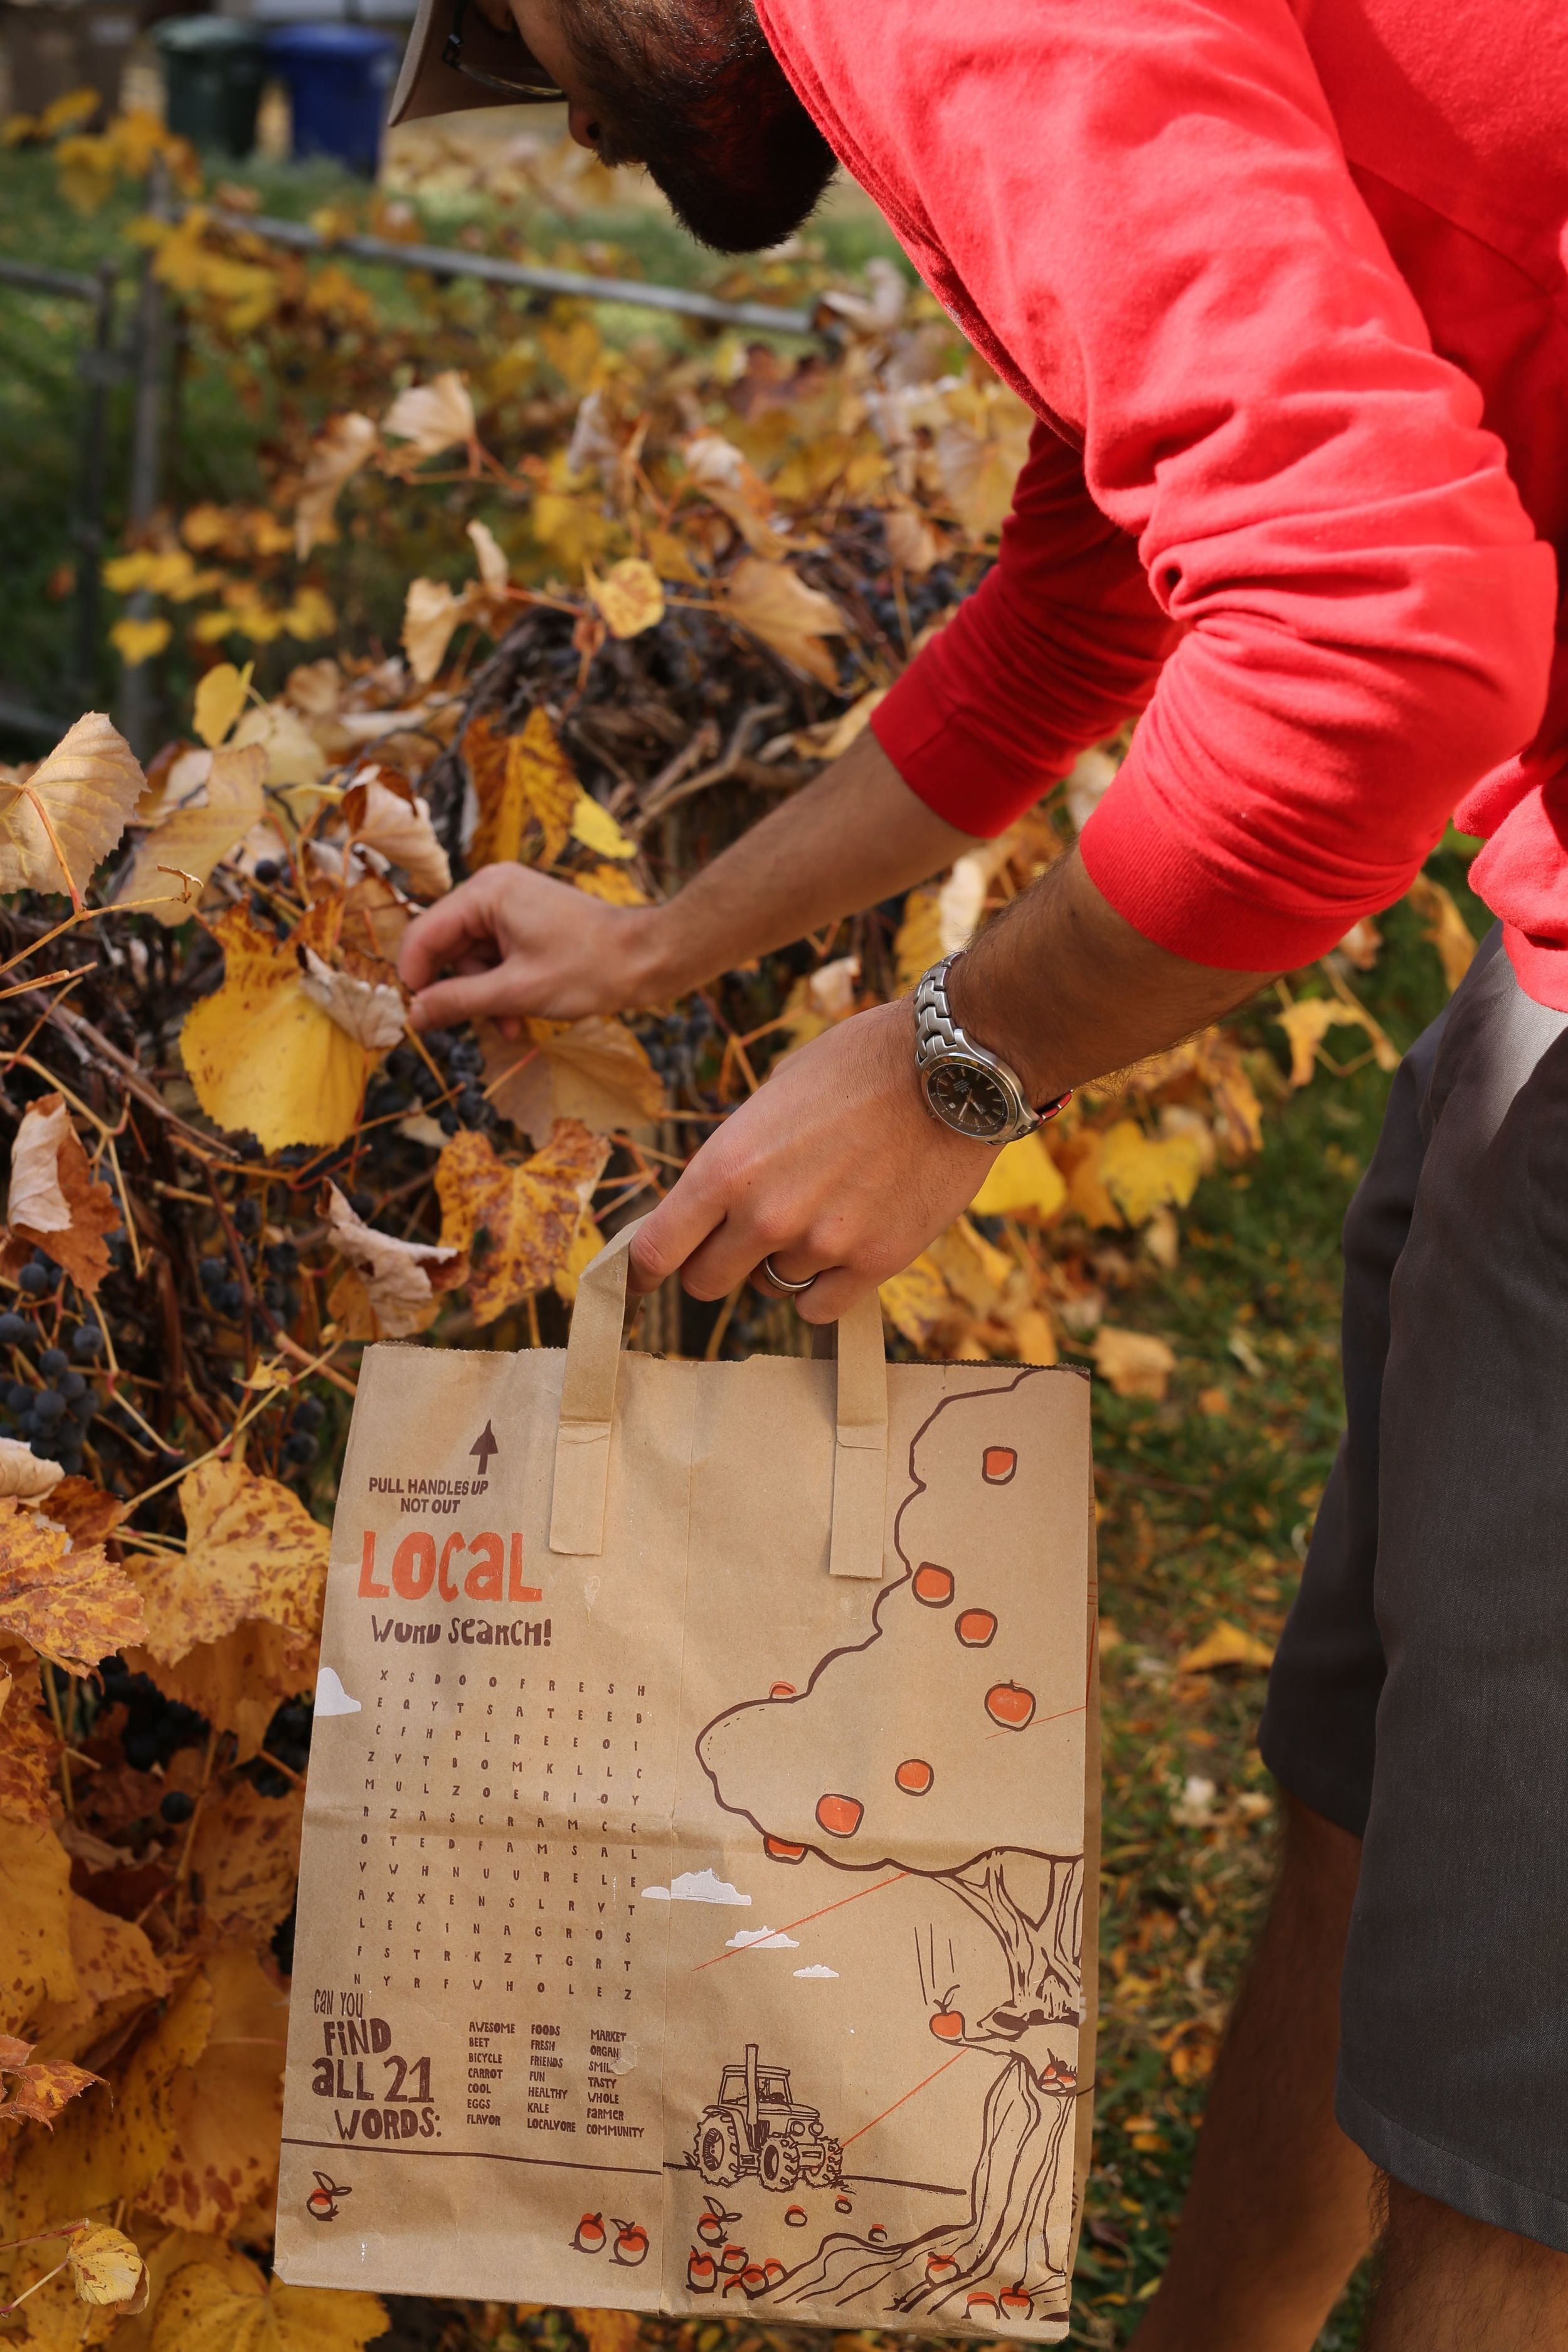
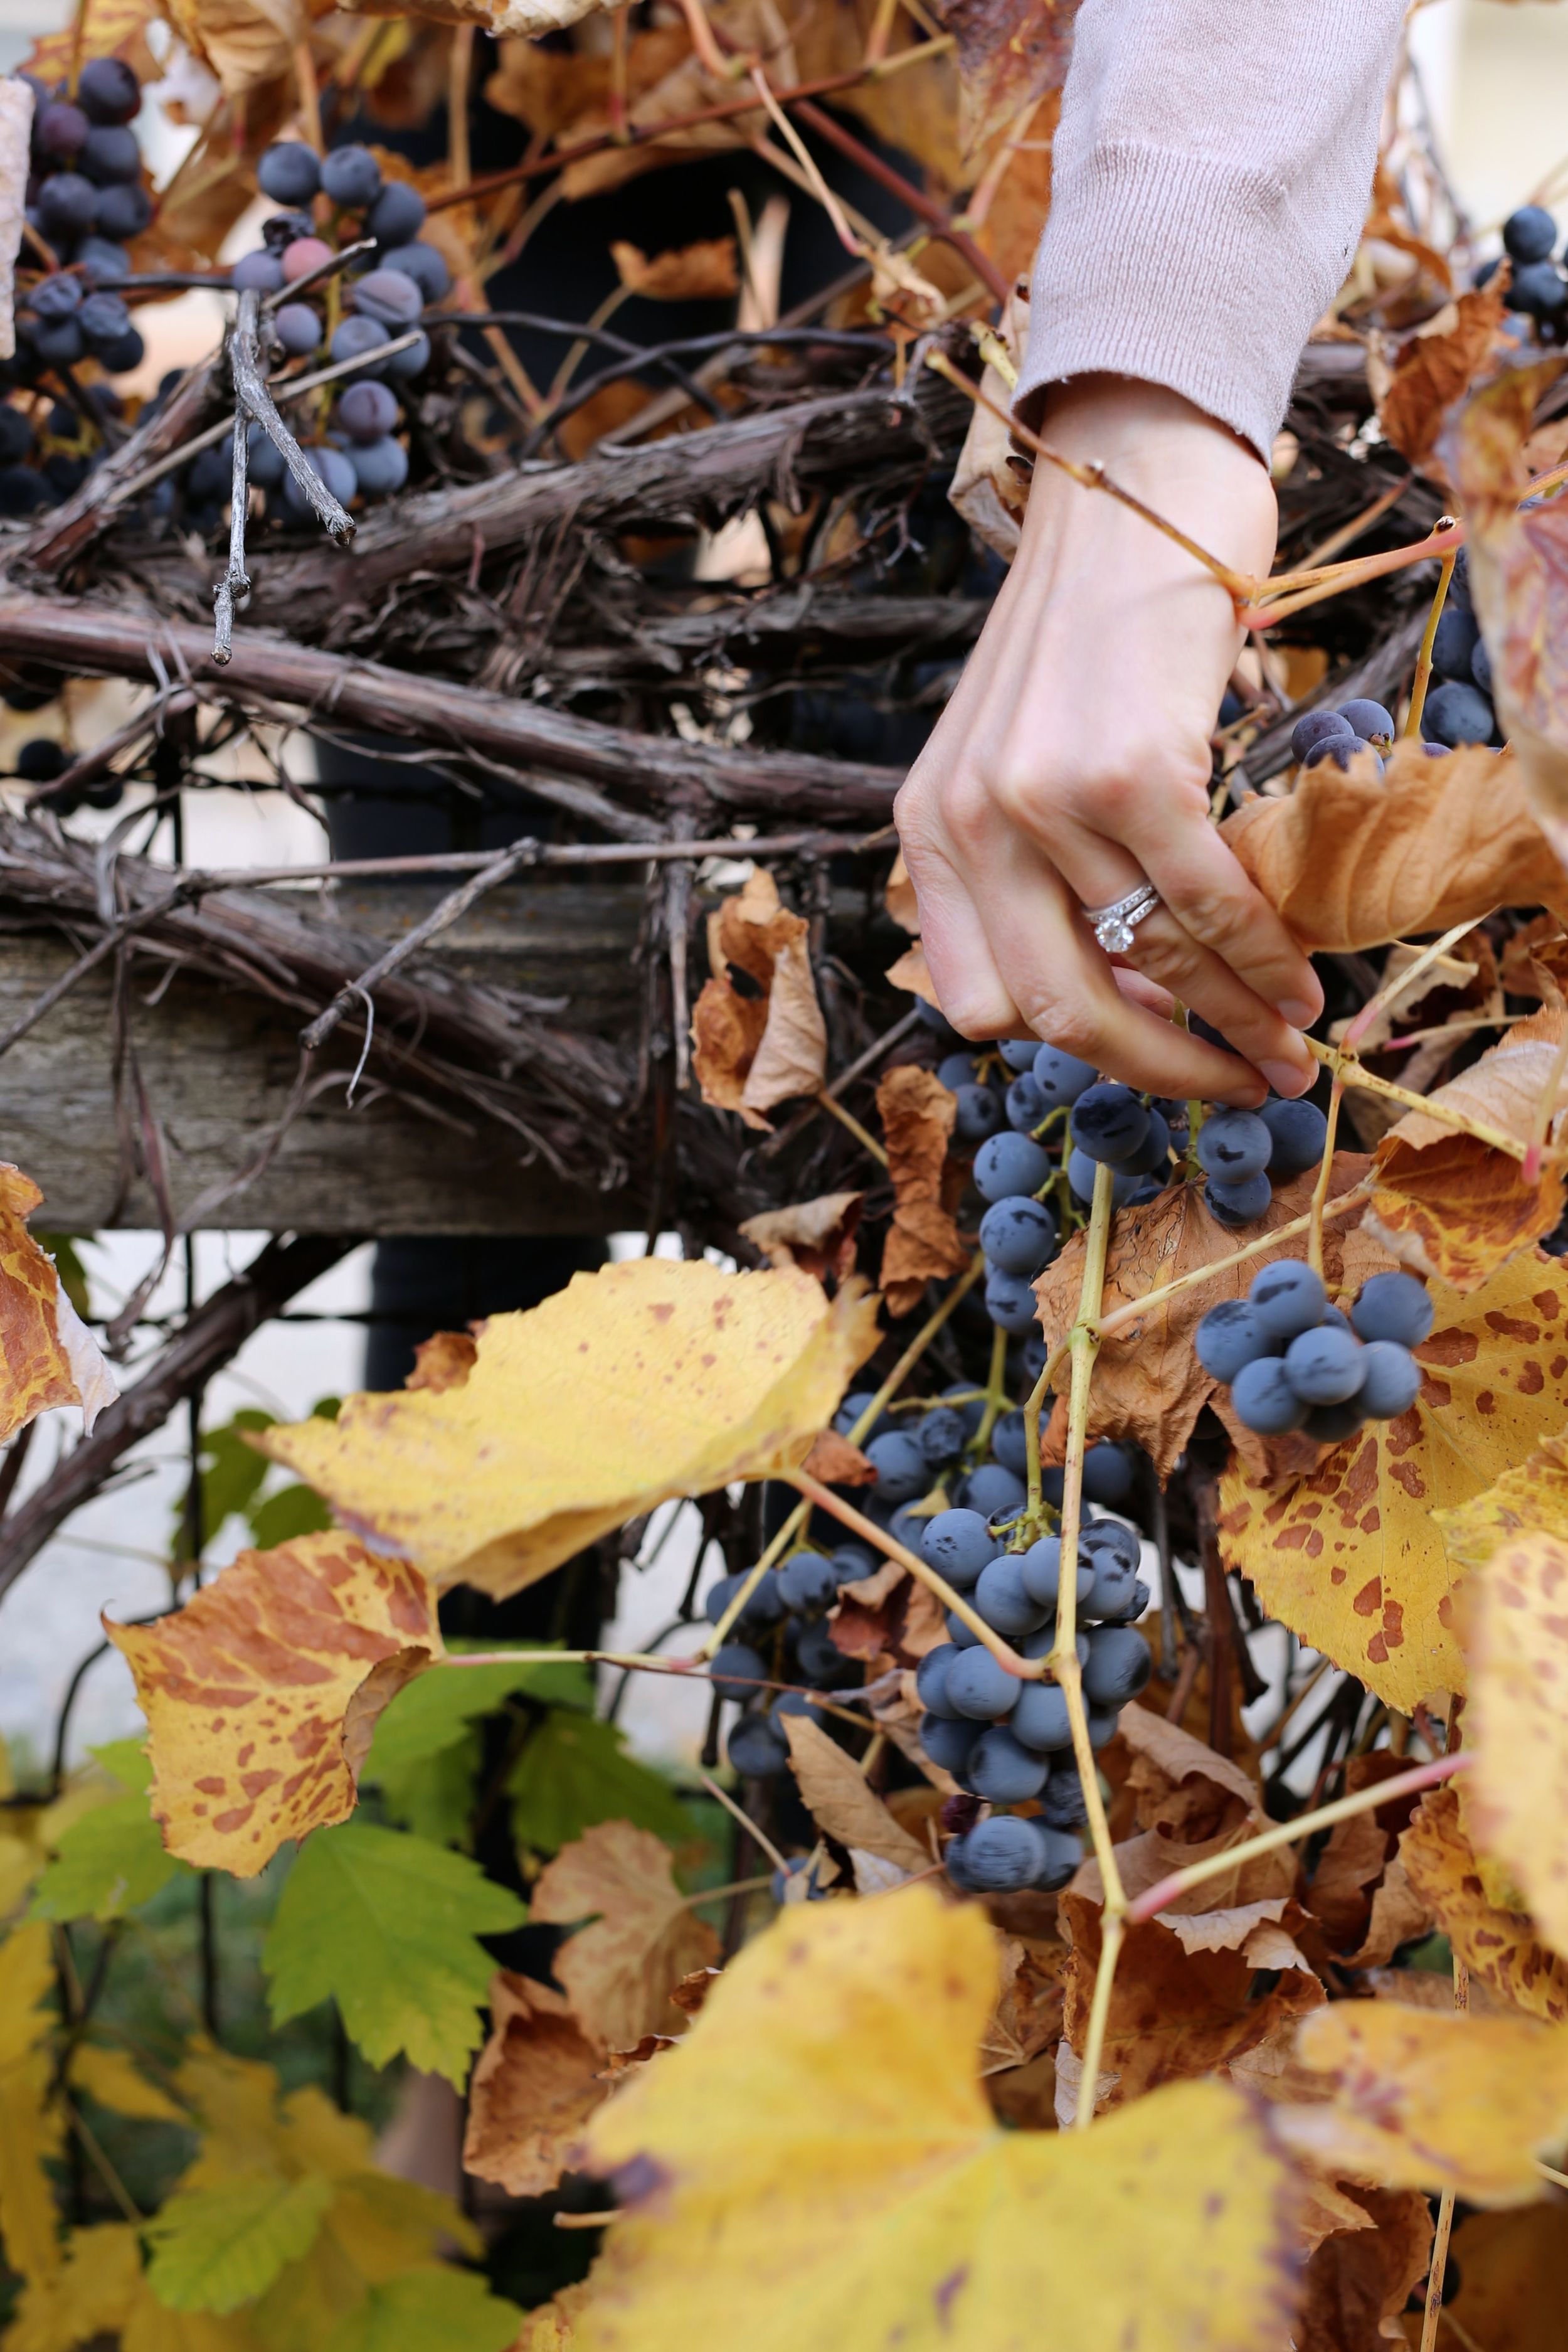
But there are indeed some silver linings to the end of the season. The leaves have now all shriveled on the vines (products of dwindling temperatures and two lightening-fast freezes over the last month), and it seems almost unfair how easily one can see exposed fat bunches of grapes. You would only need to stand next to the vine with your eyes closed and reach towards it to feel the hundreds of fruits waiting to be picked. We moved up and down the fence, gently snapping stems, greedily dropping the grapes into bags that quickly became heavy and juice-stained. We stopped after twenty minutes, embarrassed that maybe we had taken more than our share and already realizing that we had no plans for the poundage now in our possession. But I daresay that, had you visited the vine after we left, you would have been distracted by the remaining fruit and would never have known we were there.

If you’ve ever looked at recipes involving grapes, you might wonder why some specifically call for Concord grapes. I think experiencing their flavor is the only way to truly understand the reasoning. They are so very… grapey. Eat one (if you haven't already) and I think you’ll agree. I have heard people say that they just do not like Concord grapes, and while I enjoy them, I understand how they might feel that way. They are a gamey fruit, with a sharp, unmistakable flavor and robust, matte skin. We have small vine in our own garden, next to a separate vine of a pale green grape (Thomson Seedless, perhaps?) that offers tiny fruits with delicate skins; while the Concord grapes are almost offensively flavorful, eating the lighter grapes is akin to biting into bubbles of perfume. They are the suckling pig to the Concord’s wild boar, and more of a crowd pleaser, I think. But they do not hold up well to cooking, and are best consumed off of the vine (or out of the bag).

If you cannot find Concord grapes or don’t want to use them, a seedless red variety will do well here. Use grapes that are relatively firm when gently squeezed; aging grapes  that are beginning to wrinkle will give you more of a raisin effect when baked. If you choose to use a seeded variety and remove the seeds yourself, give yourself an extra half-hour to do so and only serve this bread to people you really like.

 Concord Grape and Rosemary Focaccia
Adapted from Ripe, by Nigel Slater - makes 1 loaf
(Richard would like you to know that this is one serving, though Nigel claims it can serve up to eight)

3 1/4 cups white bread flour or all-purpose flour
1 teaspoon fine sea salt or table salt
1 tablespoon white sugar
2 teaspoons active dry yeast
1 1/2 cups warm water (105-115˚F or just barely warm to the touch)
4 tablespoons olive oil, divided
14 oz concord grapes, halved and seeded, divided
1 tablespoon pearl sugar
large pinch flaky sea salt, such as Maldon
1 teaspoon finely chopped rosemary
little confectioner's sugar


Line a sheet pan with parchment paper and set aside.

Combine the flour and salt in a large bowl.  In a small bowl, mix the yeast and sugar into the warm water, and set aside for 5 minutes (this is called proofing, and allows you to make sure that your yeast is alive).  You should start to see little bubbles on the surface of the mixture after a few minutes; this means the mixture is active. (If you don't see bubbles, your yeast may have expired, or your water may have been too hot.  Check your yeast's expiration date, and try again with new yeast and fresh water).  Once your yeast has proofed, add the mixture to the flour and salt along with 1 tablespoon olive oil, stir with a wooden spoon, and turn out onto a generously floured board and knead lightly for 5 minutes.

Once the dough feels elastic and "alive," put it into a lightly oiled bowl and cover with a damp tea towel (this creates a humid environment to help support yeast activity and keep the dough from drying out) and set in a warm place to rise.  It will take approximately one hour to double in size.  (If you haven't already prepped your grapes, now is an excellent time to do so!)  Once the dough has doubled, punch it down gently to release some of the air.  Add half of the grapes to the dough (while still in the bowl) and gently knead them in until they are evenly distributed.  Tip the dough out onto the parchment lined pan, and shape into a flat circle.  Pock the surface with your fingers, like you are playing piano on the dough, and scatter over the remaining grapes.  Cover the dough with the tea towel and return to a warm place to rise.

Preheat the oven to 425˚F (220˚C).  Once the dough has expanded to almost twice its size, drizzle over the olive oil, and scatter with the pearl sugar, salt, and rosemary.  Bake in the middle of the oven for 30-40 minutes, until well-risen and golden brown.  The focaccia should feel springy when pressed.  Leave to cool slightly before dusting with confectioners' sugar.  Cut into thick wedges and serve warm.

Notes on making this ahead of time:  Focaccia is best eaten within a few hours of baking, and will lose its magic when stored overnight.  If you cannot complete all of the steps in a single day, make the dough, place in the oiled bowl, and store, covered, in the fridge to rise overnight.  Let the dough come to room temperature for 1/2 an hour in the morning before kneading in the grapes and shaping it for the second rise.  You may again store the dough in the fridge for the second rise if necessary, letting it sit out of the fridge for 1/2 an hour before baking.

remedy wassail with lemon, orange, and ginger

autumn, drinks, vegetarian, winterFieldandForestComment

My throat started itching today.  Just a little, but enough for me to notice and think "Whoa, there, let's nip this in the bud before it turns into something else."  I've been trying to take note of how I am feeling physically this week, as things are very (very) busy in our lives and my body has a tendency to go-go-go-STOP when I let things like sleep and exercise slide.  Which I have, so itchy throat mystery solved.

I've taken a leaf out of my friend Bryan's book and made a batch of wassail to keep in the fridge and heat up when I need a quick boost. (Hi, confused Jewish friends! You probably don't know what wassail is, but apparently there is a Christmas carol about it? And it is a festive drink that people used to have on hand to serve to Christmas carolers? Yeah, I didn't know that either. I also kept spelling it like "wassel" since I'm pretty sure that's how it is pronounced, and now that I've looked it up, I can't help but say "wasSAIL" in my head as I am writing this. Today has been quite the cultural education.) My version is made with apple cider heated with orange and lemon slices and spiked with cinnamon, cloves, and fresh ginger. It is mulled cider's bright and citrusy cousin, and it is working wonderfully to cut through all the fuss going on inside of my nose and throat.

Is this recipe traditional?  I honestly have no* idea.  But it is delicious, so hopefully that will speak for itself.


Wassail
Makes 4 cups
This recipe scales wonderfully, so make as much or as little as you like.  Store leftover wassail in the fridge and enjoy cold or warmed.

4 cups apple cider (the best you can find)
2 cinnamon sticks, plus more for serving
3 whole cloves
1 orange (Valencia or navel), thinly sliced
1 Meyer lemon, thinly sliced
5 slices fresh ginger, each slice about the size and thickness of a nickel

Combine the cider and the rest of the ingredients in a small saucepan and set over medium-low heat.  Heat for 5-10 minutes, until the wassail barely comes to a simmer.  Strain the warm wassail into teacups or mugs, and serve with cinnamon sticks on the side.

Note: you can hold the wassail in a slow-cooker or over a low flame at a low heat, but keep in mind that the flavors will be stronger the longer the wassail is heated (which you might prefer), and the citrus will eventually begin to disintegrate.

*Well I just did some research, so now I have some idea. And apparently the traditional version has a lot of booze.  So no, it is not traditional, but it is better** for whatever ails you. **Arguably.