FIELD & FOREST

breakfast

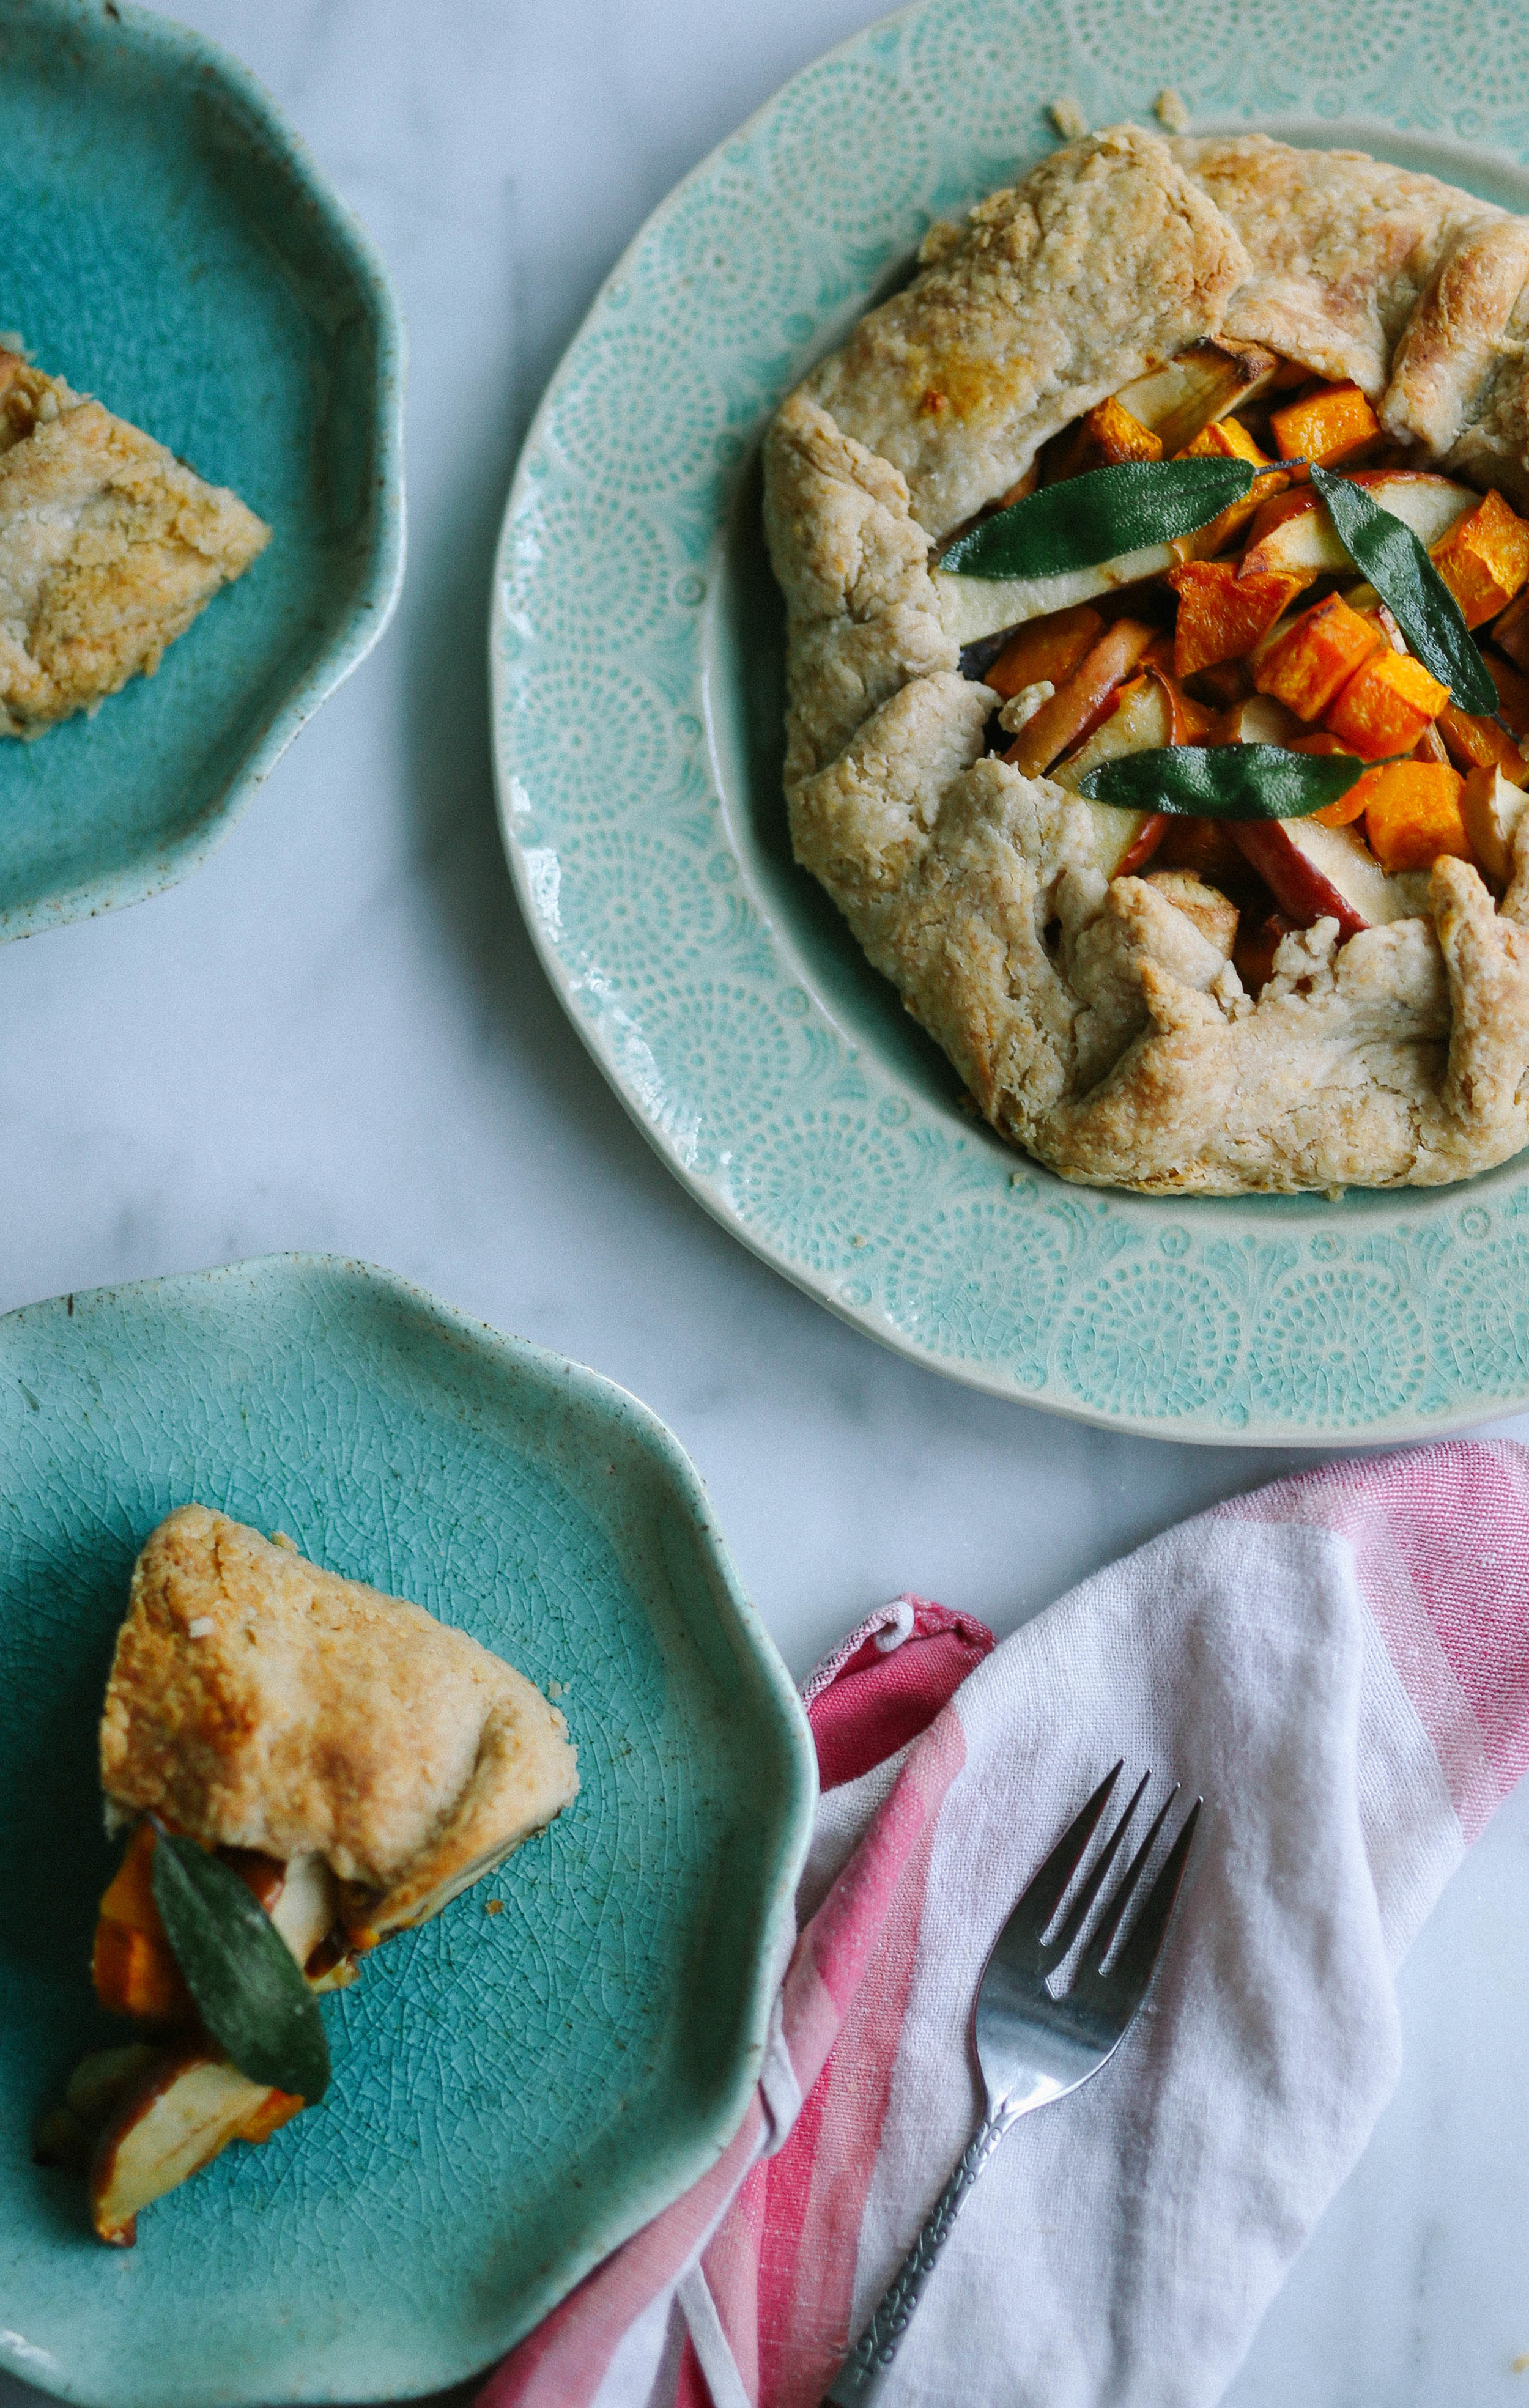
parsnip, squash, and apple galette with sage-onion jam

autumn, breakfast, vegetarian, winterFieldandForestComment

I have a friend who doesn't eat leftovers.  Yeah, I don't get it either.  He has a (much appreciated) habit of inviting people over to his house, making a crazy amount of amazing food, and then sending us home with to-go containers at the end of the evening.  Once, as he was shooing us out of his house after handing each person a jar of arroz con pollo, I weakly asked him why he didn't want to keep any food for himself.  He shrugged and said, "I just don't eat leftovers."  This seemed like a non-answer, but I was feeling very possessive of my jar at that point so I didn't press him further.  While I, too, love to cook for others, I've recently come to rely on leftovers as crucial ingredients in weekly dinners.  Roasted vegetables, cooked lentils, and grains from previous meals are often added to our frittatas, pastas, and salads, and when we're feeling fancy, galettes.

"Galette" is a French term for a free-form pie, among other things; it can also refer to an open-faced tart or cake, or an open-faced crepe. The great thing about the pie version is that you don't need any random tools or equipment to make one, and they are just as delicious (in my mind) as standard pies and tarts. If you have a cookie sheet, a card table, and a barbecue, you can knock out an amazing galette.  And you probably have a cookie sheet, a kitchen counter, and an oven, so you are over-prepared!

If you have made pies, tarts, or galettes before and have a habit of making pie crust from scratch, here is where I wish you well and send you down the page to the recipe. However, if you generally purchase pre-made pie crusts, you may not want to hear me say this, buuuuut, I really think you should be making your own pie crust (and I'm so glad you're on the other side of your computer screen so you can't punch me). In the time that it takes you to go to the store and buy a pre-made crust, you could have made your own and have it chilling in the fridge for you. And when you make your own, you can add all kind of yummy things to make it special, as I like to do in this recipe.  But pie dough seems intimidating and time consuming, and I completely understand why.  You probably have specific textural end goals (as you should), and you've likely heard people tell you all kinds of things that you absolutely MUST do to make it perfectly flaky and tender!

And now someone else is going to be upset at this next thing I'm going to say, buuuuut, you don't have to follow all of the normal rules to make delicious and flaky pastry.  Full disclosure: I made this pastry dough by pinching. the. butter. into. the. dough. with. my. fingers.

!!!

With my fingers!  Not a food processor or a pastry blender or two knives but the THINGS that are attached to my HANDS!  Sacrilege.

Should you choose to go this heathenish route yourself, a few things will help you along the way.  One, make sure your butter is straight-out-of-the-fridge cold when you begin working it into the flour. Two, should you feel your butter heating up and getting a little melty (i.e. soft and oily), throw the whole bowl (butter, flour, and all) into the fridge for five minutes to cool down. If you're working in a moderately cool kitchen, you probably won't need to put the bowl in the fridge at all (and if you have poor circulation, as I do, this will be one of those rare moments when you will find your icy-cold hands useful). Three, take a deep breath, and know that everything is going to be okay.  You are making something with butter, flour, and seasoning from scratch, and at worst, it is going to taste pretty freaking delicious.

Parsnip, Squash, and Apple Galette with Sage-Onion Jam
There is a lot happening with this recipe, but it is easy to make the components in advance and assemble it just before you're ready to bake; you can easily omit a vegetable and increase another if you aren't a fan of parsnips or squash, though I really like the added sweetness of the apples so I encourage you to keep them in the mix.  If you prefer a juicier galette, use an apple variety that breaks down during cooking, such as Golden Delicious; for a richer tart, dot the filling with goat cheese before you fold up the sides of the pastry.

Pastry (base recipe adapted from Thomas Keller; additions inspired by traditional flavorings for gougeres) - makes enough for two galettes, two tarts, or one double-crust pie
2 cups all purpose flour
1/2 cup wheat flour
1 teaspoon kosher salt
1/2 teaspoon freshly grated nutmeg
1/2 teaspoon dry mustard
a few good grinds of black pepper
1/2 cup freshly grated hard cheese, such as Pecorino-Romano (which is what I used) or parmesan 2 1/2 sticks cold butter
5 tablespoons ice water (or possibly more)

Sage-Onion Jam
2 tablespoons butter + 1 teaspoon butter, divided
2 medium yellow onions, thinly sliced from top to tail
Kosher salt
2 teaspoons dark brown sugar
A splash of apple cider vinegar
2 tablespoons freshly chopped sage

Filling
3-4 cups roasted vegetables (such as parsnips, carrots, butternut squash, sweet potatoes, or a mixture; I used parsnips and squash, though I might omit the parsnips next time as their flavor is a bit strong)
1 apple (I used a Fuji, because it was what I had on hand, but use whatever you would like; baking apples, such as Granny Smith, will get softer than Fuji)
2 tablespoons butter, divided
juice of one lemon, divided
fried sage leaves for garnish (make by heating a little butter in a pan and frying the sage leaves until crisp but still green)

Make the pastry: combine the all-purpose flour, wheat flour, kosher salt, nutmeg, dry mustard, black pepper, and grated cheese in a bowl, and whisk to combine.  Cut the butter into 1/2-inch pieces and drop into the bowl with the flour (alternatively, you may combine the flour and butter in a food processor).  Cut the butter into the flour using a pastry cutter, or pinch the butter into the flour with your fingers, breaking up the butter into smaller pieces as you go (or pulse your food processor a few times to break up the butter into smaller pieces).  You should end up with pea-sized (or smaller) nuggets/little smears of butter throughout the flour.

Drizzle the ice water over the butter-flour mixture, and mix (or pulse) to combine.  The dough should be crumbly, but should stick together when pinched with your fingers (if it does not stick together, add a little more water, a tablespoon at a time).  Press the dough into itself a couple of times while still in the bowl, just until you're sure it is mostly coming together.  Turn the dough out onto a work surface, and divide it into two equal (albeit, crumbly) pieces.  Press each piece into a flat disk, and wrap both tightly in plastic wrap.  Set in the fridge to chill for at least one hour, or up to three days (the dough will be eatable after this point, but the flour may oxidize and become grayish).

Make the sage-onion jam: melt the butter in a heavy-bottomed pan set over medium-low heat.  Add the onions, and stir to coat evenly with the melted butter.  Add a pinch of salt to let the onions sweat; you want them soften at this point, but not brown.  Listen to the onions as they sweat, and if you notice that the sound seems loud, it is likely that your pan is too hot and the onions are beginning to crisp.  Stir occasionally so that the onions cook evenly.

Once the onions have softened, add the dark brown sugar and turn up the heat to medium.  Let the onions cook, stirring occasionally, so that the sugars caramelize and the onions begin to brown.  They will move from pale beige, to golden brown, to a light caramel.  Once they reach this light caramel stage, turn up the heat a notch, add the vinegar, and stir to scrape up any onion bits stuck to the pan.  Continue cooking the onions until they reach a deep caramel color.

Scoot the onions to one side of the pan, and melt the teaspoon of butter in the empty space in the pan.  Add the sage to the melted butter, keeping it separate from the onions while it cooks.  Once it has crisped and the color has changed to a dark, muted green (this will take about a minute), mix the sage into the onion mixture.  Cook for a minute or two more, stirring frequently, then remove from the pan and let cool.  Scrape the mixture out onto a cutting board, and run your knife through it a couple of times (this will make the mixture less stringy and more jammy).  Taste and add additional salt if needed.  Set aside, or refrigerate in a covered container for up to 1 week.

To fill and shape the tarts: preheat the oven to 375 degrees F, and line a baking sheet with parchment paper. Remove the pastry disks from the fridge, and let sit, still wrapped, at room temperature for 10-20 minutes.  Unwrap one disk, and place it on a lightly floured work surface. Roll the pastry into a 1/8" thick circle, and transfer to one side of the parchment lined baking sheet.

Slice the apple into pieces, and set aside.  Spread half of the sage-onion jam in the middle of the pastry round, leaving a 2-inch border of bare pastry.  Mound half of the roasted vegetables on the jam, and tuck half of the apple slices among the vegetables.  Fold the pastry up and over the vegetables, overlapping the folds so that there are no places where the filling can escape.  Once the pastry is all folded, press around the tart gently to seal the pastry folds.  Gently scoot the galette to one side of the pan to make sure there is enough room for the second galette.  Repeat with the second pastry disk and remaining vegetables and jam.

Once both galettes are filled, cut one tablespoon of butter into pieces and scatter over the top of both tarts.  Sprinkle the exposed vegetables and apples with the lemon juice.  Bake at 375-degrees for 15 minutes, then lower the heat to 350 and bake for another 10-20 minutes, or until the pastry is fully cooked and golden brown.  Top with the fried sage leaves, and serve warm or at room temperature with a green salad.  You may also refrigerate the tart for up to two days;let it come to room temperature, or rewarm it in a 300-degree oven for 10-15 minutes before serving.

persimmon and spelt waffles

autumn, breads, breakfast, vegetarian, winterFieldandForestComment

It started snowing last night shortly after we went to bed. There is a narrow gap between the curtain rod and window frame in our bedroom, through which we can see the sky as we fall asleep; when it snows, occasionally a fat flake will fall in front of the sensor on porch light, startling it awake and illuminating the thousands of snowflakes slowly falling outside. I love watching the snow through my slice of a window while snuggled in bed. Having grown up on the west coast and having lived for years as an adult in a climate supportive of banana trees, I never thought I would love living in the snow, but I do, I really, really love it.  I am a Pacific Northwesterner at heart, and snow is usually the closest thing we get to fog and rain in the high desert. It helps me rationalize my wintertime yearnings for baked goods, braises, and beverages served in mugs (which, to me, are not the same taken on cloudless, sunny days).

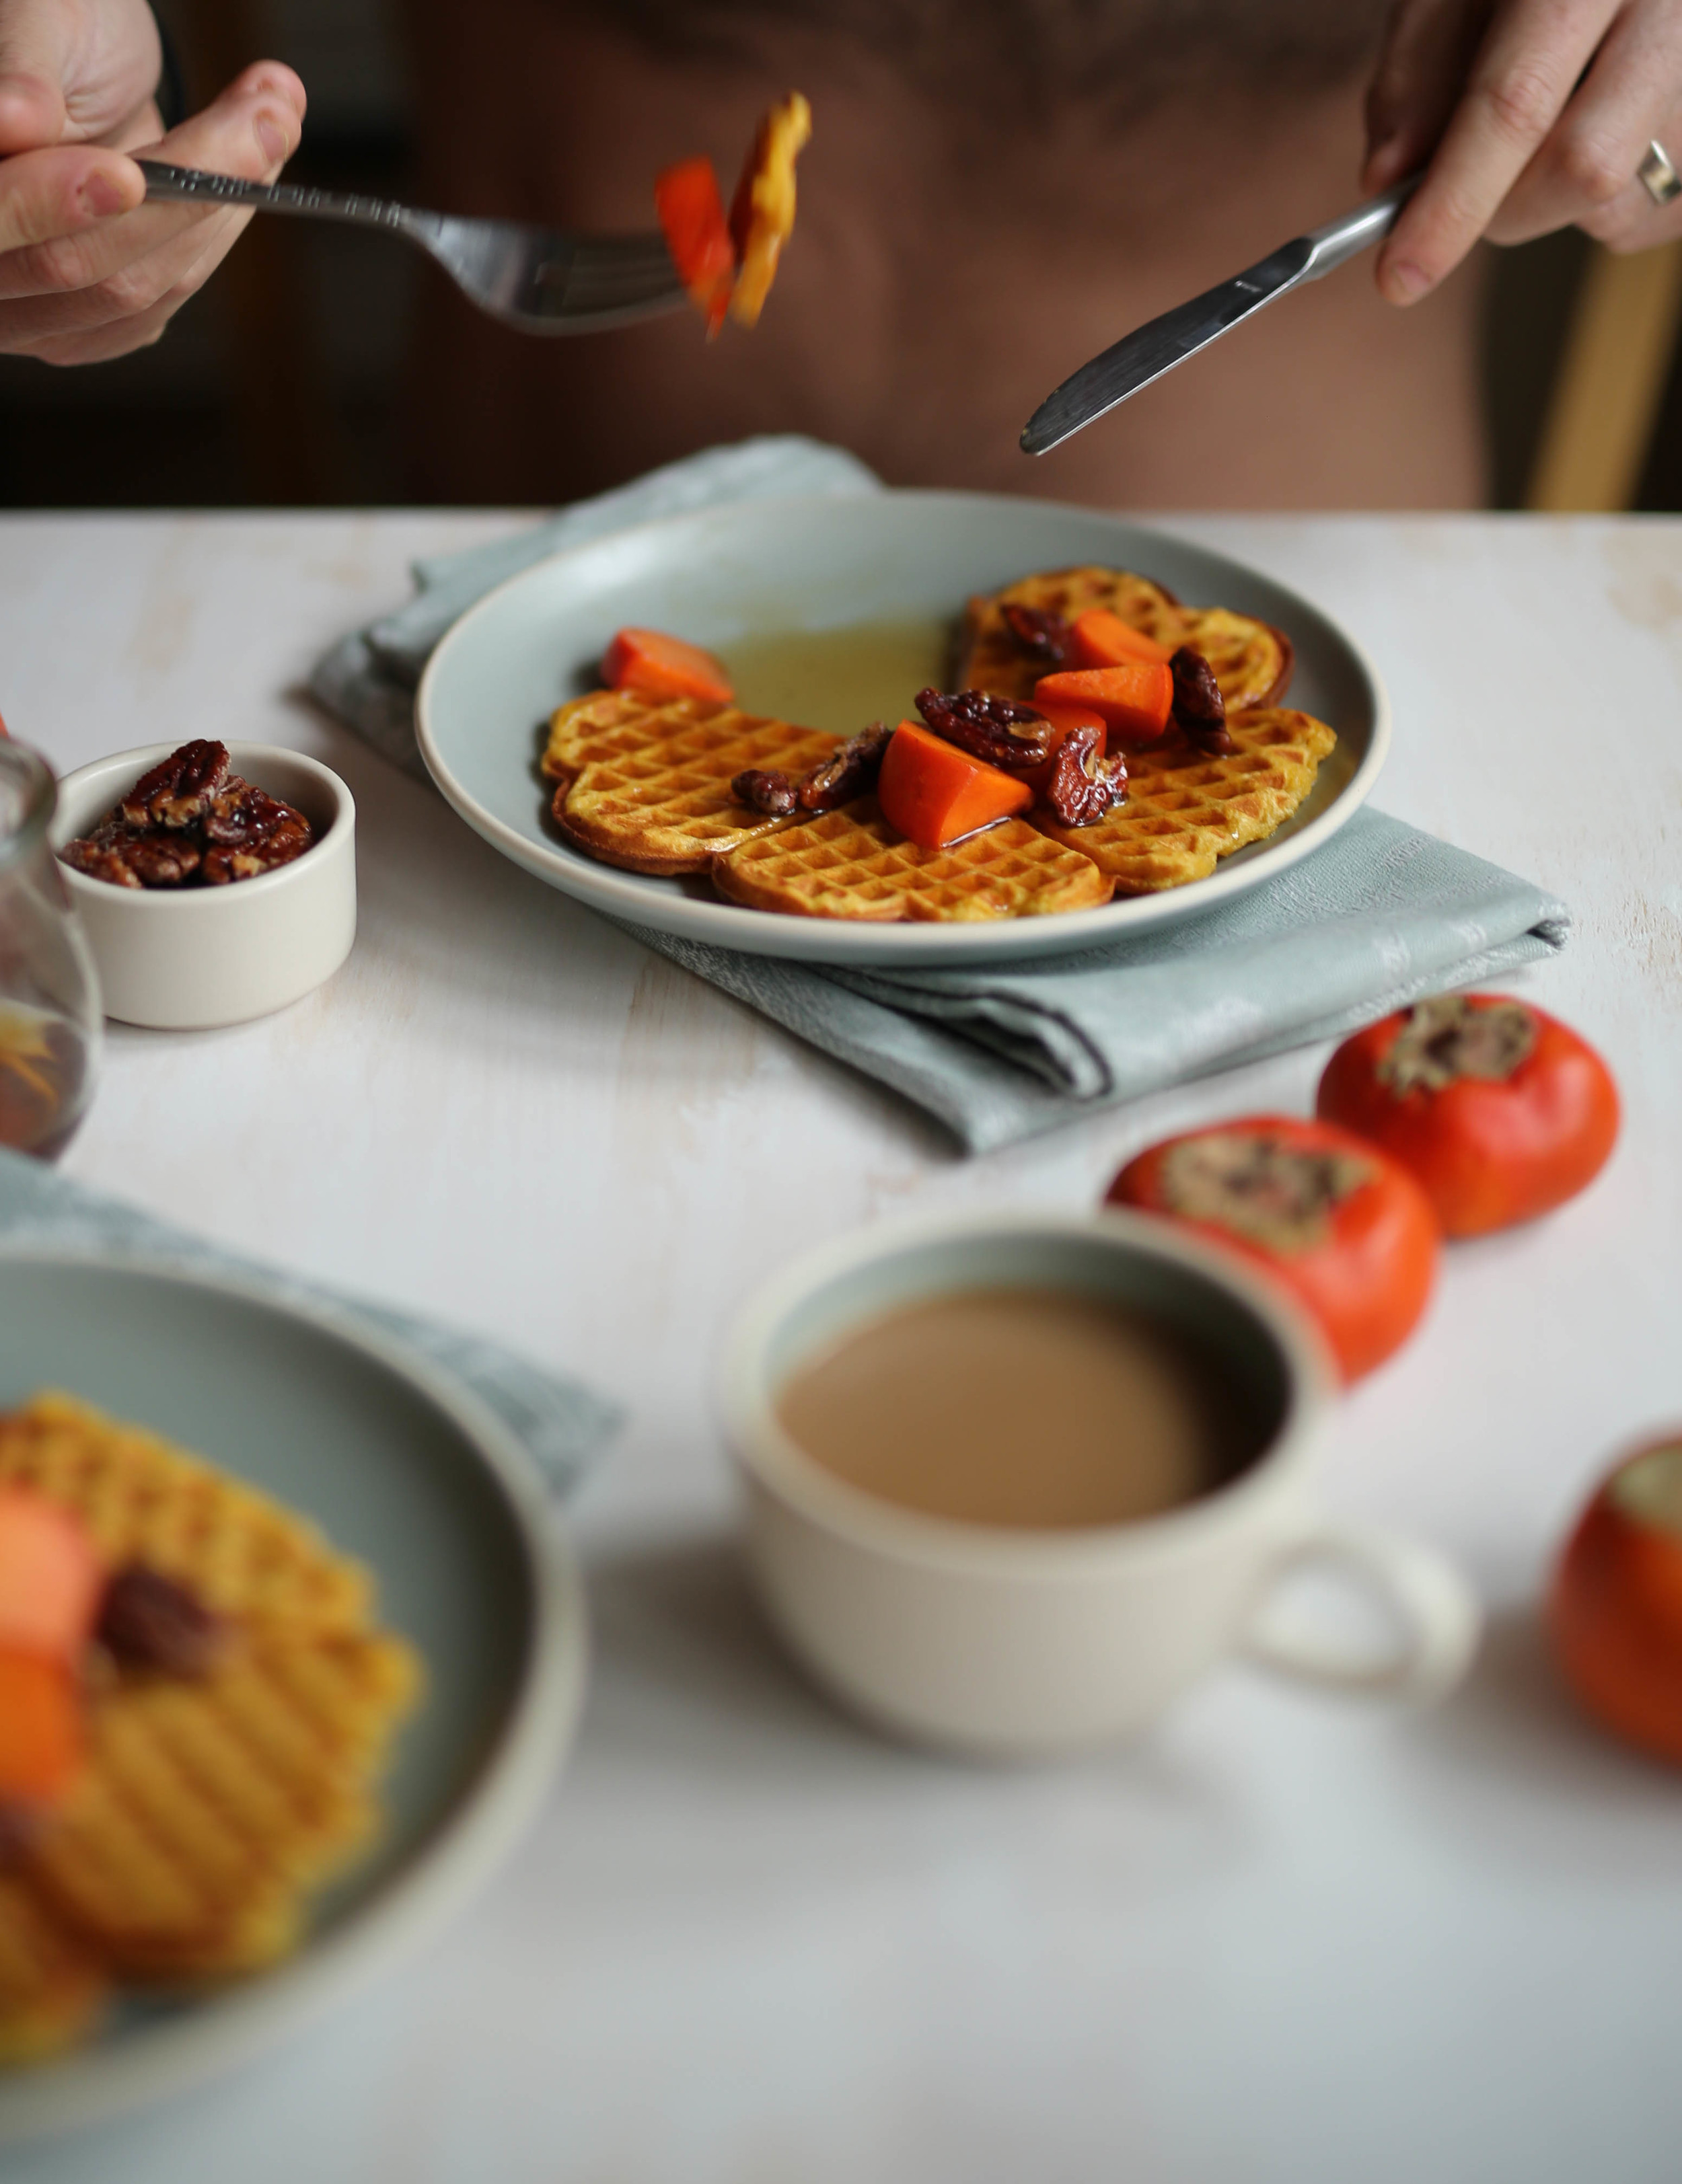
I woke up early-ish (is 10:00am on a Sunday early?) this morning and made these waffles with the persimmons that have been slowly ripening on our counter for weeks.  They are reminiscent of one of Richard's mom's holiday cookie recipes, which are made with puréed persimmons mixed with cinnamon and cloves and flecked with raisins; the mounded batter bakes into tiny, delicate cakes which are best eaten straight from the oven with a tall glass of milk.  These waffles, too, are spiced and have a cake-like texture that nicely bridges Richard's love of waffles with my preference for pancakes.

Persimmons are a strange fruit, and normal logic doesn't always apply when using them in recipes. While Fuyu persimmons may be eaten at any stage of ripeness (and are especially good in salads when still firm), you should only eat a hard Hachiya or American persimmon if you are looking for an in-depth experience in astringency. It is when they look their worst that they are at their best, and their wrinkly skin hides flesh so sugar saturated that it has the translucence and sheen of warm apricot jam. Ripening the persimmons to this stage is called "bletting," and refers to the sweet spot in time between just-past-the-moment-when-you-think-they-are-ripe and decay, when the tannins normally present in the fruit have been almost completely replaced by sugars.  If you barely poked one of the persimmons I used with your finger, you would have left a permanent dent in its surface. You can leave hard persimmons on your counter to ripen; it may take anywhere from a few days to two weeks, so I would imagine that you could use pumpkin purée in their place in this recipe should you need instant waffle gratification.

Side note: Wikipedia has a fascinating paragraph about unripened persimmons, which will make you more comfortable with consuming both the off-looking fruit and Coca-cola; neat!

Persimmon and Spelt Waffles
adapted from Betty Rosbottom's buttermilk waffle recipe

1 cup all-purpose flour or gluten-free all-purpose flour blend
3/4 cup spelt flour or whole wheat flour
4 teaspoons sugar
2 teaspoons baking powder
1/4 teaspoon salt
1 teaspoon ground cinnamon
generous 1/4 teaspoon ground cloves
2 large eggs, at room temperature
2 ripe Hachiya persimmons Milk (whole cow's milk or nut milk)
1/2 teaspoon vanilla
6 tablespoons unsalted butter, melted and slightly cooled (v option: replace with coconut oil)

Preheat a waffle iron; if you plan to make all of the waffles before serving time, preheat your oven to 200˚F.

In a medium bowl, stir together the flour, sugar, baking powder, salt, cinnamon, and cloves.  In a large bowl, whisk the eggs to break up the yolks and the whites.  Set both bowls aside.

Peel the persimmons using your hands; if the fruits are ripe, the skins should easily come away from the flesh.  Don't get too broken up about some flesh sticking to the skins, as you can gently scrape it off once the fruits have been peeled.  Discard the skins, or give them to your chickens (who will loooove you). If you have an immersion blender, place the persimmon pulp into a measuring cup which holds at least two cups of liquid, and purée the mixture thoroughly.  If you are using a stand blender, blend the persimmon pulp thoroughly, and pour into a measuring cup which holds at least two cups of liquid.  Add enough milk (cow or plant) to the measuring cup so that you have two cups liquid in total, then pour back into the blender (or use your immersion blender) to briefly blend again.

Pour the persimmon-milk mixture into the eggs, add the vanilla and melted butter, and whisk to blend.  Add the flour and spice mixture, and whisk just until the ingredients are combined and you no longer see any flour streaks.

Pour about 1/3-1/2 cup batter (depending on the size of your waffle iron) into the waffle iron, and gently spread the batter to within 1 inch from the edge.  Close the cover and cook for 3-5 minutes, or until crisp and golden brown.  Serve the waffles immediately, or place them in a single layer on racks in the preheated oven while you finish with the remaining batter.

Topping ideas: If you told the six-year old me that I would ever like topping my waffles with something other than straight maple syrup, I would have thought you had a bat in your attic. But these days I'm really liking the fruit/syrup or fruit/nut/syrup combinations.  Keep in mind that persimmons are mild in flavor, so you'll want to use fruit that is equally mild (such as... more persimmons).  The pecans were from my never-ending quest to crack the code behind this pecan recipe, but it's your call whether you choose to include something similar.

concord grape and rosemary focaccia

autumn, breads, breakfast, desserts, vegetarian, winterFieldandForestComment

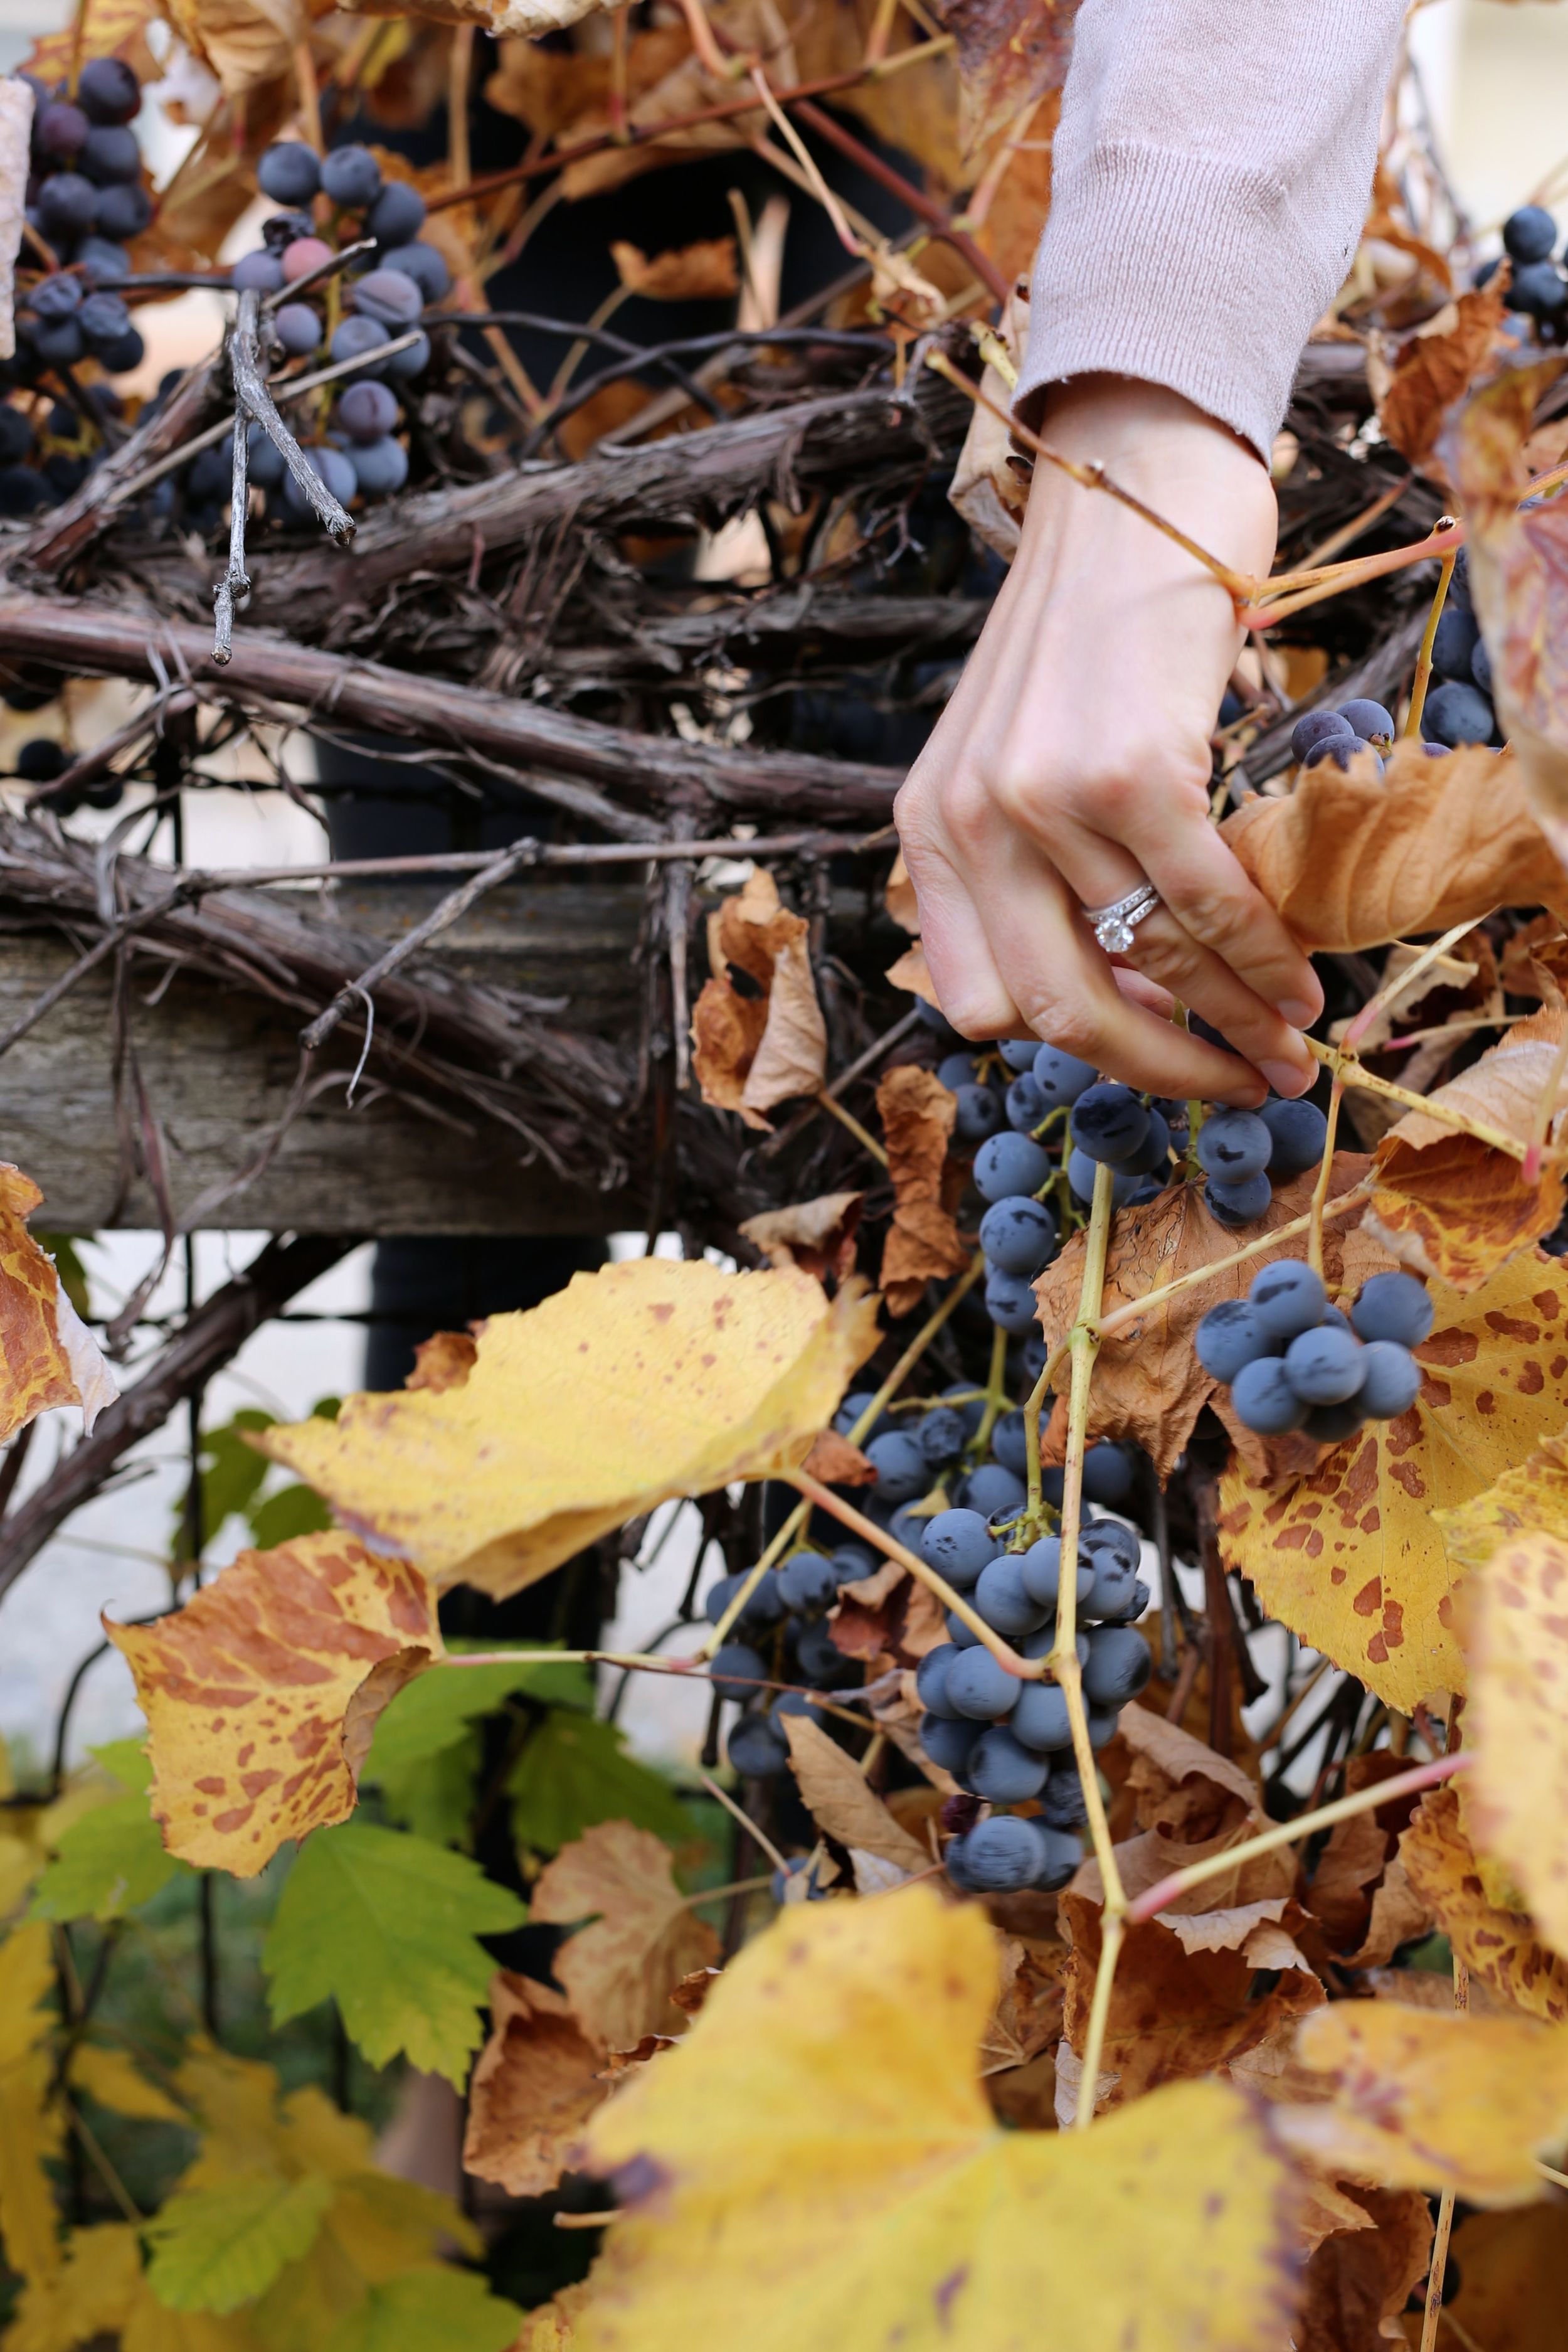
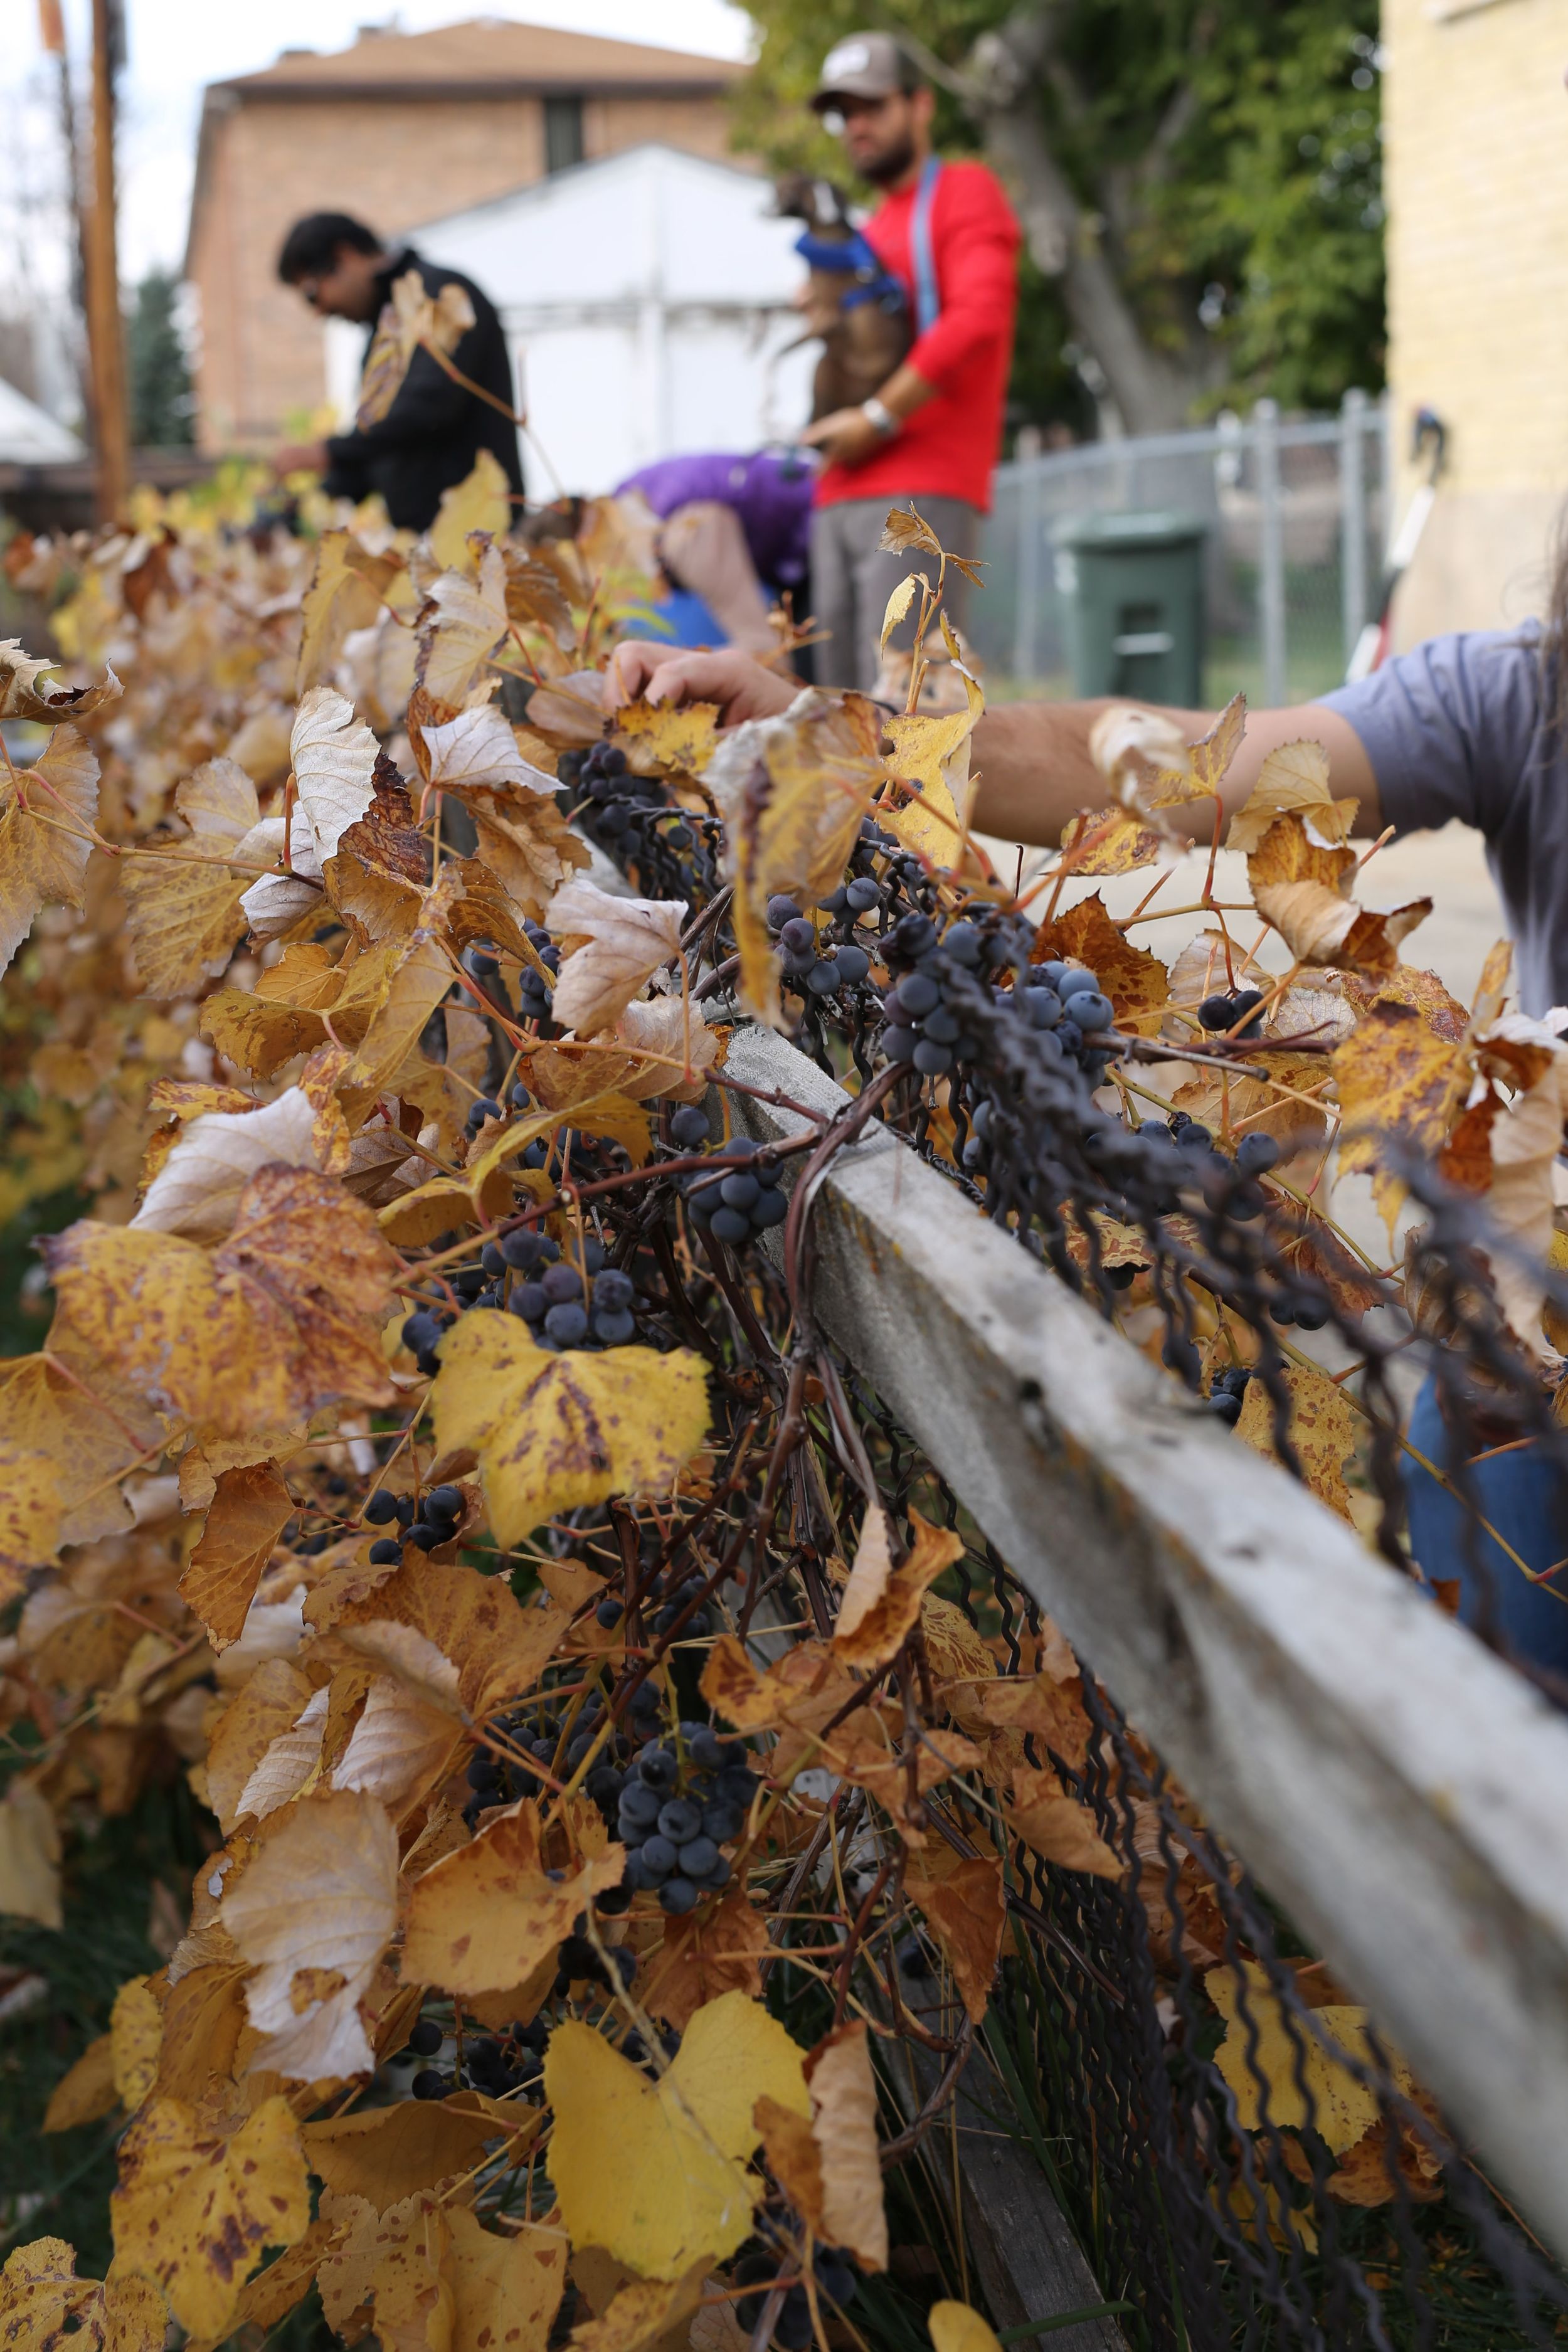
It is rare to walk a block in Salt Lake City without passing a grape vine or two draped over a fence or stealthily climbing a tree. Grapes grow well here, and are one of the first plants to offer an abundance of foliage in the spring. I think, for that reason, they’ve become a popular choice for home gardens since it seems like we’re all starving for something lush and green after months of brown earth and snow. They also produce plenty of fruit, more than most people can consume on their own, which is why some will reach out to the grapeless and invite us to help (and eat). There is now a palpable sense of urgency to rehome fruit since we don’t know when the first snow will arrive; the window for picking some varieties will close following a deep freeze as their skins will crack and burst as their cells expand in the cold.

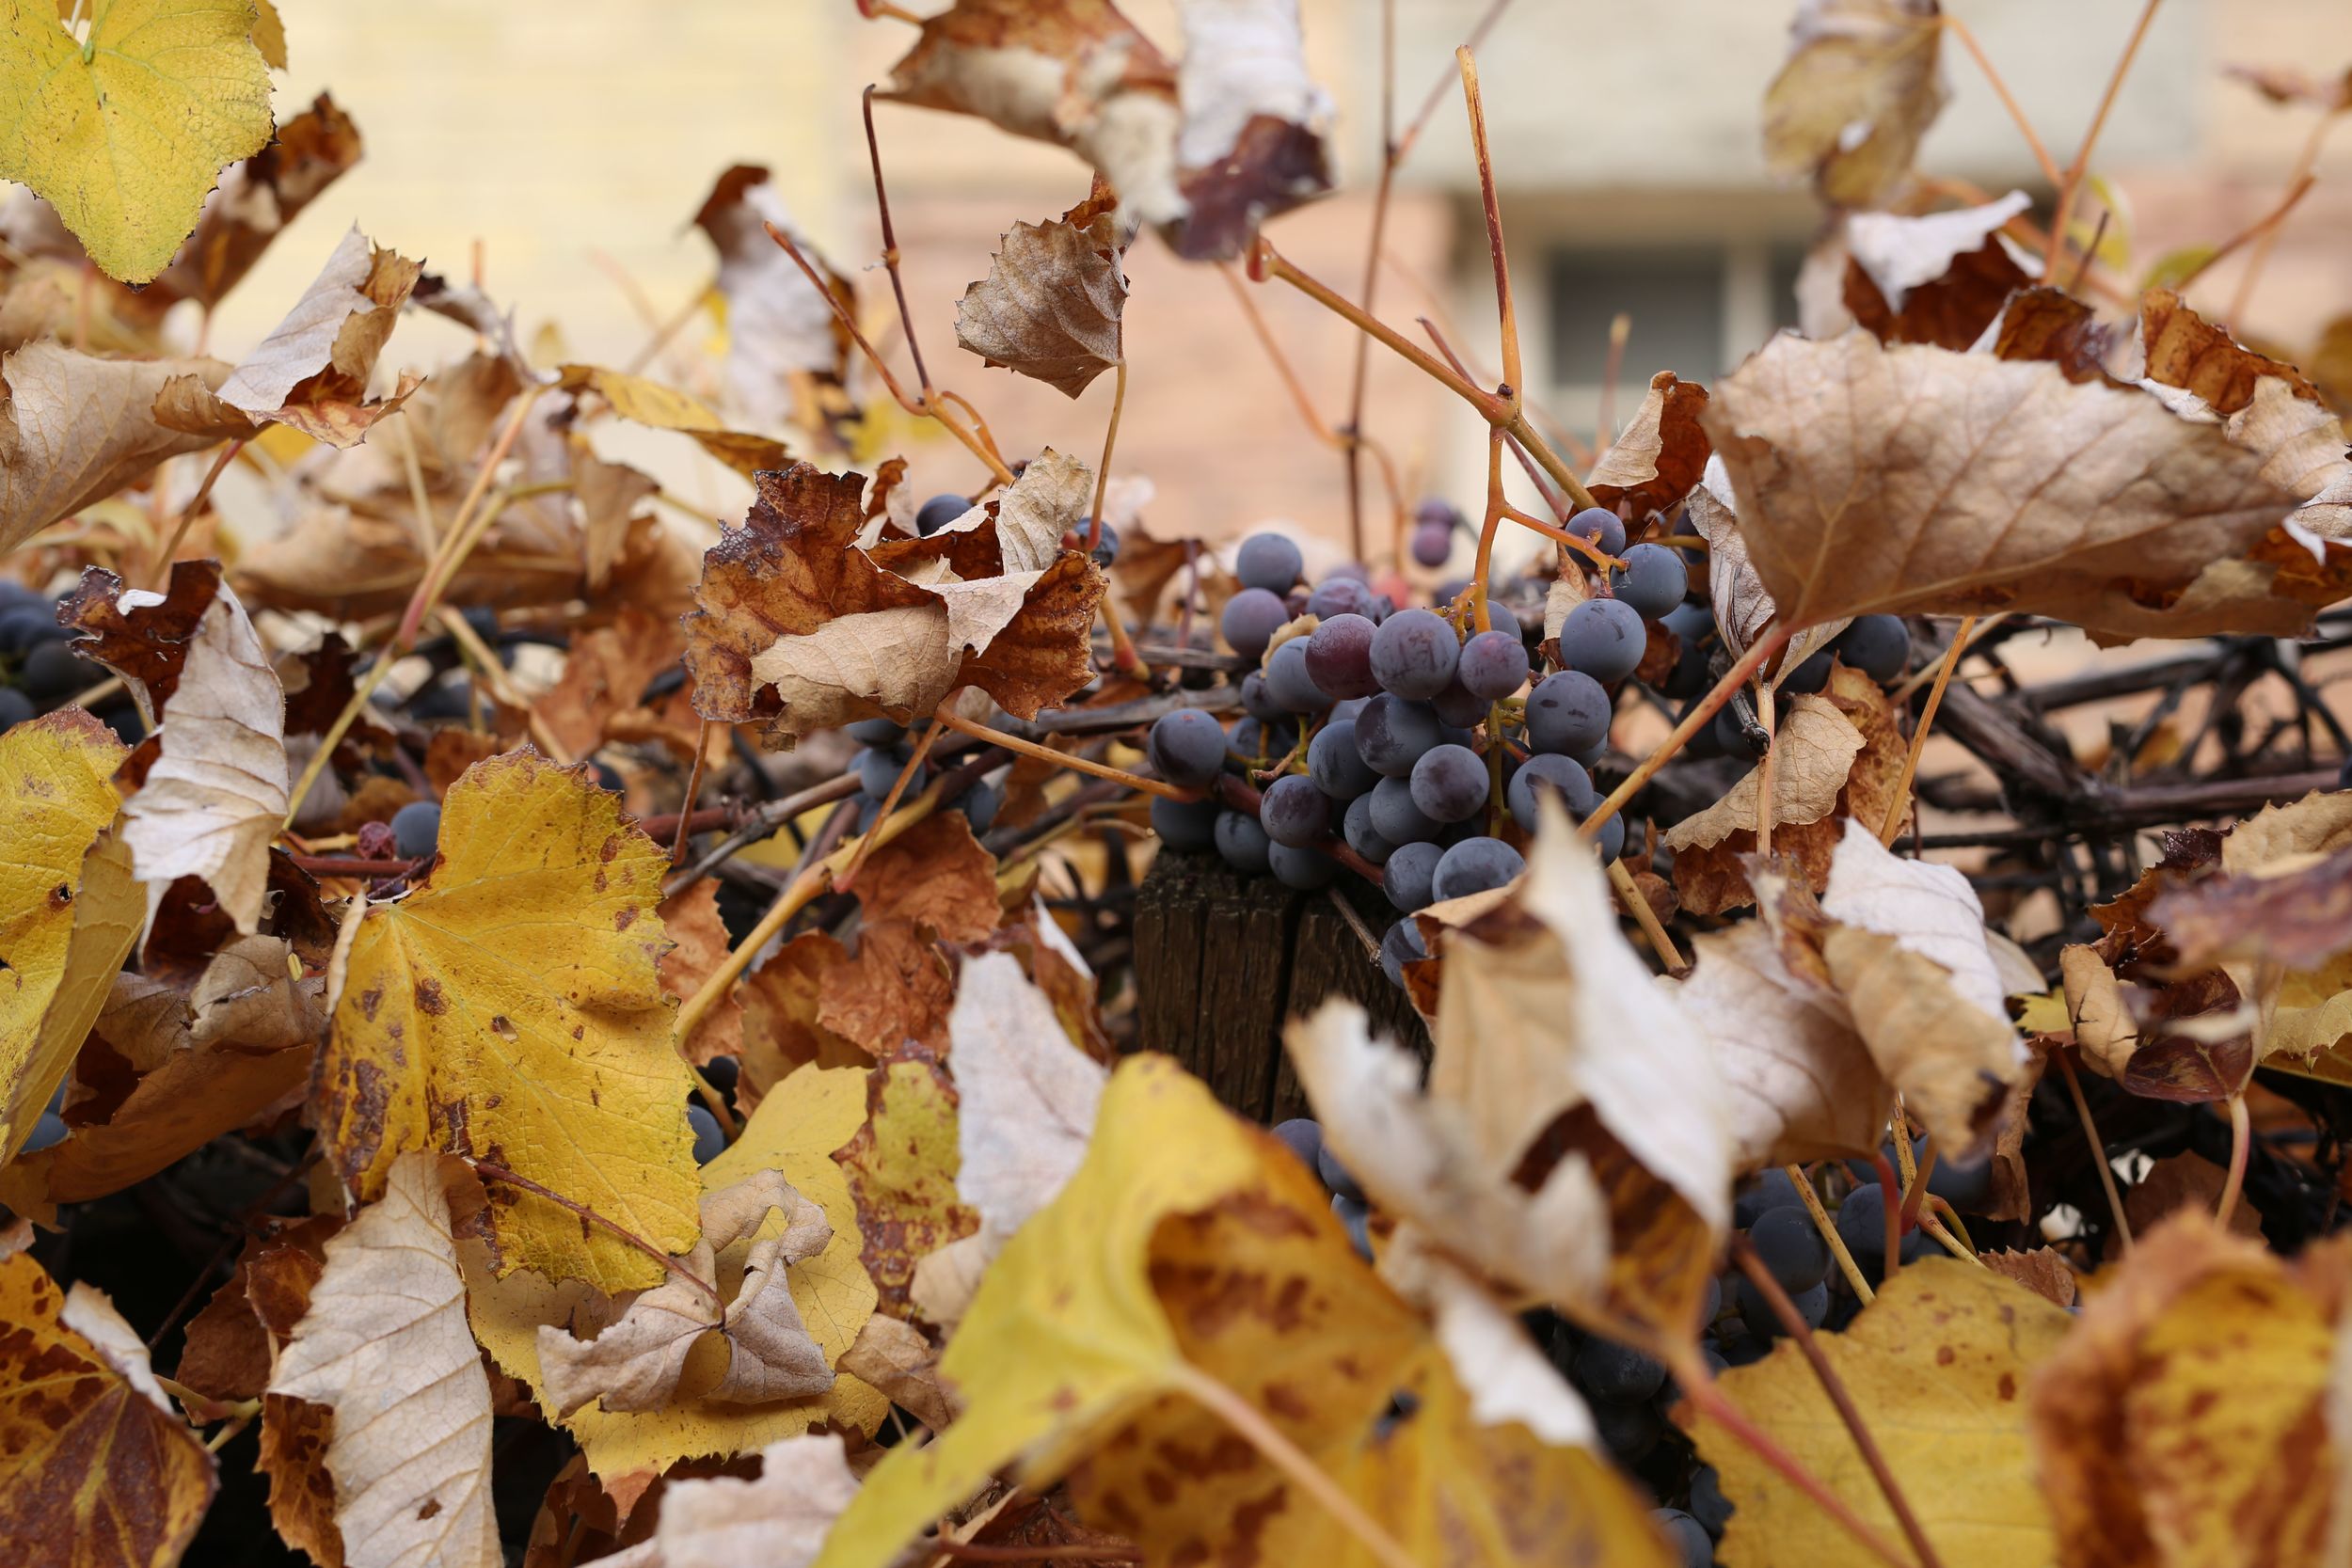
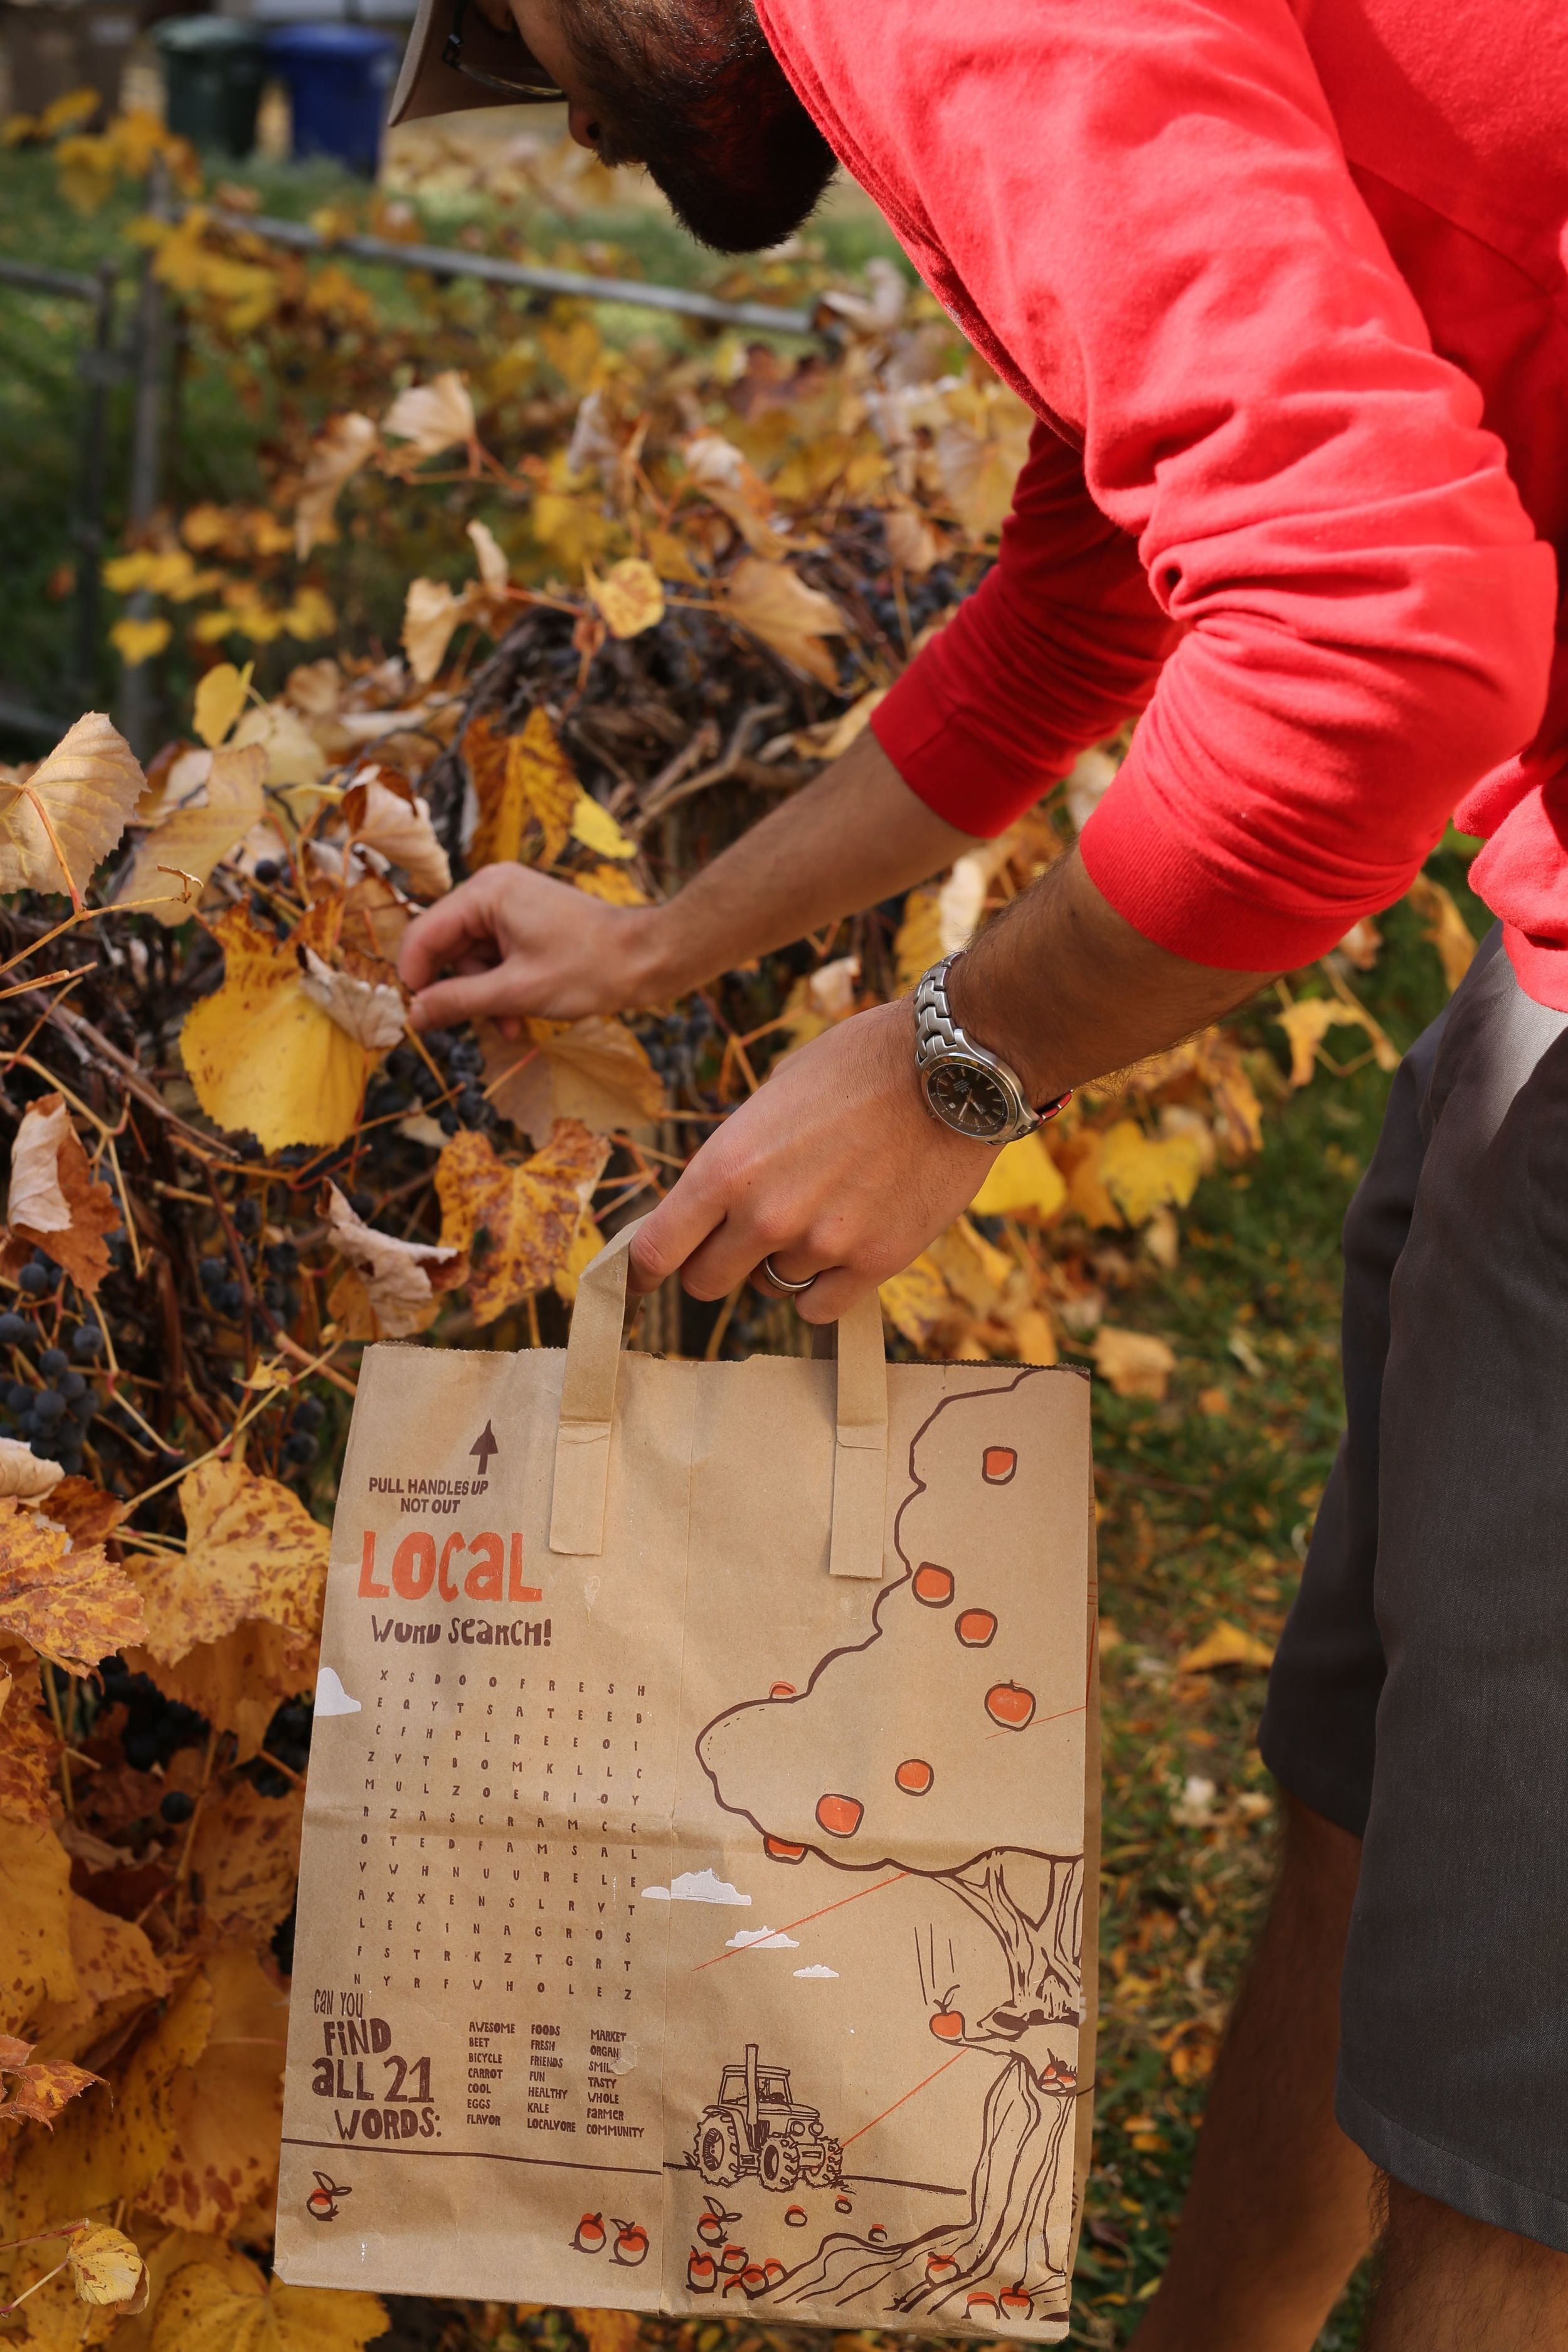
But there are indeed some silver linings to the end of the season. The leaves have now all shriveled on the vines (products of dwindling temperatures and two lightening-fast freezes over the last month), and it seems almost unfair how easily one can see exposed fat bunches of grapes. You would only need to stand next to the vine with your eyes closed and reach towards it to feel the hundreds of fruits waiting to be picked. We moved up and down the fence, gently snapping stems, greedily dropping the grapes into bags that quickly became heavy and juice-stained. We stopped after twenty minutes, embarrassed that maybe we had taken more than our share and already realizing that we had no plans for the poundage now in our possession. But I daresay that, had you visited the vine after we left, you would have been distracted by the remaining fruit and would never have known we were there.

If you’ve ever looked at recipes involving grapes, you might wonder why some specifically call for Concord grapes. I think experiencing their flavor is the only way to truly understand the reasoning. They are so very… grapey. Eat one (if you haven't already) and I think you’ll agree. I have heard people say that they just do not like Concord grapes, and while I enjoy them, I understand how they might feel that way. They are a gamey fruit, with a sharp, unmistakable flavor and robust, matte skin. We have small vine in our own garden, next to a separate vine of a pale green grape (Thomson Seedless, perhaps?) that offers tiny fruits with delicate skins; while the Concord grapes are almost offensively flavorful, eating the lighter grapes is akin to biting into bubbles of perfume. They are the suckling pig to the Concord’s wild boar, and more of a crowd pleaser, I think. But they do not hold up well to cooking, and are best consumed off of the vine (or out of the bag).

If you cannot find Concord grapes or don’t want to use them, a seedless red variety will do well here. Use grapes that are relatively firm when gently squeezed; aging grapes  that are beginning to wrinkle will give you more of a raisin effect when baked. If you choose to use a seeded variety and remove the seeds yourself, give yourself an extra half-hour to do so and only serve this bread to people you really like.

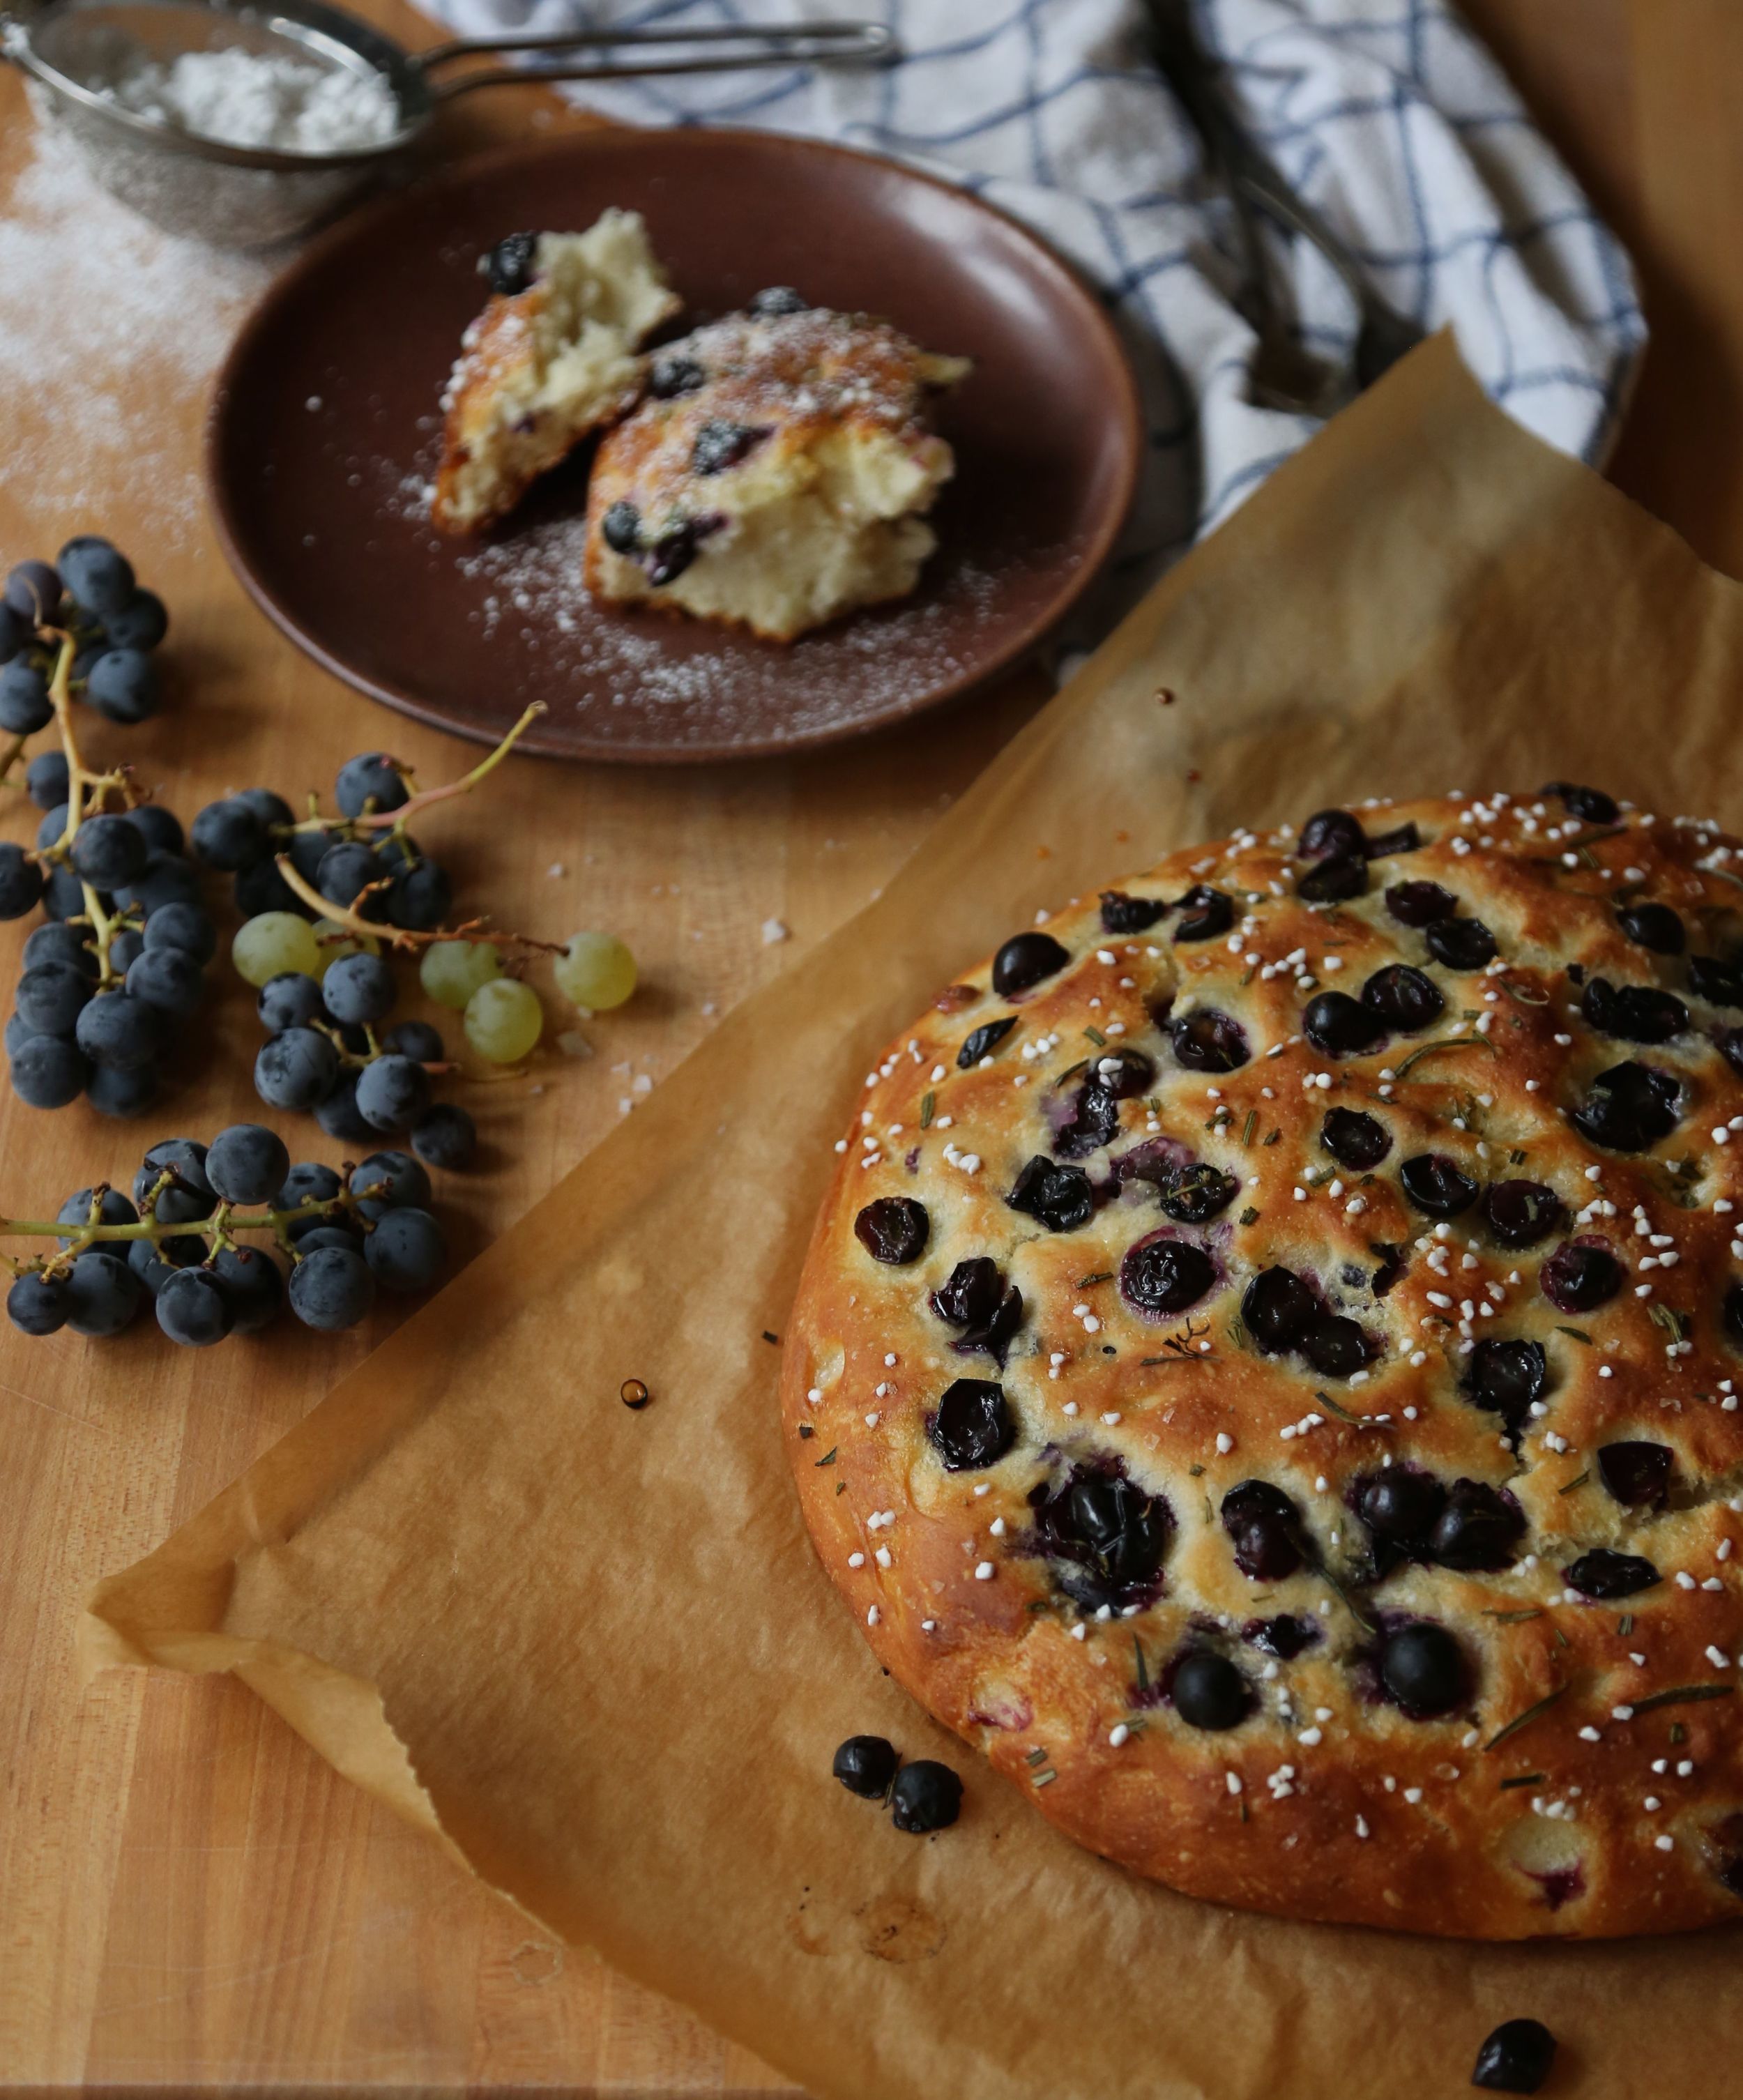
 Concord Grape and Rosemary Focaccia
Adapted from Ripe, by Nigel Slater - makes 1 loaf
(Richard would like you to know that this is one serving, though Nigel claims it can serve up to eight)

3 1/4 cups white bread flour or all-purpose flour
1 teaspoon fine sea salt or table salt
1 tablespoon white sugar
2 teaspoons active dry yeast
1 1/2 cups warm water (105-115˚F or just barely warm to the touch)
4 tablespoons olive oil, divided
14 oz concord grapes, halved and seeded, divided
1 tablespoon pearl sugar
large pinch flaky sea salt, such as Maldon
1 teaspoon finely chopped rosemary
little confectioner's sugar


Line a sheet pan with parchment paper and set aside.

Combine the flour and salt in a large bowl.  In a small bowl, mix the yeast and sugar into the warm water, and set aside for 5 minutes (this is called proofing, and allows you to make sure that your yeast is alive).  You should start to see little bubbles on the surface of the mixture after a few minutes; this means the mixture is active. (If you don't see bubbles, your yeast may have expired, or your water may have been too hot.  Check your yeast's expiration date, and try again with new yeast and fresh water).  Once your yeast has proofed, add the mixture to the flour and salt along with 1 tablespoon olive oil, stir with a wooden spoon, and turn out onto a generously floured board and knead lightly for 5 minutes.

Once the dough feels elastic and "alive," put it into a lightly oiled bowl and cover with a damp tea towel (this creates a humid environment to help support yeast activity and keep the dough from drying out) and set in a warm place to rise.  It will take approximately one hour to double in size.  (If you haven't already prepped your grapes, now is an excellent time to do so!)  Once the dough has doubled, punch it down gently to release some of the air.  Add half of the grapes to the dough (while still in the bowl) and gently knead them in until they are evenly distributed.  Tip the dough out onto the parchment lined pan, and shape into a flat circle.  Pock the surface with your fingers, like you are playing piano on the dough, and scatter over the remaining grapes.  Cover the dough with the tea towel and return to a warm place to rise.

Preheat the oven to 425˚F (220˚C).  Once the dough has expanded to almost twice its size, drizzle over the olive oil, and scatter with the pearl sugar, salt, and rosemary.  Bake in the middle of the oven for 30-40 minutes, until well-risen and golden brown.  The focaccia should feel springy when pressed.  Leave to cool slightly before dusting with confectioners' sugar.  Cut into thick wedges and serve warm.

Notes on making this ahead of time:  Focaccia is best eaten within a few hours of baking, and will lose its magic when stored overnight.  If you cannot complete all of the steps in a single day, make the dough, place in the oiled bowl, and store, covered, in the fridge to rise overnight.  Let the dough come to room temperature for 1/2 an hour in the morning before kneading in the grapes and shaping it for the second rise.  You may again store the dough in the fridge for the second rise if necessary, letting it sit out of the fridge for 1/2 an hour before baking.

wholegrain pumpkin buttermilk pancakes

autumn, breakfast, vegetarian, winterFieldandForest2 Comments

The biggest complaint that Richard has (according to him, in life) is that some things taste too much like baking powder. (I just asked him if he has other complaints and he said, "Oh, I'm sure I do, but that's... that's a big one.")  But it can be a let down when I find a recipe that looks amazing and then see that it contains more than two teaspoons of baking powder.  Would he really notice, you ask, if I just used the full amount?  Yes, yes he would.  If he were a drug-sniffing dog in an airport, he probably wouldn't be able to nail down a suitcase full of cocaine, but he would undoubtedly be able to tell if the blueberry muffin you bought at the Starbucks in Terminal B was made with baking powder.  It is a gift.

This was kind of discouraging for me for a while, but I've recently taken to it as a challenge.  I don't really want baking powder to be a dominant flavor in a baked good, would you?  And luckily a fair number of pancake recipes which call for a lot of baking powder can be modified in various ways without compromising lift and fluffiness.  That's how I know these pancakes were a success: one, they were incredibly high and fluffy. Like, the fluffiest. Two, Richard took a bite and yelled "These don't taste like baking powder!" and proceeded to eat the rest of the pancakes left on my plate.  Luckily this recipe makes a crapload of pancakes, I think because I adapted it from the Pioneer Woman and her family of six (or more?) who spend their days working on their ranch.  We are a family of two who spend our days working at our desks, so needless to say that many of these pancakes end up in the freezer for later.

In case you're wondering what I changed about the pancakes, I'll tell you; I cut out a full tablespoon of baking powder, and replaced it with 1 1/2 teaspoon of baking soda (I think that Richard is sensitive to the flavor of cream of tartar, which is usually the weak acid ingredient in baking soda).  I then changed out the milk in the recipe for buttermilk, which is acidic and reacted with the increased proportion of sodium bicarbonate (which is what baking soda is) to create CO2 and additional rise in the pancakes.  While the resulting pancakes were incredibly fluffy, they were SO tall that they actually took a while to cook.  If you're willing to compromise pancake height for the sake of speed, I might cut out the additional baking soda all together and just use a tablespoon of baking powder total.  I'd still use buttermilk for at least part of the liquid, though, because when is adding buttermilk to pancakes a bad idea?  Never, that's when.


Wholegrain Pumpkin Buttermilk Pancakes
makes 24-30 pancakes, serves 4-6

Dry ingredients:
2 cups spelt, kamut, or all-purpose flour
1 cup whole-wheat pastry flour
1 tablespoon baking powder
1 1/2 teaspoons baking soda
1/4 teaspoon freshly ground nutmeg
1/2 teaspoon cinnamon
1/2 teaspoon kosher salt

Wet Ingredients:
2 cups pumpkin puree
2 eggs
2 1/2 cups liquid (use all buttermilk, all whole milk, or a half-and-half mixture)
3 tablespoons maple syrup
2 tablespoons butter, melted

To serve:
butter
maple syrup
pomegranate arils (optional, but pretty!)
toasted pecans (optional, but tasty!)

Combine the dry ingredients in a medium bowl, and whisk to thoroughly combine.  Combine the wet ingredients in a large bowl, and whisk to thoroughly combine.  Add the dry ingredients to the wet ingredients (this is to prevent pockets of dry ingredients from hanging out at the bottom of your bowl unbeknownst to you), and whisk gently to just combine (over-mixing can develop gluten in the flour and create tougher pancakes).  Switch the whisk for a spatula and fold the mixture a few times, making sure that there are no pockets of dry ingredients hiding in your batter.

Place a cast iron skillet or griddle over medium heat.  Test the heat of the pan by wetting your fingers under the faucet and flicking a few drops of water onto the pan's surface.  If the drops appear to fizzle and dance on the surface, your pan is hot and ready.  Smear a little butter in the pan with a spatula, and drop dollops of batter (a dollop for me was a little less than 1/4 cup of batter) on the skillet, making sure to give them a little room to spread.  Cook for 2-4 minutes on the first side, then flip, continuing to cook the pancakes for another minute or two before removing them to plates.  You can hold cooked pancakes in a low oven (200˚F) while you finish the rest of the batter, if you like.  Refrigerate or freeze leftovers for future breakfasts (just heat them in a dry pan or nuke them for a minute before eating, or if you're my sister, just enjoy them frozen).

raw choco-muesli with blueberries and ginger

autumn, breakfast, snacks, spring, summer, vegetarian, winterFieldandForestComment

I studied abroad in Germany during the summer between my junior and senior years in college. While I did eat a lot of traditional German foods (and drink a lot of traditional German beverages), my diet mainly consisted of gelato (which was 1 euro a scoop and came in flavors like "French!" and "Smurf!") and muesli, which was served each morning in the Alban Stolz Haus where I was staying.  The morning muesli rotated each day, varying the nuts, seeds, and fruit mixed in with oats, but my FAVORITE muesli by far was what was known as choco-muesli. Yes, this is muesli with chocolate, and yes, it is as amazing as it sounds.

Choco-muesli is usually oats, a nut (the one served at ASH had almonds), and maybe one or two other rolled grains, plus tiny little squares of "light" or dark chocolate (or sometimes you could even get boooooooth, so delicioussssss).  And the chocolate was GOOD.  I know this because I kept a box in my room for mornings when I slept through breakfast and, on a particular night when I went out for some traditional German beverages, came home and ate all of the little squares of chocolate out of the muesli in the box. It was overwhelmingly enjoyable at the time, and also very disappointing the next morning when I woke up to realize that a) the traditional German beverages had caused me to sleep through breakfast, and b) I had eaten all of the chocolate out of my emergency muesli.

I packed two boxes of choco-muesli in my suitcase for my return trip, ended up eating half of one on the plane, and finished the other box-and-a-half within a week of arriving back home. It is rare that I find choco-muesli ready-made in the States (though I certainly stock up when I do), so I've been making my own version with raw cacao nibs and other goodies.  While it lacks the novelty of tiny, perfect chocolate squares and the sense of youthful gluttony that comes with eating candy for breakfast, I daresay I like this as much (if not better) than the original.

Raw Choco-Muesli with Ginger and Blueberries
makes 6-7 cups

2-3 cups rolled oats (depending on your preferred oat-to-nut ratio; you can always start with 2 cups and add more later!)
1 cup raw pumpkin seeds (pepitas)
1 cup coarsely chopped raw almonds
1 cup dried blueberries
1/2 cup raw cacao nibs
1/2 cup finely chopped candied ginger

Mix the ingredients together in a large bowl, and store in a lidded jar or airtight container.  Properly stored, the muesli will keep for up to 1 month.

Traditional Preparation (for one serving) - soak 1/2 cup muesli in liquid (milk, yogurt, quark, coconut milk, plant milk, juice, or water) in the fridge overnight.  Top with fresh fruit before serving.

Short-On-Time Preparation (for one serving) - soak 1/2 cup muesli in liquid for a minimum of 5 minutes (I usually start my muesli soaking right after I wake up, and it's ready in the time it takes me to wash my face and get dressed).