FIELD & FOREST

desserts

mayan chocolate roll-out cookies

sweet, vegetarian, winter, autumn, dessertsRachel Sanders4 Comments

Posting a cookie recipe around the holidays always feels like risky business because most folks interested in baking and general merry-making seem to have figured out their cookie game plan. So you should feel like you can take or leave this recipe, but I would encourage you to take it if you have a spare evening and some butter lying around. It is a solid chocolate roll-out dough recipe, and you can leave out the chili powder and cinnamon bells and whistles if that feels like too much for you. But to quote a good friend, the "latent, lingering heat [of the spices] is so pleasing." Sort of like liquid jacket, but with cookies.

I've got your attention now, haven't I? ;-)

If you're new to the business of royal icing, here are some of handy tips for decorating your cookies with maximum enjoyment and minimal frustration:

1. Invest in a piping tip - you have probably seen people ice cookies using a sandwich bag with the end snipped off, but it is difficult to guarantee that you'll be able to pipe in a straight line and that the thickness of your line will be consistent (since the opening may stretch or tear). You'll more likely set yourself up for a frustrating time if you refuse to use a piping tip or other, rigid tip (such as that of a squeeze bottle, which has its own limitations). I put a piping tip into a sandwich bag so that I could seal the bag and save the icing from drying so that it could be used over multiple days. Find icing tips at gourmet specialty shops (such as Sur la Table) or online. I like using a plain, round tip (such as an Ateco #2 or #4) for royal icing since I make mine somewhat fluid and it won't hold textures or ridges.

2. Move your piping tip at the same speed as the icing flows - moving at the same speed means that you're more likely to create straight lines, and that your lines will be the same thickness as the piping tip. Move too quickly, and you'll create thin lines (or your lines might break as you pipe them). Move too slowly, and you may end up with thicker or clumpy sections in your lines, or your lines may look more wobbly. Practice on a few cookies or on parchment paper to get a feel for your icing's consistency/flow rate.

3. Work from the outside in whenever possible - this helps to ensure consistency in your design and makes it a lot easier to create "perfect" looking cookies.

4. Practice, and don't beat yourself up while you're learning! The point is to have fun with this. Worst case, you can always dump sprinkles on your funkiest designs and they will look fabulous.

mayan chocolate roll-out cookies

adapted from this recipe - makes roughly 3 dozen 3.5 inch cookies

This recipe is a little different from some in that some of the dry ingredients are mixed in with the wet ones before the flour is added. I found that I liked being able to beat the hell out of the batter when adding the cocoa powder without worry of gluten development from flour, so I am a big fan of this method for this particular recipe. If you choose to whisk the spices/baking powder/cocoa powder into the flour, then just continue with the "add the flour in three additions" part of the recipe, and be careful not to overmix your dough.

Also, I used the smaller amounts of spices when making this dough the first time, and while they added a really delightful something to the dough, I also like using them in slightly larger quantities to pack more of a punch.


1 cup butter, at room temperature
1 1/4 cups sugar
2 eggs
1 teaspoon vanilla
3/4 teaspoon baking powder
3/4-1 teaspoon chili powder (I used Rancho Gordo)
1/2-3/4 teaspoon cinnamon
1 teaspoon kosher salt
2/3 cup natural cocoa powder
3 cups all-purpose flour

Royal Icing, to decorate (recipe follows)


Cream together the butter and sugar in the bowl of a stand mixer until light and fluffy. Add the eggs one at a time and mix to combine, scraping down the sides of the bowl with a spatula in between each egg. Add the vanilla, and mix to combine.

Whisk together the baking powder, chili powder, cinnamon, and kosher salt, and add to the bowl. Mix well to combine, scraping down the sides of the bowl if necessary. Add the cocoa powder and again mix well to combine (I just left my mixer running for 2-3 minutes at this point).

Add the flour in three additions, scraping down the sides of the bowl and mixing just to combine in between each addition. Do not overmix. Form the dough into a round and wrap in plastic wrap. Chill in the refrigerator for at least 30 minutes or overnight.

While the dough chills, preheat your oven to 350˚F. Line two baking sheets with parchment paper.

Remove the dough from the fridge and divide in half. Place one half on a floured surface, and wrap the second in the plastic while you work with the first. Roll out into a 1/4-inch thick sheet (if the dough cracks or is hard to work with, let it rest for 15-20 minutes to warm up a bit). Cut into desired shapes and place on the parchment lined baking sheet. Once one baking sheet is full, place it in the oven to bake for 7-10 minutes while you cut more cookies.

Once the cookies are baked (I ended up liking the ones in the 8-9 minute bake range the best), remove them to a wire rack to cool (leave the parchment sheet on the pan for more cookies). Place the second pan in the oven to bake while you cut more cookies. Note: make sure to let the pans cool a little bit before putting unbaked cookies on them... this way they don't melt a little or lose their shape before making it to the oven. Reroll and cut any scraps. Repeat cutting/baking with the second round of dough once you've finished with the first.

Once cooled, cookies may be iced or stored in an airtight container at room temperature for up to a week.

ROYAL ICING
makes 1 cup

There are many different ways to make royal icing depending on whether you're using dehydrated egg whites, meringue powder, or fresh egg whites. I couldn't find dehydrated egg whites, and the meringue powder I found had a lot of funky-sounding additives, so I used a fresh egg white. The double-boiler method allows you to cook the egg white without making scrambled eggs and gives you a pure, white color.

If you can find pasteurized egg whites, Alton Brown has a great recipe here.


1 large egg white
1 cup powdered sugar, divided


Combine the egg white with 1/3 cup of powdered sugar in the bowl of a double-boiler (or in a heatproof bowl set over simmering water) and whisk to combine. Cook gently over the simmering water, whisking constantly, until the mixture reads 155˚F on a thermometer (do NOT stop whisking or let it boil). Remove from the heat and add the remaining powdered sugar, whisking constantly to combine until the sugar dissolves (briefly place it back over the heat if necessary to dissolve any lumps). Add a teaspoon or two of water if your icing seems too thick (I like to pick up a little icing with the whisk or a spoon and trail it over the surface - it should leave a ribbon, but be reabsorbed into the rest of the icing within 5 seconds or so).

gjelina's squash, olive oil, and chocolate cake

autumn, breakfast, desserts, winter, vegetarian, sweetRachel SandersComment

I woke up yesterday still wearing my Buddy Christ shirt from Halloween (guess who we were!) and feeling mildly sugar hungover + for reals hungover + a bit discombobulated by how bright it was given that my phone read 7:35 am. So I made coffee and decided to go through this month's Book of the Month, Gjelina, and find some things to make for you all.

This squashy chocolate-studded loaf was one of the very last recipes, and it looked so very pretty and easy enough that my brain could handle making it in spite of the metaphorical coat hanger crammed into my skull. You sift together the dry ingredients, mix up the wet ones, combine them briefly and fold in the chocolate, and pour the whole thing into a pan. If you've ever made pancakes or muffins or put together an IKEA bookcase, this recipe is going to be cake for you (bahaha).

I'm so sorry, all of the candy has made me especially weird today.

I, like most of America, am all about the pumpkin-spiced stuff, but I was somewhat surprised that one of my favorite parts of this recipe ended up being the glaze. It's a simple powdered sugar glaze that is fortified by olive oil, and good lord, is it delicious. I ate most of it out of the bowl and felt thoroughly sugared afterwards, but it was completely worth it. I think I might borrow it and use it to glaze this cake. Travis suggests omitting the glaze if serving this cake for breakfast, but don't do it, I beg of you. It's really fantastic, and it helps to cut through the richness of the cake (which, with the oil content and chocolate, is certainly up there, though in a very good way).

If anything, if you want it to be more breakfasty, halve the chocolate. I know, I can't believe I said that either.


GJELINA'S SQUASH, OLIVE OIL, AND CHOCOLATE CAKE
Makes 1 9x5-inch loaf - serves 8-12

The original recipe calls for you to make your own kabocha squash purée, which adds some depth of squashy flavor. I've adapted the recipe for using canned pumpkin, but if you'd like to make your own purée, there are instructions at the end of the recipe.

1 1/2 cups all-purpose flour
1 1/2 tsp baking powder
1/2 tsp baking soda
1 Tbsp ground cinnamon
2 tsp freshly ground nutmeg
1/4 tsp kosher salt
1 1/3 cups granulated sugar
1 cup extra virgin olive oil
1 cup canned pumpkin purée or homemade squash purée
3 eggs
8 oz bittersweet chocolate, finely chopped

FOR THE GLAZE:
1 1/4 cups confectioner's sugar, sifted, plus more as needed
2 Tbsp hot water, plus more as needed
3 Tbsp extra-virgin olive oil

3 Tbsp pepitas (raw, hulled pumpkin seeds), toasted in a dry skillet until nutty and browned
2 Tbsp crushed cacao nibs


Preheat the oven to 325˚F, and generously butter a 9x5-inch loaf pan.

Whisk (or sift) together the flour, baking powder, baking soda, cinnamon, nutmeg, and salt in a medium bowl. In a large bowl, whisk together the sugar, olive oil, pumpkin purée, and eggs. Add the dry ingredients to the bowl with the wet ingredients and whisk until just combined. (Adding the dry ingredients to the wet ingredients helps to prevent little dry pockets in the bottom of the bowl.) Fold in the chopped chocolate.

Pour the batter into the prepared pan and bake for 75 to 90 minutes, or until a skewer inserted in the center of the cake comes out clean. Let the cake cool in its pan on a wire rack for 20 minutes. Run an icing spatula or a thin knife carefully around the edges, and invert the cake from the pan. Re-invert the cake so that it is right-side-up and let cool on the rack for another 20 minutes. Transfer to a serving plate.

To make the glaze: In a small bowl, whisk the confectioner's sugar with the water until smooth. Add more sugar and/or water until you have a glaze that is the consistency of honey. Slowly drizzle in the olive oil, whisking constantly to combine.

Pour the glaze over the cake, allowing it to drip down the sides. Sprinkle with the pepitas and cacao nibs and let the glaze set completely (about 1 hour) before serving.


To make your own squash purée: Remove the seeds from a 1-pound piece of kabocha squash and drizzle the squash with olive oil. Place squash cut-side down on a baking sheet and roast in a preheated 425˚F oven for 30-45 minutes, until the squash is very soft and beginning to caramelize around the edges. Remove from the oven and let cool. Scrape out the soft flesh into the bowl of a food processor, and pulse until smooth.

Place the puréed squash on a large square of cheesecloth, and wrap into a tight bundle. Put the bundle into a colander, and place over a large bowl. Let drain at least 4 hours, or up to overnight. Twist the top of the bundle to squeeze out any additional liquid. Unwrap the drained squash, and measure out 1 cup of purée for the cake recipe. Cover and refrigerate any remaining purée for another use (may be stored for up to 5 days).

ricotta tartines with peaches, basil, and piment d'espelette

autumn, breads, breakfast, desserts, snacks, summer, sweet, vegetarianFieldandForest2 Comments
4j5a77861.jpg

I don't know about you, but I have jumped hardcore onto the ricotta toast bandwagon. It is SO good! Why is it so good? Why can I not stop myself from eating ricotta toast? Seriously. After I took the above photo, I ate those two tartines, and then I wanted more, so I made two more. And then I ate those. And I am seriously considering toasting up some more bread and making another. Somebody come save me from myself, please! I will repay you with a tartine. And then someone else will probably have to come save you from eating tartines at some point, too, and if the cycle continues, we will have so many people at our place eating tartines, which means at that point we'll just have to have a party.

Which works out, since it's FRIDAY (yay!).

Happy weekend, all!

Ricotta Tartines with Peaches, Basil, and Piment D'Espelette
makes 4 tartines

Why call this a tartine? Tartines are often substantial, open-faced sandwiches, and are frequently eaten with knives and forks. The peaches here are cut into rather thick wedges, and the moisture from the ricotta can make the center of your toast a little soft, so these lack some of the structural integrity needed to lift the bread to your mouth (and are a little tall for you to take a bite directly out of one, anyway) and are best eaten with utensils. Hence, tartines! Shrink these down and make them with toasted baguette slices if you want something that lends itself better to finger food.

4 1/2-inch slices of crusty white bread, such as sourdough or ciabatta (do not use a soft, sandwich bread, as it will get mushy)
olive oil1/2 cup ricotta (whole or part-skim both work well)
1 ripe yellow peach, cut into 12 wedges (quarter the peach, and cut each quarter into thirds)
4 basil leaves sliced into chiffonade (ribbons)
honey, for drizzling (I used Tupelo honey, which I love as it is intensely floral and buttery, plus it never crystalizes) Piment d'Espelette, hot paprika, or a finely crushed dried red chile

Brush the bread with olive oil and toast under the broiler until browned and crispy (this happens quickly, so keep an eye on it as it toasts).

Spread about 2 tablespoons ricotta over each of the toasts. Lay three peach slices over each toast, and distribute the basil evenly among the toasts. Drizzle each tartine with about a teaspoon of honey (or more, if you prefer), and sprinkle with a small pinch of Piment d'Espelette. Serve immediately.

campfire blueberry cobbler

breakfast, desserts, summer, sweet, vegetarianFieldandForest4 Comments

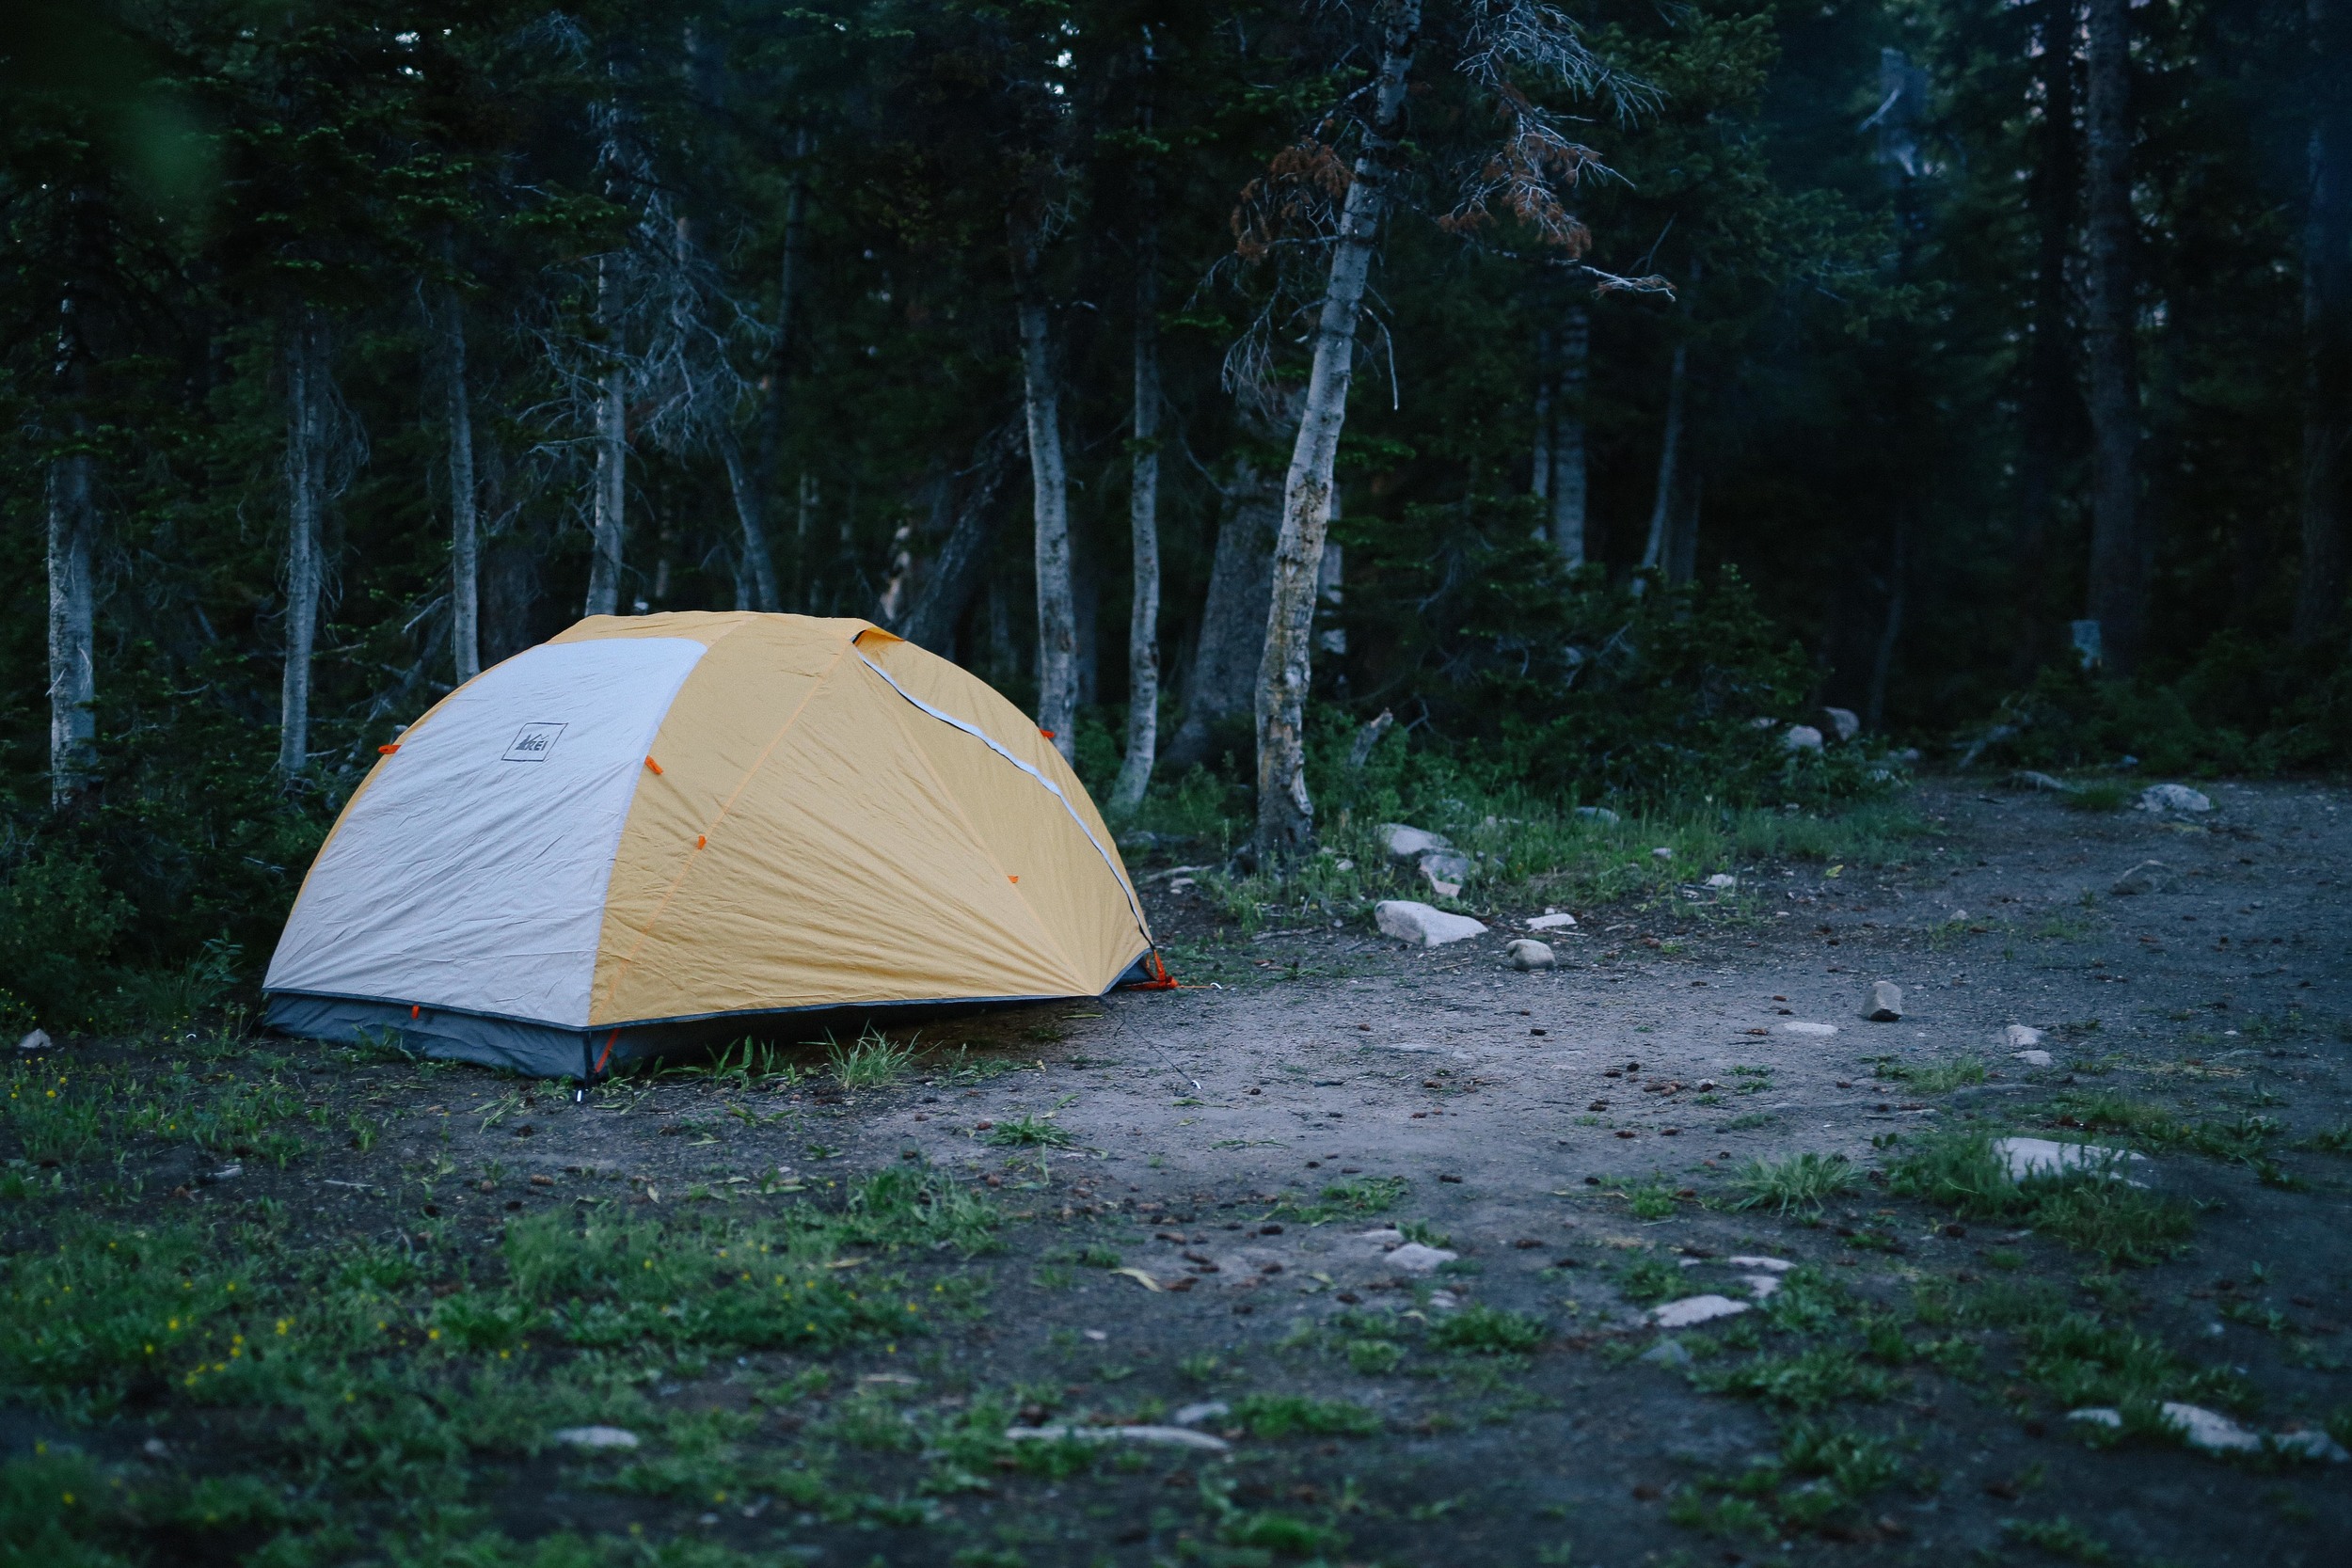
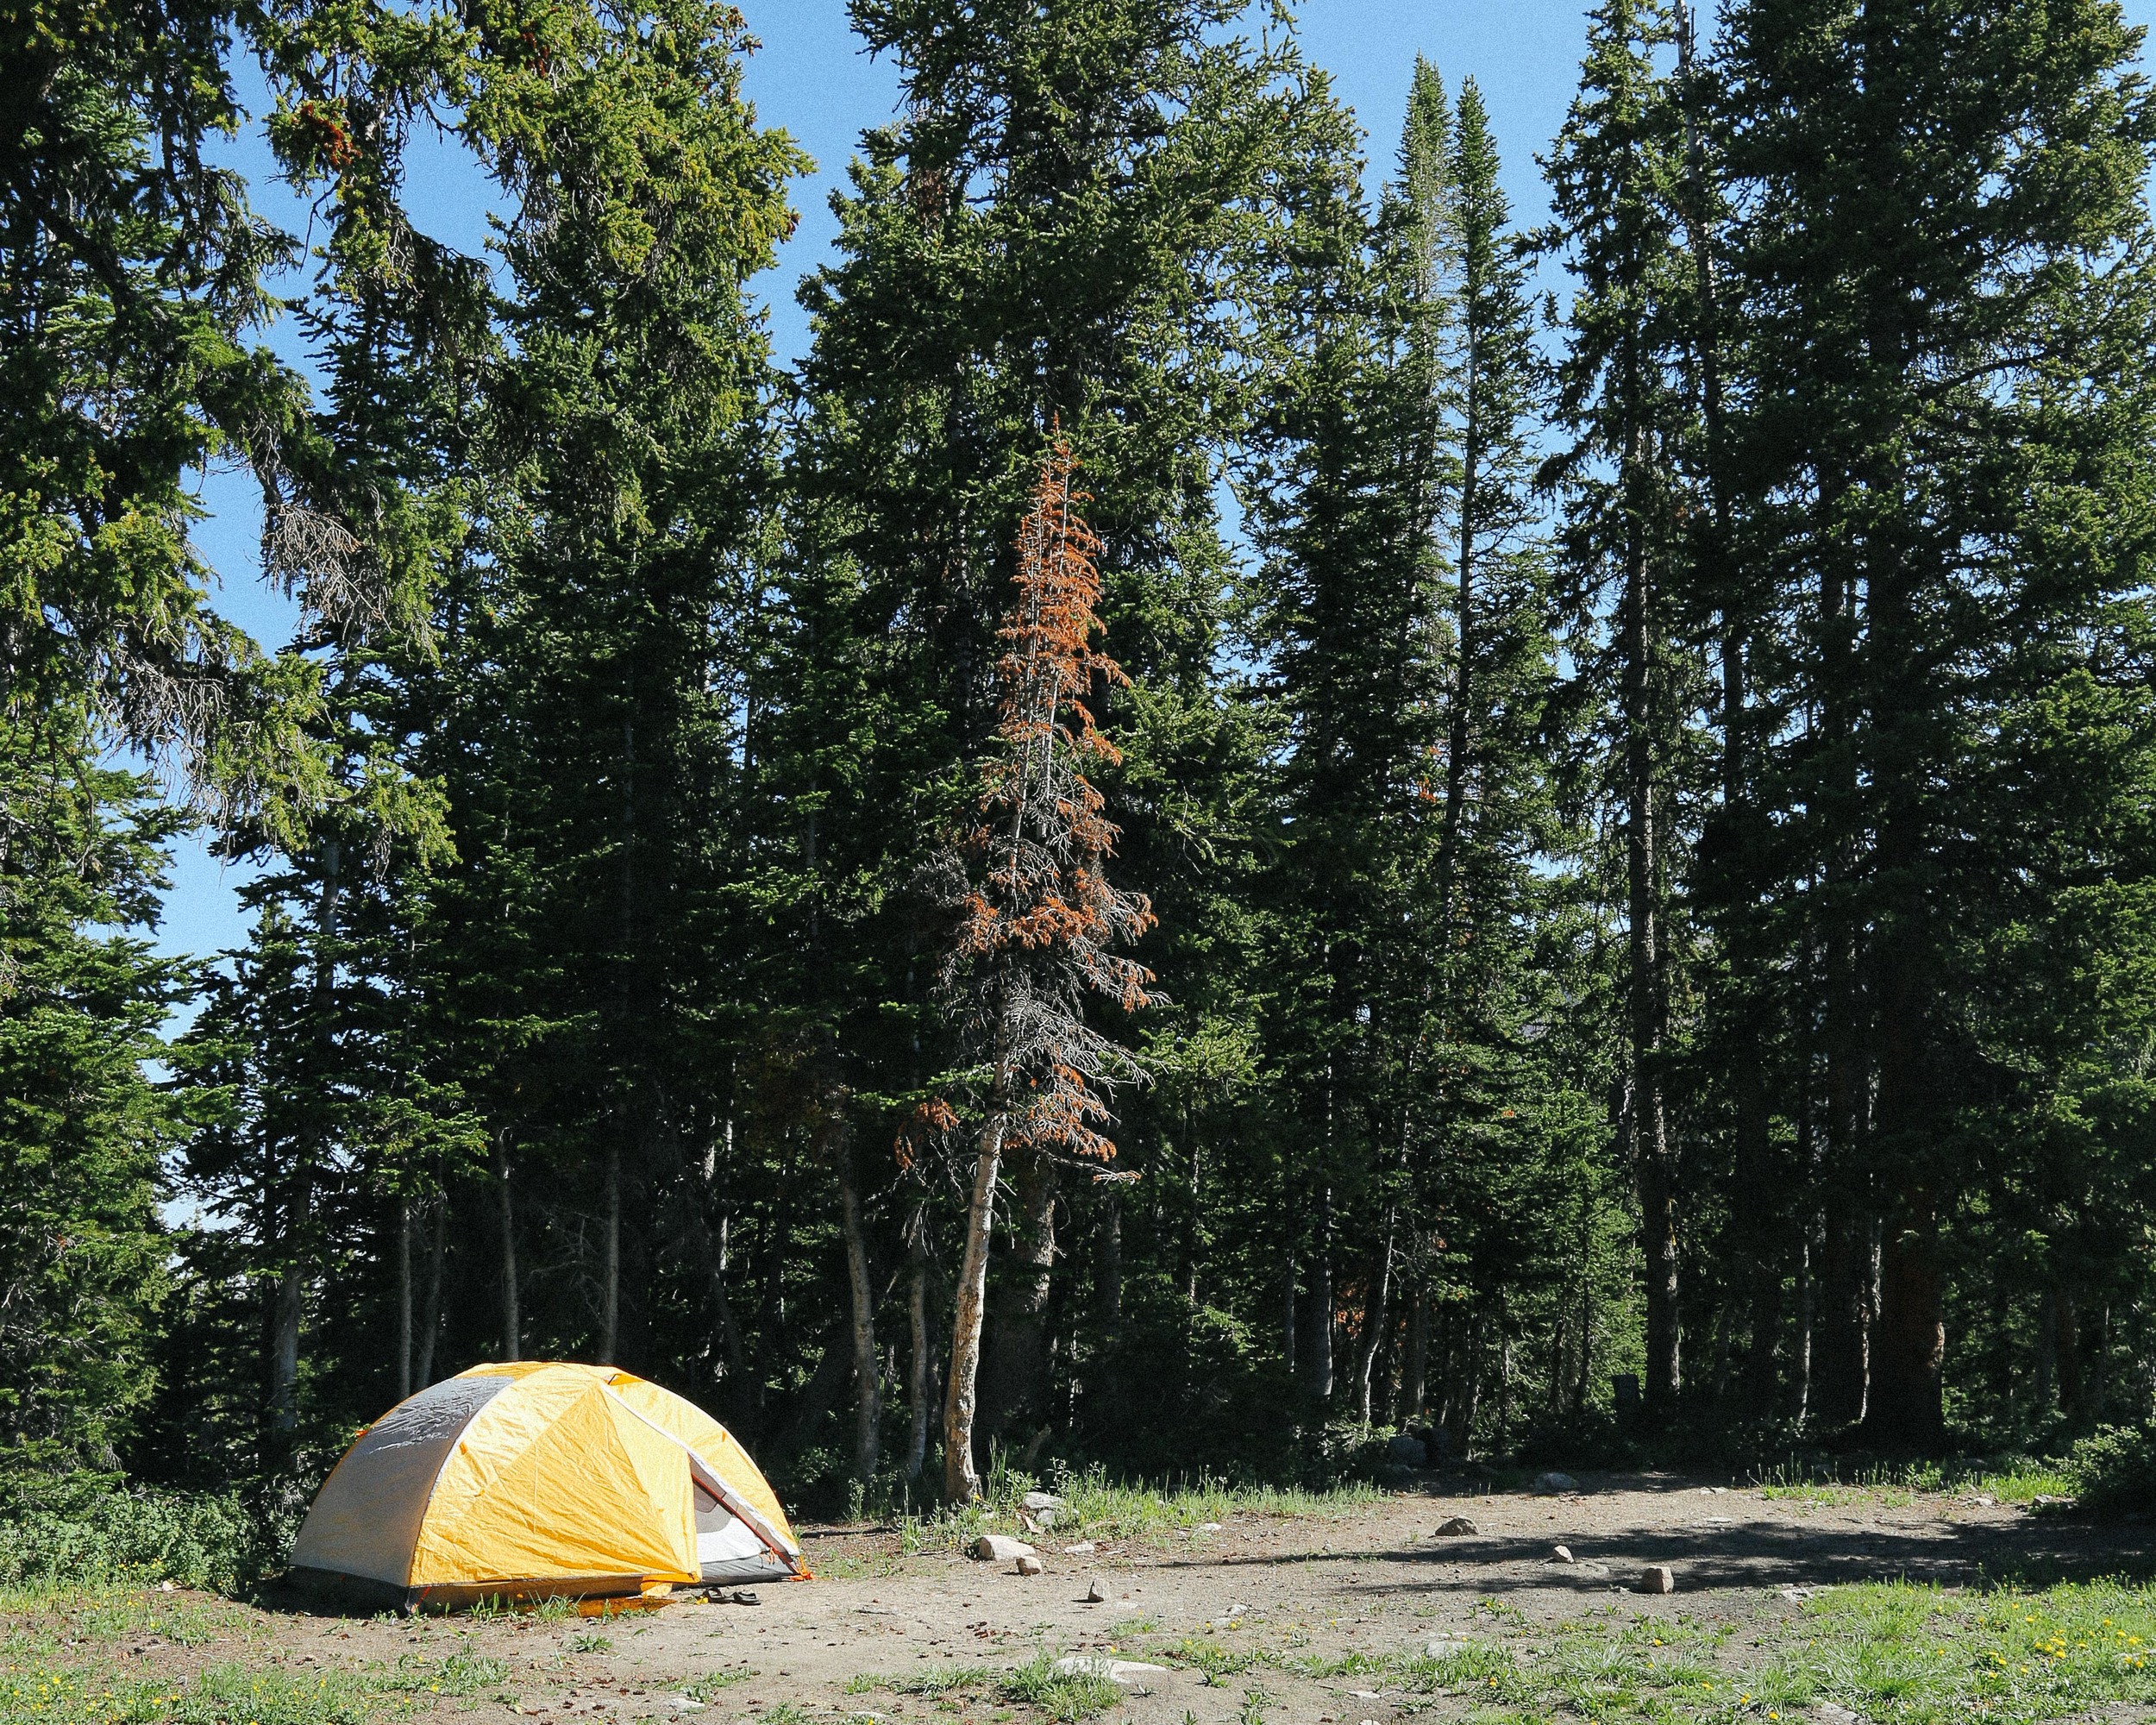
I wish I could tell you that this camping trip was all sunshine and climbing and cobbler, and it was, but it was also mosquitos (in a BIG way) and now I am a human-shaped pile of itch. Our lovely, perfect, secluded BLM camping site, with its flat, soft ground, makeshift fire pit, and expansive field and mountain views, was also the site for mosquito Bonnaroo Summer 2015, and we were Mumford and Sons caught without our chicken suit and wedding dress. Not a moment had passed since we opened the car doors before we were enveloped in a wispy, humming cloud of bloodsuckers, more at a single time than I have ever before seen in my life.

Ohhh, I wish I were kidding.

Lucca, of course, couldn't have cared less about the mosquitos, and Richard is a particular breed of hardcore, so the two of them went about doing their various camp arrival activities (rolling in deer poop/setting up the tent, respectively), while I ran around the campsite in my ski jacket waving my arms and yelling and trying desperately to avoid being bitten. I was unsuccessful. But eventually a slight breeze picked up and the temperatures dropped and the majority of the mosquitos hurried away to wherever it is mosquitos go when it gets windy and cold, and we had a very lovely time eating burritos and drinking beer/wine and enjoying one of the best campfire desserts we've ever made.

So, here's the thing: I honestly don't know whether to call this a crumble or a cobbler, as there is no liquid in the topping (which I think is supposed to make it ineligible to be a true cobbler), but there was a definite cakey layer under the crispy, pebbled top which seemed out of place for a crumble. And the recipe I adapted was originally from a topping for fruit crisp, but I'm pretty sure that a crisp isn't supposed to be cakey at all. So, even though I'm categorizing this as a cobbler, I don't know what to call this Franken-fruit dessert! But it was delicious, whatever it was. And if you are someone who oscillates between a preference for cakey things and crumbly/streusel-y things, then this is definitely the happy medium you've been waiting to find.

As we were unable to finish the cobbler between the two of us that evening, we just stuck the lid on the Dutch oven when we were finished and ate the leftovers over yogurt for breakfast the next morning. I HIGHLY recommend you do this as well, should you find yourself with leftovers of your own.

A few things you might be wondering/thinking:

Where are you in these photos? We were in the Uintas, a northern Utah mountain range, and the largest mountain range running east-to-west in the contiguous United States. It includes King's Peak, the highest mountain in Utah at 13,528 feet, plus over 1,000 lakes (really, really). It is a great place to hike, camp, ski, paddleboard, kayak, play with dogs, and escape the oppressive summer heat of the Salt Lake valley. It is also barely two hours away from downtown SLC! Even though we camped on BLM land, there are a number of (very popular) campsites in the area. You can check out campsites, permit/pass information, weather forecasts, and more here.

Where did you get that nifty Dutch oven? Richard got this Dutch oven from his parents for a past birthday. It is aluminum, and is light enough to take backpacking. If you're more into cast iron, Lodge makes a number of great Dutch ovens in a variety of sizes and styles that would be perfect for car camping. Make sure you get one with a handle that can swing up and over the lid of the Dutch oven for easy lifting and moving, or you are going to have a pretty interesting time maneuvering your lava-hot pot of cobbler out of the campfire.

How did you keep Lucca from running away from your campsite? Oh, there was definitely a moment when Lucca went on a mission to befriend a lone landscape photographer, and Richard had to hunt him down in the semi-darkness. And Lucca took himself on a short adventure to somewhere (I still don't know where) when I got up for an early morning pee, and I hollered for him for a good couple of minutes before he popped out of some bushes on the other side of the field next to our campsite. So, I suppose the answer is: we don't. He kind of likes to explore on his own when we're outside, and he almost always returns without our intervention. I guess I don't really have good advice, other than that we give him a few top-shelf treats and some cheese every once in a while (usually when he returns from adventuring), and I think he intuits that he'd be hard-pressed to find aged cheddar elsewhere in the wilderness.

(And don't you worry, Internet trolls, we wouldn't let him off the leash if he was a menace to other dogs/small children, and we leash him when we're in areas with a high-density of wild animals/cars/other people/watersheds.)

You left some stems on your blueberries when you made the cobbler!! Let's be clear that when you are getting attacked by hordes of mosquitos, de-stemming blueberries falls pretty low on your list of priorities. I just wanted to get the cobbler show on the road as quickly as possible. But to be honest, I didn't even notice any stems in the cobbler after it was finished! True story.

I want to know what's happening with that burrito-looking thing. Yeah! So we had a leftover chicken breast from the Gringo Chicken Tacos (I made a double batch the other day), so I shredded it and added it to some black beans which we heated on the camp stove. We put the chicken-bean mixture on whole-wheat tortillas, added some leftover chopped onions and cilantro, store-bought pico de gallo, and avocado slices, plus a squeeze of lime, and rolled everything up into burritos. They rocked.

Campfire Blueberry Cobbler serves 4-6 (or 2 with leftovers for breakfast)

For the topping:
1 cup all-purpose flour
1/3 cup packed brown sugar
1 tablespoon white sugar
1/4-1/2 teaspoon cinnamon (depending on how cinnamon-y you like your topping)
1 large pinch kosher salt (1/8 teaspoon)

Before you leave on your camping trip, combine all of the dry ingredients in a lidded container (preferably one that is large enough to also cut the butter into) and mix thoroughly. Pack with the rest of your food for the trip.

To complete your cobbler:
6 tablespoons butter, divided
4-6 cups blueberries (depending on how your preferred fruit-to-topping ratio... we used about 4 cups of berries)
1-2 tablespoons brown sugar juice of 1 lemon

Equipment: one 10-inch Dutch oven, a knife, a campfire with hot coals, tongs

Grease the inside of a 10-inch Dutch oven with 1 tablespoon of the butter. Add the blueberries, brown sugar, and lemon juice to the Dutch oven and mix with your hands to combine.

Cut the remaining 5 tablespoons butter into the container with the dry topping mixture. Use your fingers to pinch the butter into the flour mixture until the mixture looks like a blend of sand and small pebbles. Spread this mixture evenly over the blueberries, and place the lid on the Dutch oven.

Spread a single layer of hot coals on one side of your campfire, and place the Dutch oven over the coals. Use the tongs to carefully place about 10 additional coals (12, if your coals are on the small side) on the top of the Dutch oven. Cook for 30-40 minutes, rotating the Dutch oven 90-180 degrees every 5-10 minutes so the cobbler cooks evenly.

Remove the Dutch oven to a bare patch of dirt, and carefully use the tongs to place the coals from the lid back into the fire. Remove the lid from the Dutch oven to make sure that the cobbler is cooked, and let cool with the lid off (or ajar, if it is buggy) for about 5 minutes before serving.

baked oatmeal with apples, rhubarb, almonds, and pepitas

autumn, breakfast, desserts, spring, sweet, winterFieldandForest2 Comments
4j5a5904.jpg

I know, I know... what, pray-tell, is this apple and nut-crumbly topped thing doing here in May. Would you believe that the Northern Utah high desert, land of the fourteen-day spring, has developed a Seattle-esque languor of thunderstorms and wind? That we've been slathering on sunscreen in the morning only to throw on our rain shells and boots in the afternoon (or vice versa)? That I haven't had to water my garden once in the past week and a half? That the ski resorts have closed for the season even though we've had an additional 16 inches of snow in the mountains in past 72 hours?

It is crazy-town.

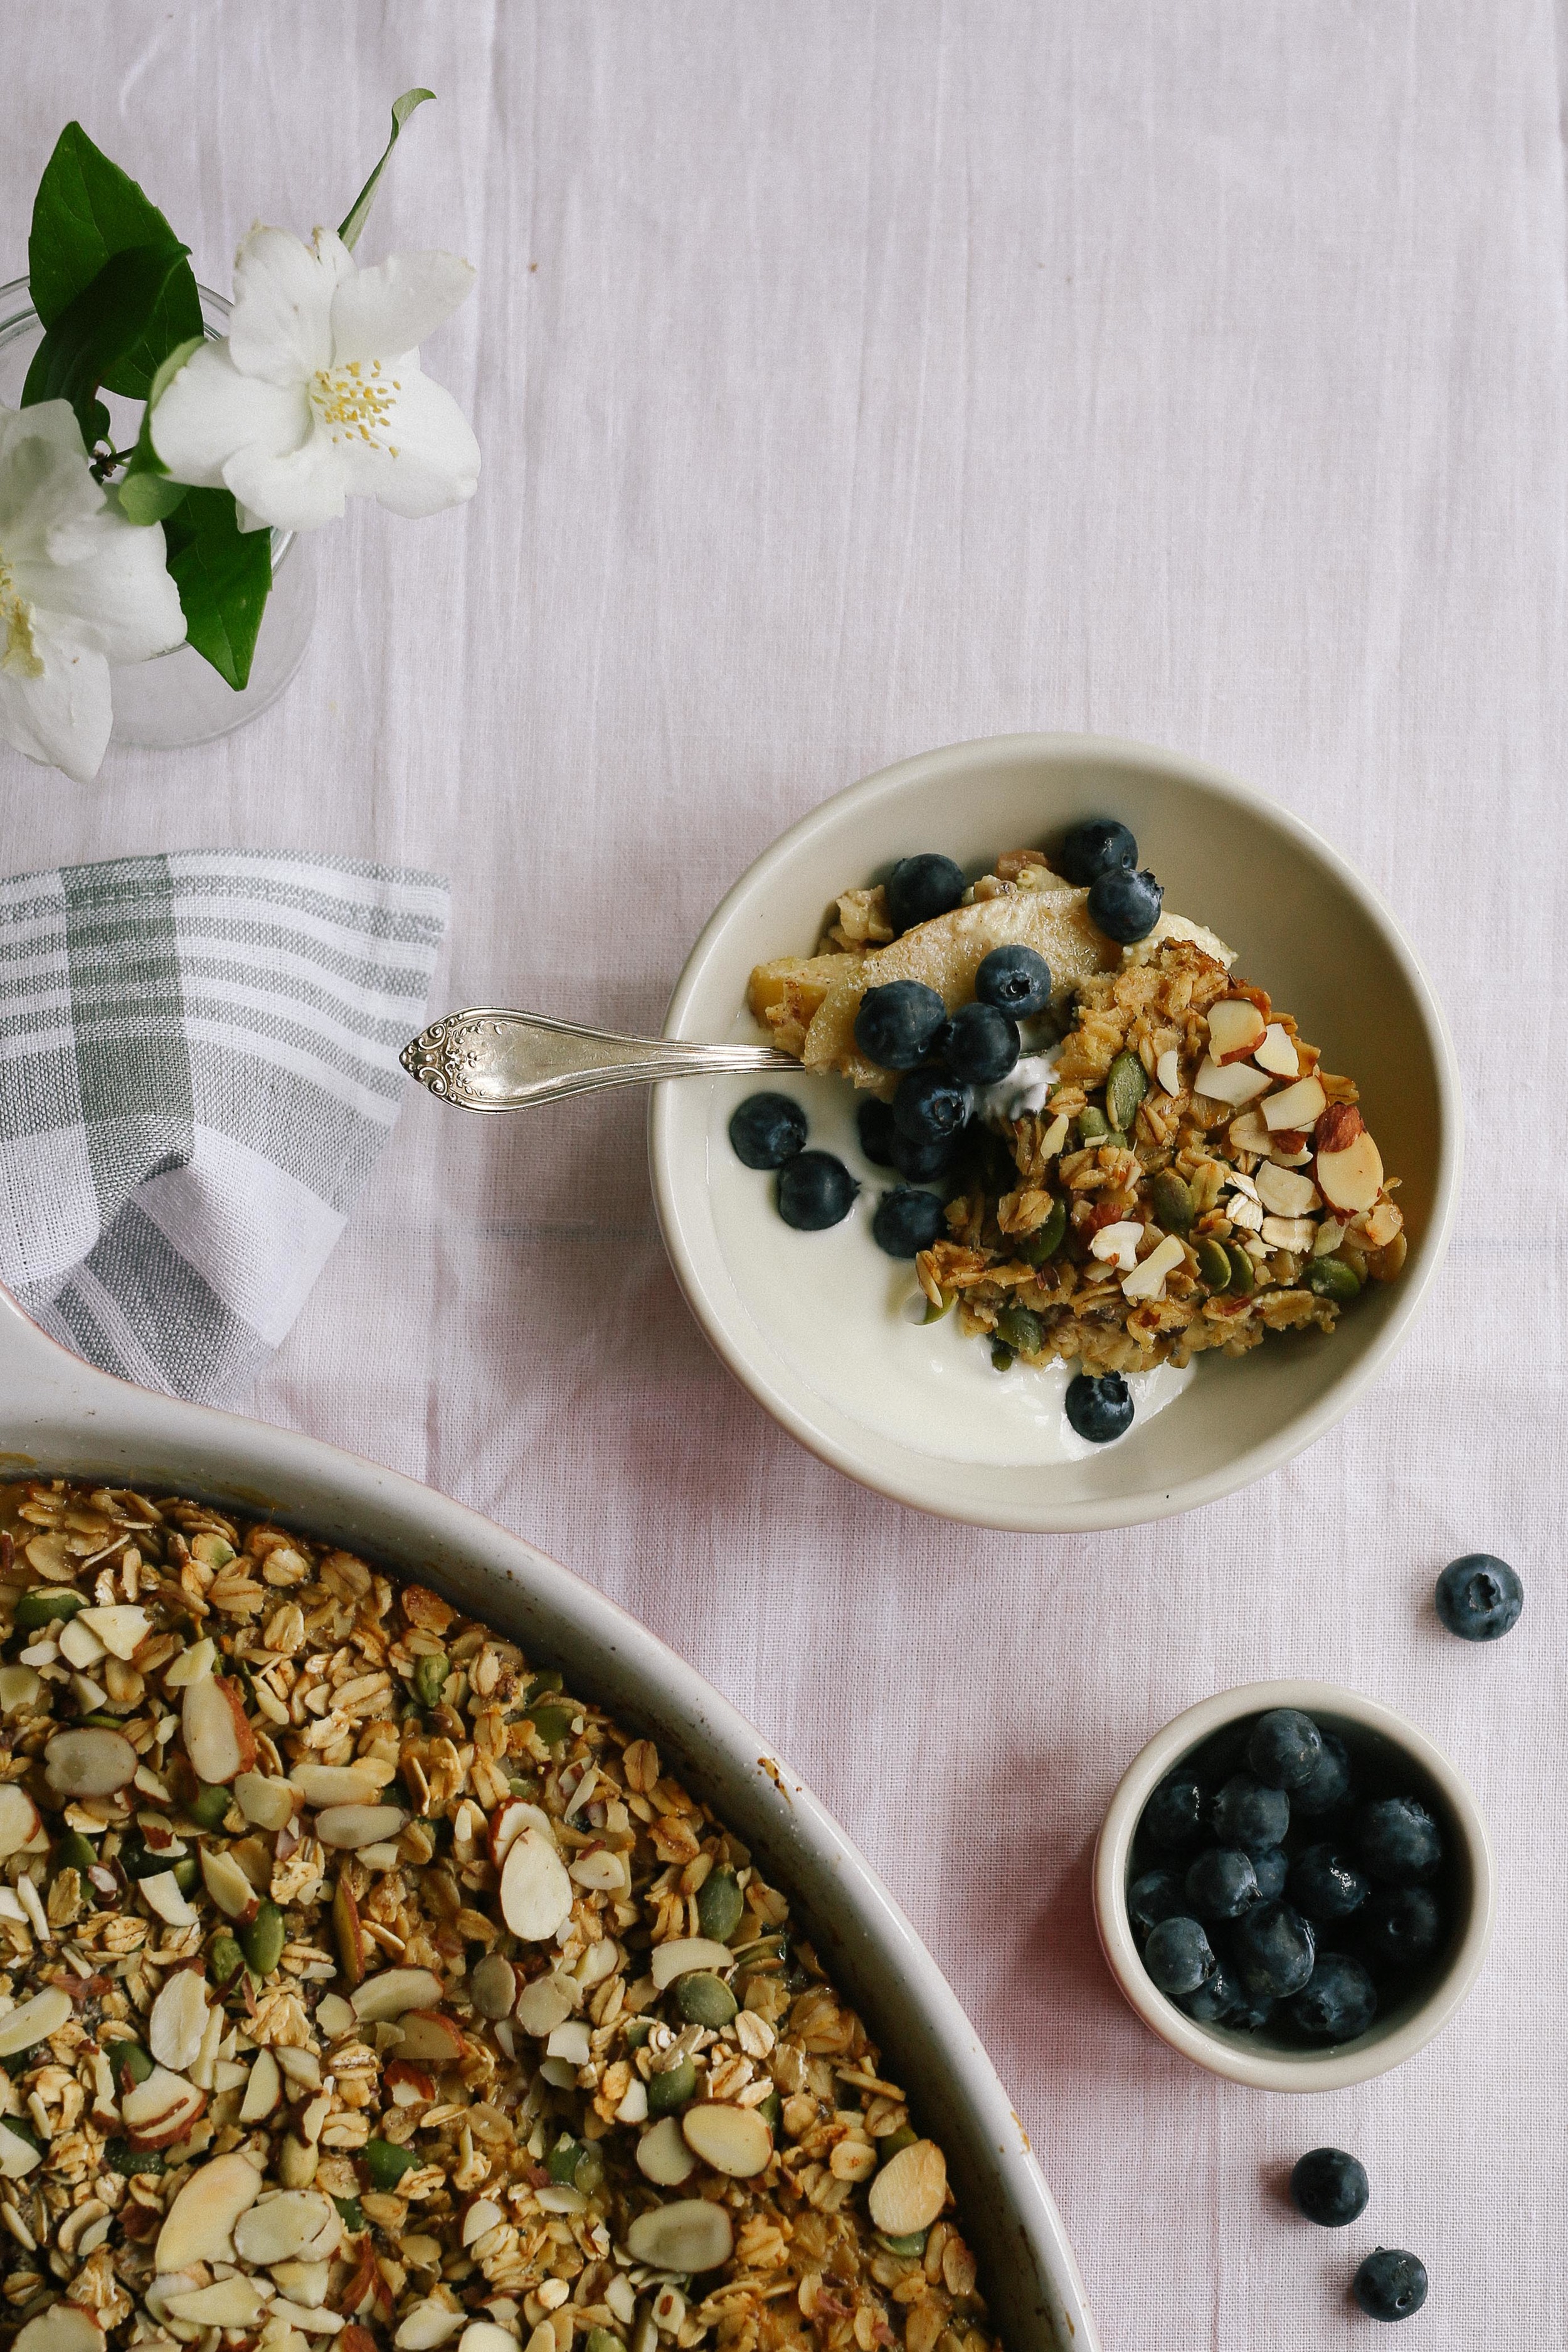
But it's reinvigorated our desire for baked and braised and stick-to-your-ribs things for the time being, as we are feeling these feelings of homebody-ness and the need for thick socks and weekend mornings spent on the carpet with bowl food and Calvin & Hobbes anthologies. This oatmeal has been in the back of my mind since I received this book as a gift two years ago, and I am face-palming myself for not making it earlier. The original recipe calls for bananas and walnuts, but I'd encourage you to try this version while rhubarb is in season. It is like eating apple crumble and creme brulée and oatmeal all at the same time, and it has just enough cinnamon and nutmeg to make it feel warm and cozy even when eaten leftover straight out of the fridge.

Baked Oatmeal with Apples, Rhubarb, Almonds, and Pepitas
adapted from Heidi Swanson - serves 6 generously, or 12 as part of a larger brunch spread
This is the dream brunch dish, as you can prep the rhubarb compote the night before, and then easily prep the rest of the ingredients in the morning. Put it in the oven about a half-hour before the meal is slated to begin (it cooks for closer to 40 minutes, but in my experience people are generally a few minutes late to brunch), and it will fill your kitchen with all sorts of lovely smells before people arrive. I've given you proportions for an 8-inch by 8-inch baking dish, but you can easily 1 1/2 or double the recipe to suit your headcount or available baking dish size. I ended up 1 1/2-ing the recipe to fill my oval baking dish; if you do the same, aim for 5-6 apples instead of 3-4.

2 cups rolled oats (not instant oats)
1/2 cup pepitas (raw pumpkin seeds)
2 tablespoons flax seeds
2 tablespoons chia seeds
1/3 cup + 1 tablespoon natural cane sugar (granulated sugar), divided
1 1/2 teaspoons ground cinnamon
1/4 teaspoon freshly grated nutmeg
1 teaspoon aluminum-free baking powder
1/2 teaspoon kosher salt
2 cups milk
1 large egg
3 tablespoons unsalted butter, melted and cooled slightly
2 teaspoons pure vanilla extract
3-4 large apples (Fuji, Pippin and McIntosh apples will all keep their shape when cooked) cored and cut into 1/2-inch thick wedges or slices
1 tablespoon fresh lemon juice
Rhubarb Compote (recipe follows)
1/3 cup sliced almonds
2 tablespoons chopped crystalized ginger, optional

To serve:
Yogurt
Fresh fruit or berries (blueberries, strawberries, or blackberries would all be delicious)

Preheat the oven to 375˚F/190˚C with a rack in the top third of the oven. Generously butter an 8-inch square baking dish, and set aside.

In a bowl, mix together the rolled oats, pepitas, flax seeds, chia seeds, 1/3 cup sugar, cinnamon, nutmeg, baking powder, and salt.

In another bowl, whisk together the milk, egg, half of the melted butter, and vanilla.

In a third bowl, combine the apple slices with the remaining tablespoon of sugar and the lemon juice, and toss to combine. Arrange the apples in the bottom of the buttered baking dish. Spoon the rhubarb compote over the apples (make sure it is distributed relatively evenly). Cover the fruit with the oat mixture. Slowly drizzle the milk-egg mixture over the oats, and gently give the baking dish a couple of thwacks on the counter so the milk evenly soaks the oats. Scatter the sliced almonds and the crystalized ginger, if using, across the top.

Bake for 35-45 minutes, or until the top is nicely golden and the oat mixture is set. Remove from the oven and set aside to cool for a few minutes. Drizzle the remaining melted butter over the top, and serve warm with yogurt and fresh fruit.

Rhubarb Compote (makes 1 1/2 cups)

2 cups sliced rhubarb (about 3-4 stalks)
1/4 cup sugar
a generous pinch of cinnamon

Combine the rhubarb, sugar, cinnamon, and a splash of water in a heavy-bottomed pot. Set the pot over low heat and bring to a simmer. Cook, stirring occasionally, until the rhubarb begins to break down and turns rosy in color, about 10 minutes, adding more water if necessary to keep it from burning on the bottom of the pan. Taste, and add more sugar if necessary (I like my compote slightly tart).