FIELD & FOREST

summer

ricotta tartines with peaches, basil, and piment d'espelette

autumn, breads, breakfast, desserts, snacks, summer, sweet, vegetarianFieldandForest2 Comments
4j5a77861.jpg

I don't know about you, but I have jumped hardcore onto the ricotta toast bandwagon. It is SO good! Why is it so good? Why can I not stop myself from eating ricotta toast? Seriously. After I took the above photo, I ate those two tartines, and then I wanted more, so I made two more. And then I ate those. And I am seriously considering toasting up some more bread and making another. Somebody come save me from myself, please! I will repay you with a tartine. And then someone else will probably have to come save you from eating tartines at some point, too, and if the cycle continues, we will have so many people at our place eating tartines, which means at that point we'll just have to have a party.

Which works out, since it's FRIDAY (yay!).

Happy weekend, all!

Ricotta Tartines with Peaches, Basil, and Piment D'Espelette
makes 4 tartines

Why call this a tartine? Tartines are often substantial, open-faced sandwiches, and are frequently eaten with knives and forks. The peaches here are cut into rather thick wedges, and the moisture from the ricotta can make the center of your toast a little soft, so these lack some of the structural integrity needed to lift the bread to your mouth (and are a little tall for you to take a bite directly out of one, anyway) and are best eaten with utensils. Hence, tartines! Shrink these down and make them with toasted baguette slices if you want something that lends itself better to finger food.

4 1/2-inch slices of crusty white bread, such as sourdough or ciabatta (do not use a soft, sandwich bread, as it will get mushy)
olive oil1/2 cup ricotta (whole or part-skim both work well)
1 ripe yellow peach, cut into 12 wedges (quarter the peach, and cut each quarter into thirds)
4 basil leaves sliced into chiffonade (ribbons)
honey, for drizzling (I used Tupelo honey, which I love as it is intensely floral and buttery, plus it never crystalizes) Piment d'Espelette, hot paprika, or a finely crushed dried red chile

Brush the bread with olive oil and toast under the broiler until browned and crispy (this happens quickly, so keep an eye on it as it toasts).

Spread about 2 tablespoons ricotta over each of the toasts. Lay three peach slices over each toast, and distribute the basil evenly among the toasts. Drizzle each tartine with about a teaspoon of honey (or more, if you prefer), and sprinkle with a small pinch of Piment d'Espelette. Serve immediately.

campfire blueberry cobbler

breakfast, desserts, summer, sweet, vegetarianFieldandForest4 Comments

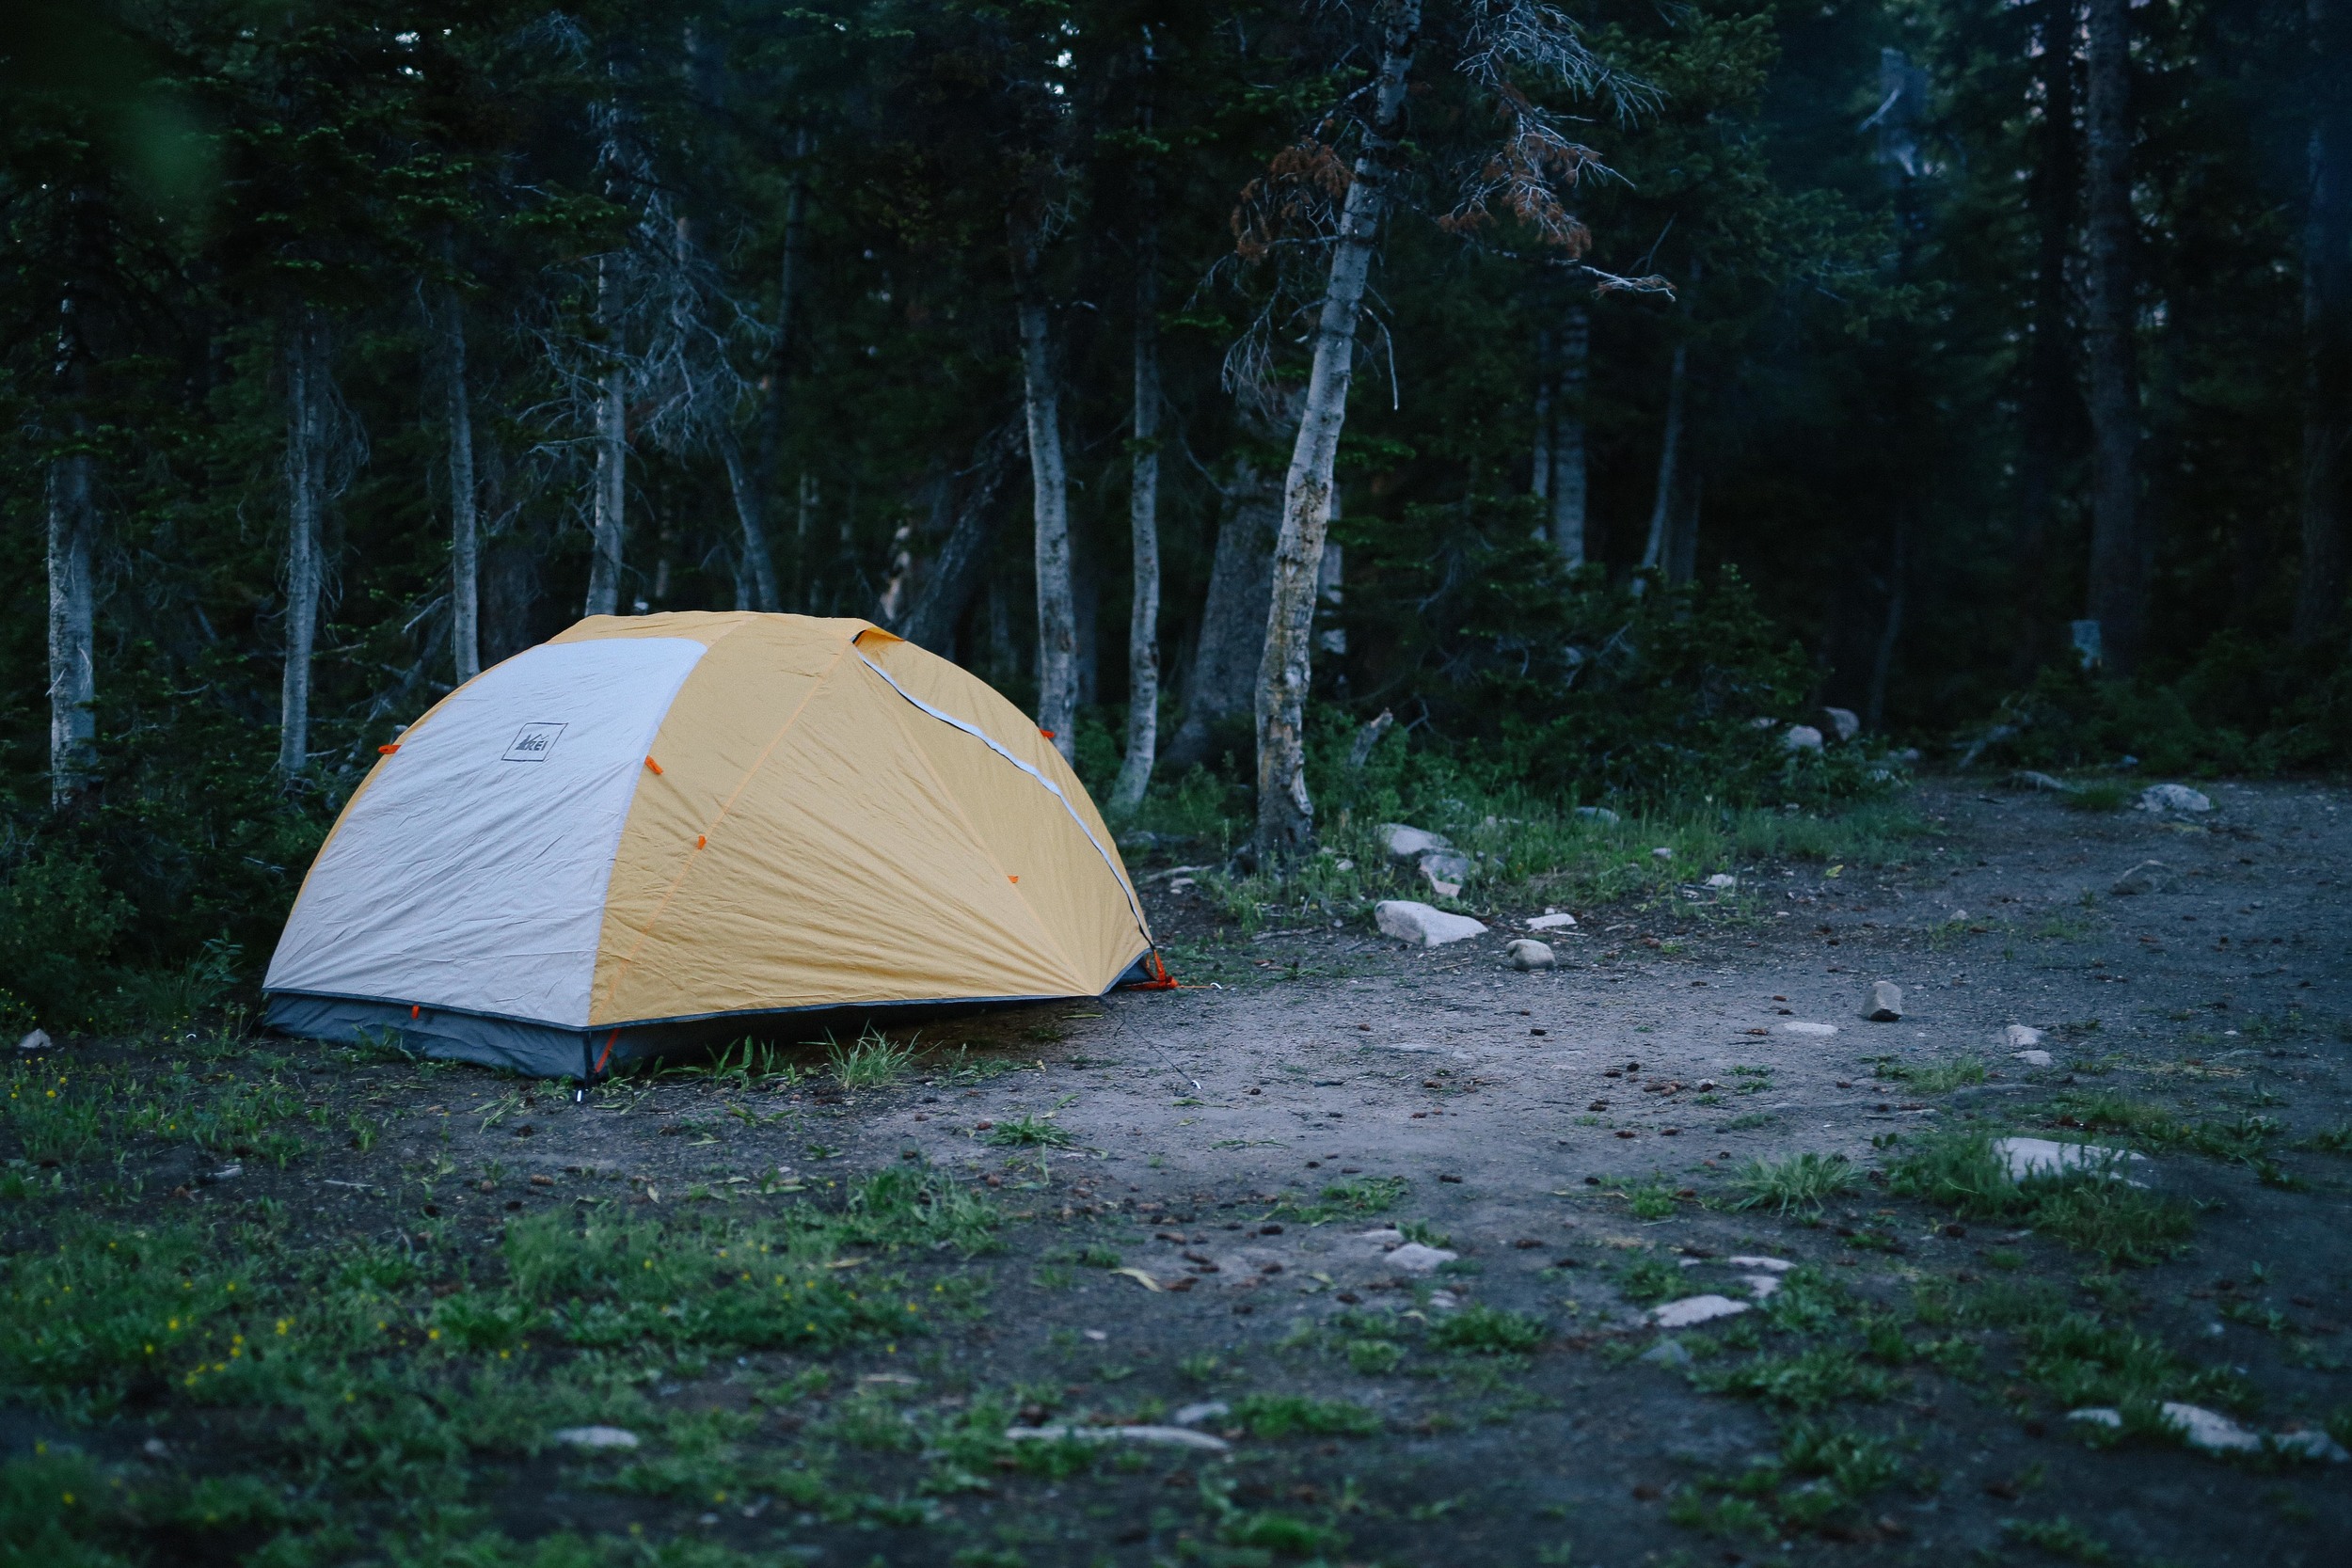
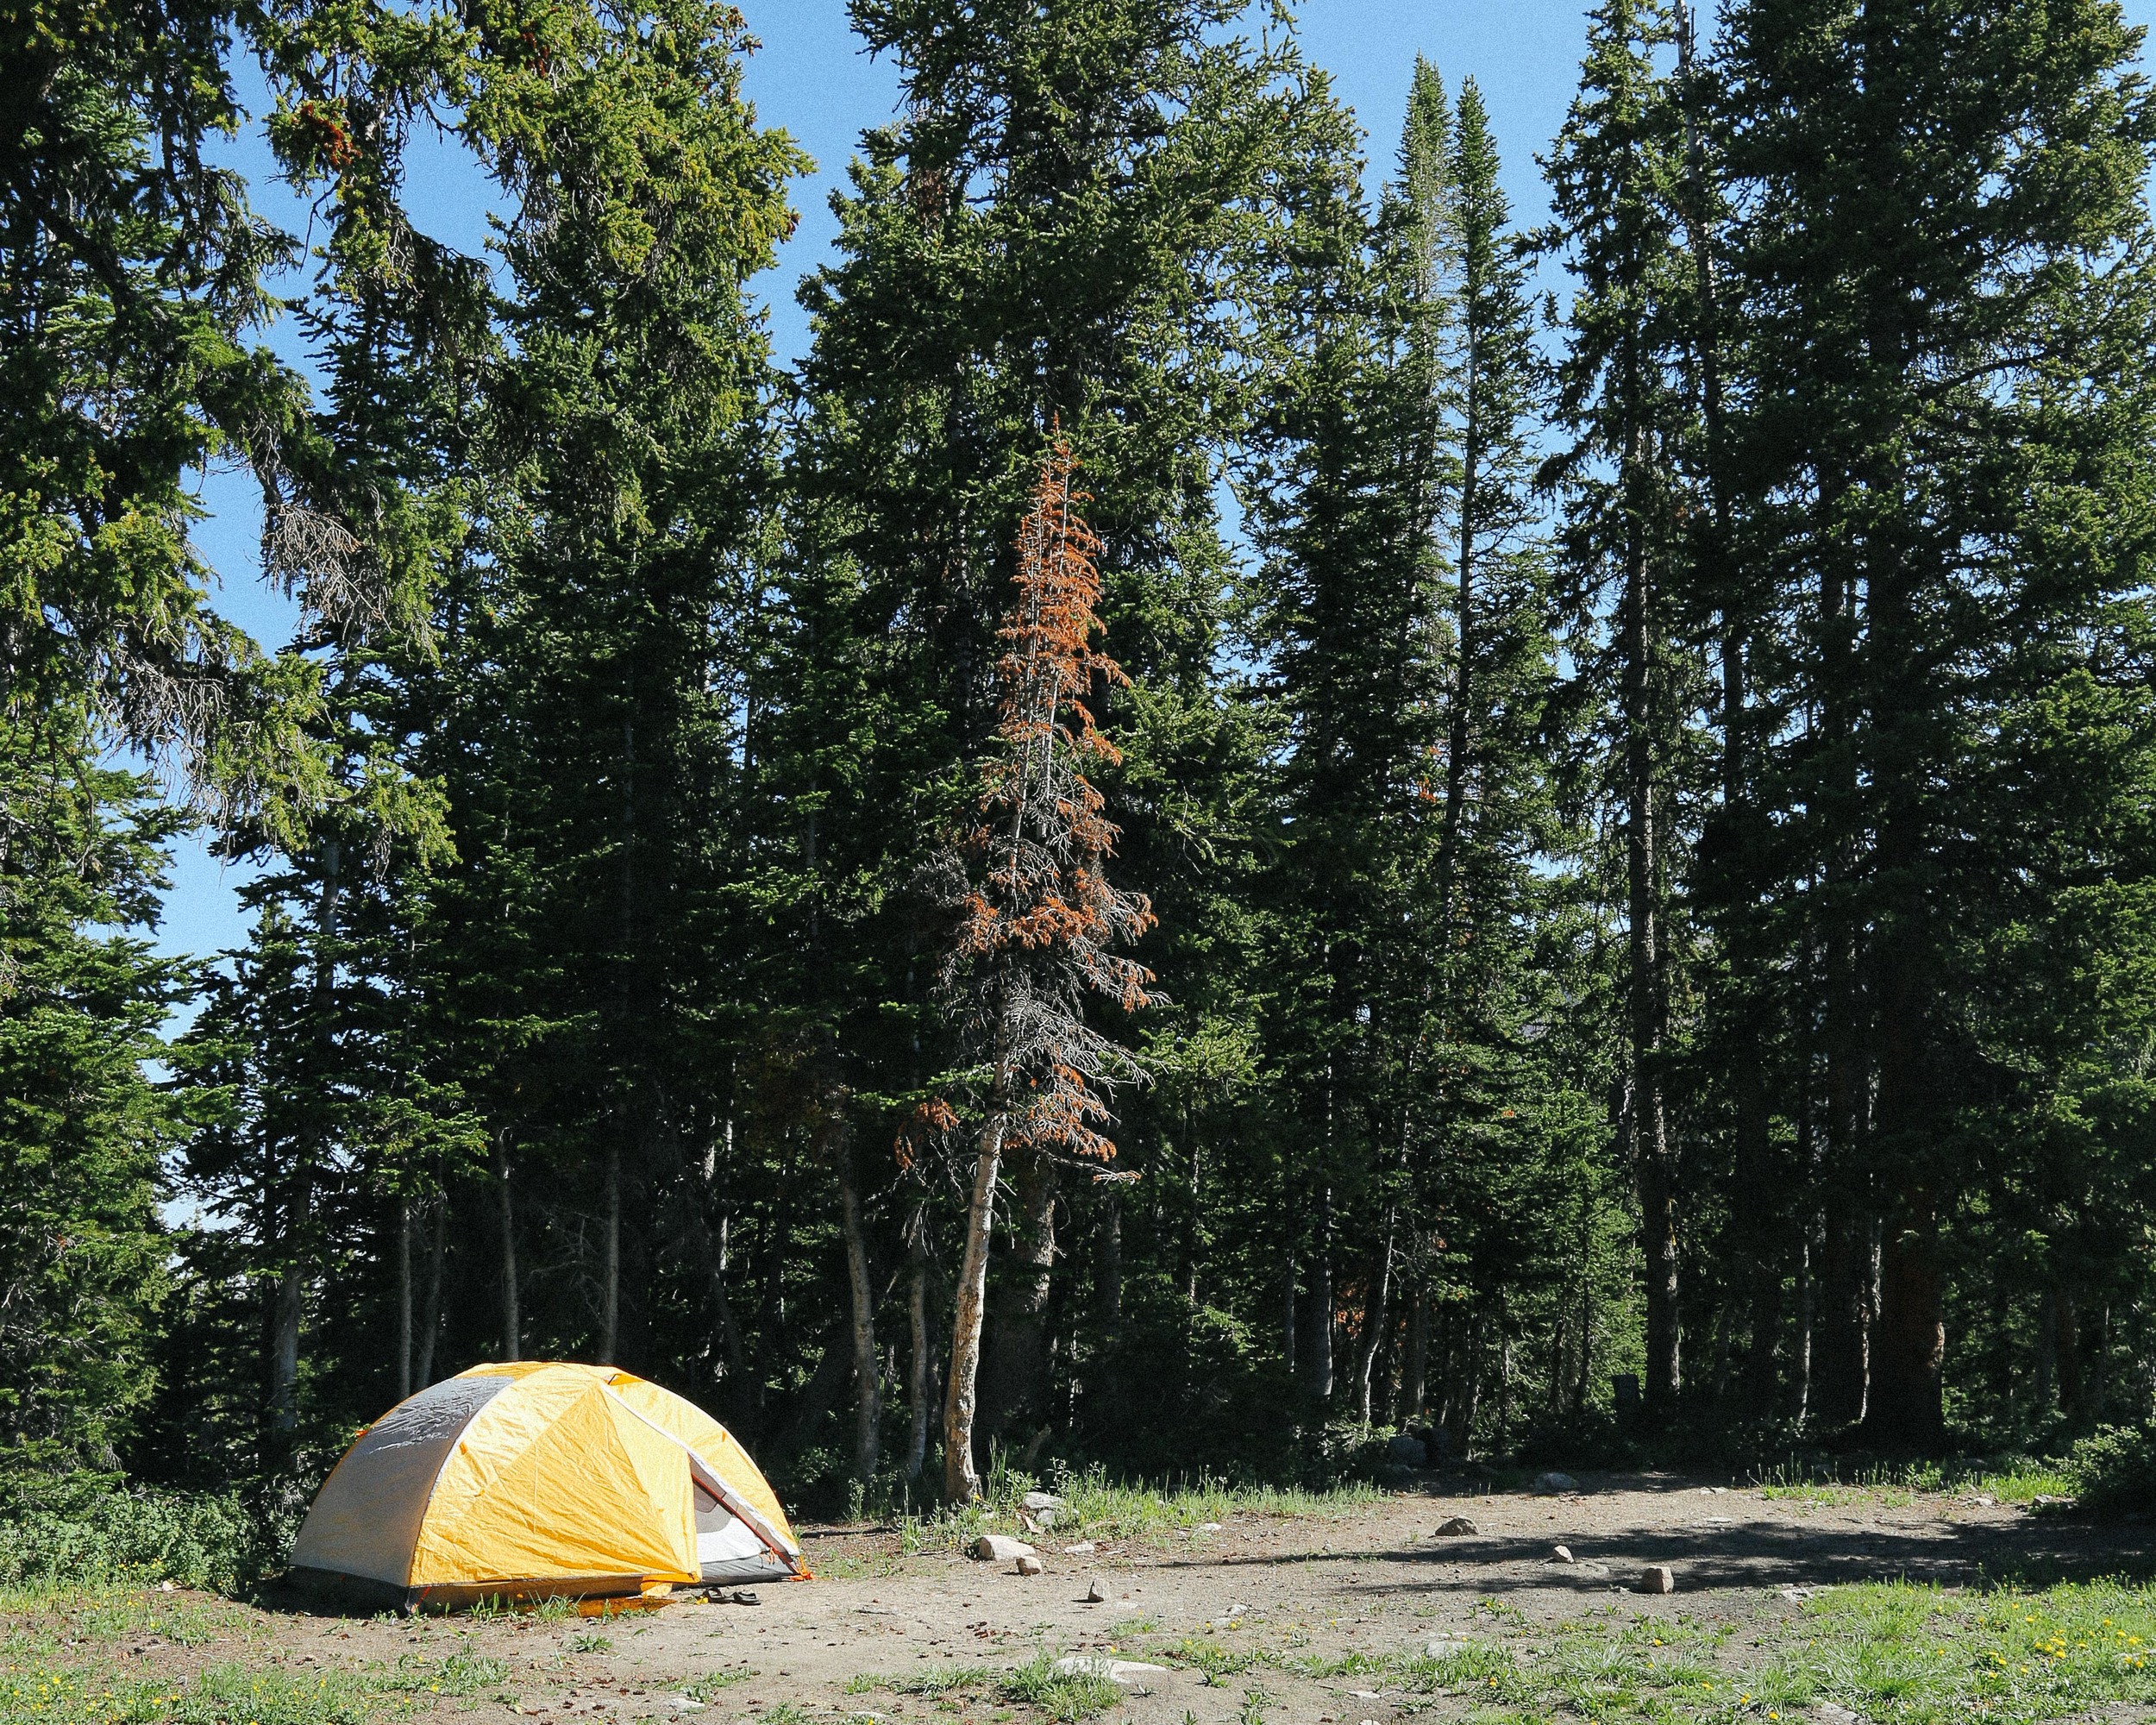
I wish I could tell you that this camping trip was all sunshine and climbing and cobbler, and it was, but it was also mosquitos (in a BIG way) and now I am a human-shaped pile of itch. Our lovely, perfect, secluded BLM camping site, with its flat, soft ground, makeshift fire pit, and expansive field and mountain views, was also the site for mosquito Bonnaroo Summer 2015, and we were Mumford and Sons caught without our chicken suit and wedding dress. Not a moment had passed since we opened the car doors before we were enveloped in a wispy, humming cloud of bloodsuckers, more at a single time than I have ever before seen in my life.

Ohhh, I wish I were kidding.

Lucca, of course, couldn't have cared less about the mosquitos, and Richard is a particular breed of hardcore, so the two of them went about doing their various camp arrival activities (rolling in deer poop/setting up the tent, respectively), while I ran around the campsite in my ski jacket waving my arms and yelling and trying desperately to avoid being bitten. I was unsuccessful. But eventually a slight breeze picked up and the temperatures dropped and the majority of the mosquitos hurried away to wherever it is mosquitos go when it gets windy and cold, and we had a very lovely time eating burritos and drinking beer/wine and enjoying one of the best campfire desserts we've ever made.

So, here's the thing: I honestly don't know whether to call this a crumble or a cobbler, as there is no liquid in the topping (which I think is supposed to make it ineligible to be a true cobbler), but there was a definite cakey layer under the crispy, pebbled top which seemed out of place for a crumble. And the recipe I adapted was originally from a topping for fruit crisp, but I'm pretty sure that a crisp isn't supposed to be cakey at all. So, even though I'm categorizing this as a cobbler, I don't know what to call this Franken-fruit dessert! But it was delicious, whatever it was. And if you are someone who oscillates between a preference for cakey things and crumbly/streusel-y things, then this is definitely the happy medium you've been waiting to find.

As we were unable to finish the cobbler between the two of us that evening, we just stuck the lid on the Dutch oven when we were finished and ate the leftovers over yogurt for breakfast the next morning. I HIGHLY recommend you do this as well, should you find yourself with leftovers of your own.

A few things you might be wondering/thinking:

Where are you in these photos? We were in the Uintas, a northern Utah mountain range, and the largest mountain range running east-to-west in the contiguous United States. It includes King's Peak, the highest mountain in Utah at 13,528 feet, plus over 1,000 lakes (really, really). It is a great place to hike, camp, ski, paddleboard, kayak, play with dogs, and escape the oppressive summer heat of the Salt Lake valley. It is also barely two hours away from downtown SLC! Even though we camped on BLM land, there are a number of (very popular) campsites in the area. You can check out campsites, permit/pass information, weather forecasts, and more here.

Where did you get that nifty Dutch oven? Richard got this Dutch oven from his parents for a past birthday. It is aluminum, and is light enough to take backpacking. If you're more into cast iron, Lodge makes a number of great Dutch ovens in a variety of sizes and styles that would be perfect for car camping. Make sure you get one with a handle that can swing up and over the lid of the Dutch oven for easy lifting and moving, or you are going to have a pretty interesting time maneuvering your lava-hot pot of cobbler out of the campfire.

How did you keep Lucca from running away from your campsite? Oh, there was definitely a moment when Lucca went on a mission to befriend a lone landscape photographer, and Richard had to hunt him down in the semi-darkness. And Lucca took himself on a short adventure to somewhere (I still don't know where) when I got up for an early morning pee, and I hollered for him for a good couple of minutes before he popped out of some bushes on the other side of the field next to our campsite. So, I suppose the answer is: we don't. He kind of likes to explore on his own when we're outside, and he almost always returns without our intervention. I guess I don't really have good advice, other than that we give him a few top-shelf treats and some cheese every once in a while (usually when he returns from adventuring), and I think he intuits that he'd be hard-pressed to find aged cheddar elsewhere in the wilderness.

(And don't you worry, Internet trolls, we wouldn't let him off the leash if he was a menace to other dogs/small children, and we leash him when we're in areas with a high-density of wild animals/cars/other people/watersheds.)

You left some stems on your blueberries when you made the cobbler!! Let's be clear that when you are getting attacked by hordes of mosquitos, de-stemming blueberries falls pretty low on your list of priorities. I just wanted to get the cobbler show on the road as quickly as possible. But to be honest, I didn't even notice any stems in the cobbler after it was finished! True story.

I want to know what's happening with that burrito-looking thing. Yeah! So we had a leftover chicken breast from the Gringo Chicken Tacos (I made a double batch the other day), so I shredded it and added it to some black beans which we heated on the camp stove. We put the chicken-bean mixture on whole-wheat tortillas, added some leftover chopped onions and cilantro, store-bought pico de gallo, and avocado slices, plus a squeeze of lime, and rolled everything up into burritos. They rocked.

Campfire Blueberry Cobbler serves 4-6 (or 2 with leftovers for breakfast)

For the topping:
1 cup all-purpose flour
1/3 cup packed brown sugar
1 tablespoon white sugar
1/4-1/2 teaspoon cinnamon (depending on how cinnamon-y you like your topping)
1 large pinch kosher salt (1/8 teaspoon)

Before you leave on your camping trip, combine all of the dry ingredients in a lidded container (preferably one that is large enough to also cut the butter into) and mix thoroughly. Pack with the rest of your food for the trip.

To complete your cobbler:
6 tablespoons butter, divided
4-6 cups blueberries (depending on how your preferred fruit-to-topping ratio... we used about 4 cups of berries)
1-2 tablespoons brown sugar juice of 1 lemon

Equipment: one 10-inch Dutch oven, a knife, a campfire with hot coals, tongs

Grease the inside of a 10-inch Dutch oven with 1 tablespoon of the butter. Add the blueberries, brown sugar, and lemon juice to the Dutch oven and mix with your hands to combine.

Cut the remaining 5 tablespoons butter into the container with the dry topping mixture. Use your fingers to pinch the butter into the flour mixture until the mixture looks like a blend of sand and small pebbles. Spread this mixture evenly over the blueberries, and place the lid on the Dutch oven.

Spread a single layer of hot coals on one side of your campfire, and place the Dutch oven over the coals. Use the tongs to carefully place about 10 additional coals (12, if your coals are on the small side) on the top of the Dutch oven. Cook for 30-40 minutes, rotating the Dutch oven 90-180 degrees every 5-10 minutes so the cobbler cooks evenly.

Remove the Dutch oven to a bare patch of dirt, and carefully use the tongs to place the coals from the lid back into the fire. Remove the lid from the Dutch oven to make sure that the cobbler is cooked, and let cool with the lid off (or ajar, if it is buggy) for about 5 minutes before serving.

gringo chicken tacos

autumn, dinner, lunch, main dishes, spring, summerFieldandForestComment

The official first day of summer happened last weekend! It is now excusable for the sun to melt you into the sidewalk. As is tradition around this time of year, our air conditioner broke. We sort of weren't using it that much anyway to try and keep our energy bill on the lower end of ridiculous (old houses = lots of character, lots of character = no insulation, no insulation = lots of energy needed to keep the indoors from becoming devil's armpit hot), but as it turns out, not using air conditioning means that our house turns into a high-desert microclimate with temps averaging about 86˚F.

So now we are looking for every excuse to cook and eat our food outside, which led to the creation of these [likely inauthentic, but still super tasty] chicken tacos. Granted you can (and I did) cook the chicken breasts in a skillet, but they'd be just as good and probably more authentic if they were cooked outdoors on a grill. You can easily double/quadruple/quintuple this recipe to feed as many hungry people as you'd like, and as the only thing that really needs cooking is the chicken, you can prep all the accoutrements right before you grill and have quite possibly the easiest and least fussy dinner party ever.

So, yeah. These are really good tacos, made by a white lady in a cast-iron skillet in Utah. I doubt it gets much more gringo than that.

Tacos de Pollo Gringo (Gringo Chicken Tacos)
makes enough for 2-3 people, or 8-10 small (street) tacos

For the chicken:
2 chicken breasts
1 tablespoon chili powder (I used this awesome stuff from Rancho Gordo)
1/2 teaspoon turmeric
2-3 cloves garlic, minced
1 teaspoon kosher salt
Juice of 1 lime
1 tablespoon olive oil

Place the chicken in a container with a lid or a shallow bowl. In a small bowl, combine the remaining ingredients and pour over the chicken. Use your hands to spread the marinade over the chicken so that each breast is evenly coated. Cover and place in the fridge for at least 2 hours or up to overnight.

To build/accessorize your tacos:
1 ripe (but not mushy) avocado, sliced
1/2 a white onion, finely chopped
a handful of fresh cilantro (coriander), finely chopped
1 lime, cut into wedges
small corn tortillas, about 4-5 inches in diameter (if you're in Utah, Rico makes nice, pliable corn tortillas in Salt Lake City, and sells them in most grocery stores)

About 30-45 minutes before you want to eat your tacos: Take the chicken out of the fridge and set aside (leaving it at room temperature for a bit helps it to cook more evenly and stay tender). If using a grill, now is a good time to begin heating your coals.

About 15 minutes before you want to eat your tacos: prep the avocado, onion, cilantro, and lime (we combined the onion and cilantro in the same bowl like a dry relish, but you can serve them separately depending on what you prefer). Set aside.

Place a grill over hot coals, or place a cast-iron skillet over medium high heat. Oil the grill with an olive oil-soaked paper towel, or drizzle a little oil around the inside of your cast iron skillet (just enough to lightly coat). Cook the chicken just until it is cooked through (no longer pink inside), but still tender, about 5-6 minutes on each side.

While the chicken is cooking, remove your tortillas from their bag/container and place them in a microwave-proof bowl. Put a plate on top of the bowl (covering the tortillas) to make a makeshift steamer. Microwave your bowl/plate contraption for 1-2 minutes to heat your tortillas and make them pliable (you may have to experiment with your tortillas to make sure you are heating them enough/not too much, since various brands can act differently when heated).

Once the chicken is cooked, remove the pan from the heat and place the chicken breasts on a cutting board. Let rest for a minute. Slice each breast across the grain into 1/4-inch thick slices and place in a serving bowl. Pour any juices that end up on your cutting board over the chicken. Serve immediately with the hot tortillas, onion, cilantro, avocado, and lime.

weekday morning sufganiyot

autumn, breads, breakfast, desserts, snacks, spring, summer, vegetarian, winterFieldandForest7 Comments
4j5a2194.jpg

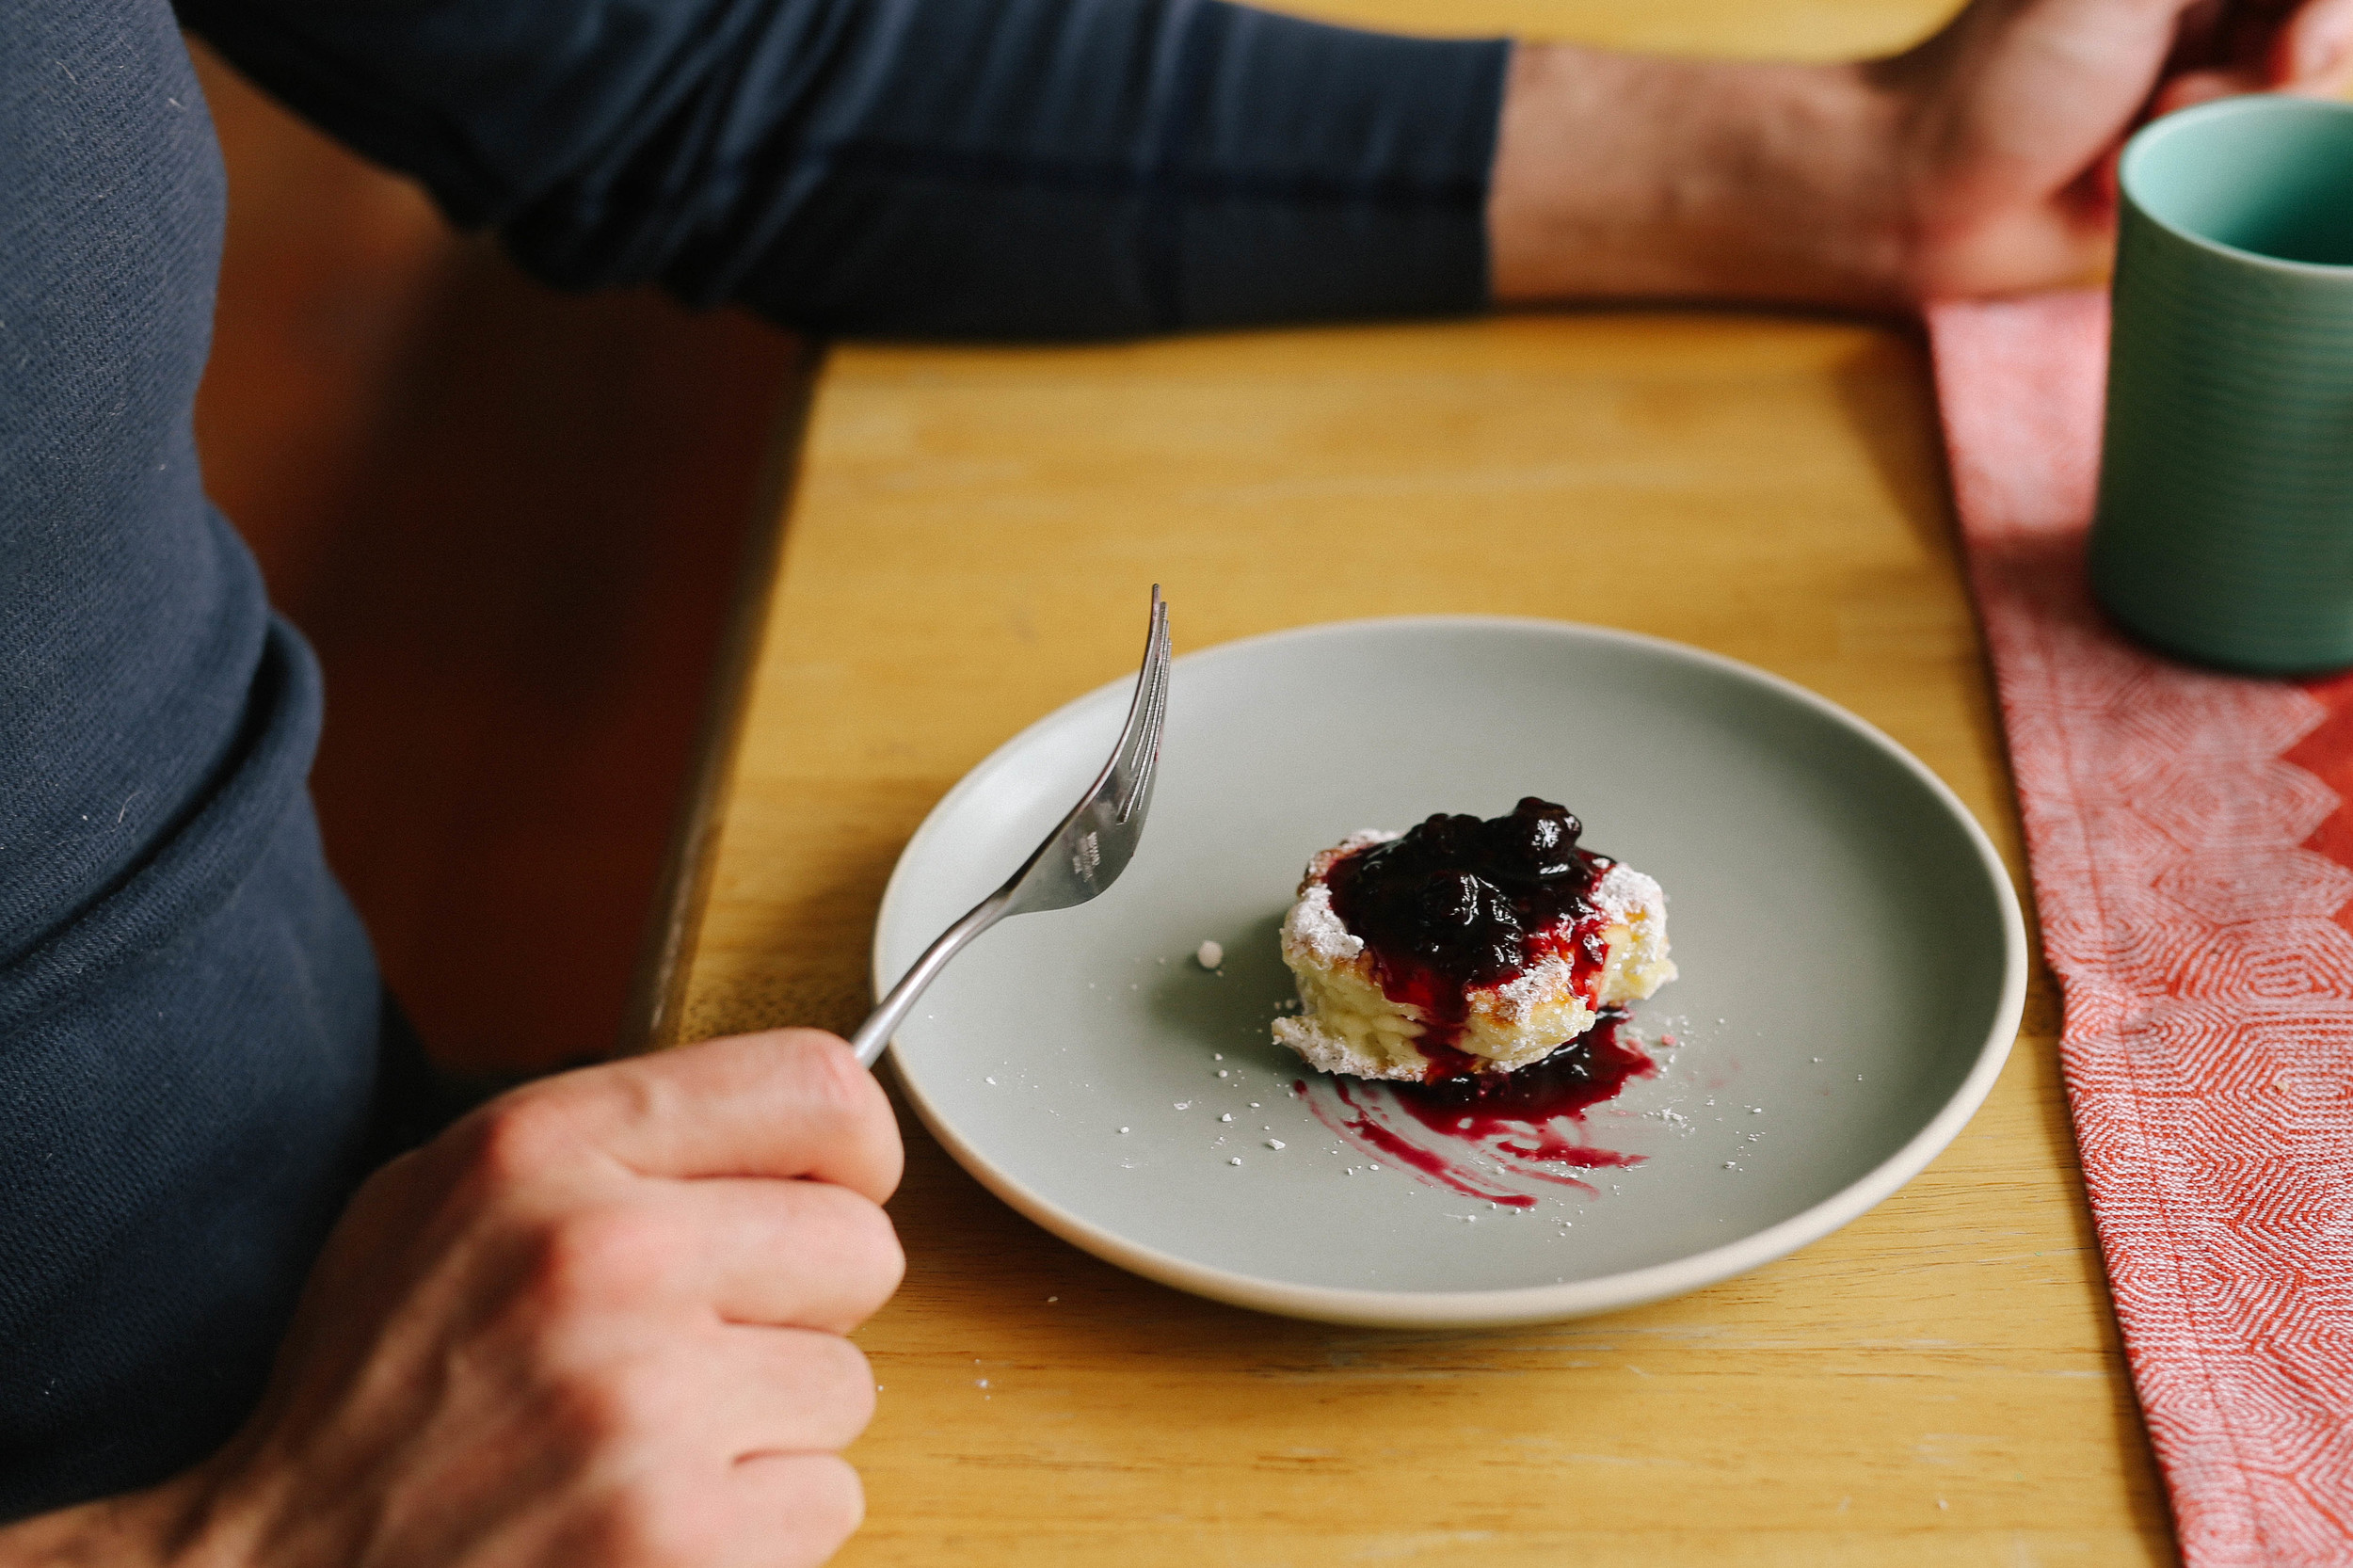
This post came about weirdly. It began with me wanting to bake something and it ended with me making sufganiyot (also known as Israeli doughnuts, also known as one of the top ten most delicious things on the planet), but somewhere in the middle there I spent 45 minutes standing over the vent in the oven door while it "preheated," flipping through cookbooks in an under-caffeinated haze and wishing that something bread-like and cakey would magically appear in front of me. Every day, lately, has had enough cloudiness and post-holiday malaise to be a potential baking day, albeit one where I am always out of something where 99.9% of the time something = buttermilk.

Note to self: buy buttermilk always. Every time you go to the store. No more of this faking it with milk and lemon juice. Buy buttermilk. BUUUUY IIIIIIIT.

And when you don't buy buttermilk, buy yogurt so you can make sufganiyot.

If you haven't made sufganiyot before, there is no time like the present. Seriously. It will take you 5 minutes to make the batter, and a minute or two of panfrying on each side to get you straight to Doughnutland. Or Sufganiyotville. Or wherever you want to go so long as it is crispy and covered in powdered sugar.

Weekday Morning Sufganiyot (Israeli Doughnuts)
recipe courtesy of my mom <3
I would take these little fritters over raised glazed doughnuts any day. If someone tells you they are having a bad day, make them these; they will feel better. If you are having a bad day, make them for yourself; you will feel better. If you or someone else is having a good day, make them anyway! You have to eat breakfast, right?

1 1/2 cups flour
1 t. baking powder
1 T sugar
1 egg
1 cup yogurt
canola oil or ghee

Mix all ingredients together.  Heat oil or ghee in frying pan (enough to completely coat the bottom of the pan).  Once the oil is hot, drop tablespoons of batter into the pan.  Carefully flip when brown.  Briefly (for 5-10 seconds) rest cooked sufganiyot on a paper towel, roll in powdered sugar, and serve immediately with jam.

pantry pea velouté with curry and lemon

autumn, soups, spring, summer, vegetarian, winterFieldandForestComment

This week has been a flurry of travels, family time, dog adventures, stresses, cooking, and happiness.  And then, like that, we slowed things down for just a moment and I woke up sniffly and headachy and car-runneth-me-over-y.  I am not very good at caring for myself when I am sick; I am better at caring for others, by way of soup, tea, entertainment (in the form of 2nd grade-level jokes and/or interpretive dance moves), and collaborative movie-watching.  When I am sick, there is little I feel like doing other than couching-it hardcore, eating toast, and watching reruns of Gilmore Girls.

Those kinds of things are cathartic, and they also help you forget that you are in a house which is lacking in groceries and general stuff that makes sick people better.  This makes for a sad 5 minutes of shuffling around the kitchen while wrapped babushka-style in a blanket. But, after a little scrounging, maybe you find a bag of frozen peas.  Some butter.  An old onion, and a little curry powder. Plus a lonely fridge lemon. And you think, hey, I could totally make soup with this.  So you do. And it kind of rocks.

And you feel better.

(And you call your soup "velouté" because it helps you to feel fancy in spite of your red nose and raging case of bedhead.)

Pantry Pea Velouté with Curry and Lemon
This recipe is very loosely based on an amazing soup that my Aunt Diane makes regularly.  Her version has half-and-half, but I've made it before with whole milk or coconut milk (so creamy, so vegan) and loved it just as much.  Dealer's choice on this one.  Also, apologies in advance for all the notes by the ingredients, though I hope they make you confident in your ability to make this soup since apparently you can forget almost 30% of the ingredients and have it still be awesome.

2 tablespoons butter, ghee, or coconut oil 1 onion, finely chopped
2 tablespoons all-purpose flour (omit if making GF)
1 tablespoon curry powder
4 cups chicken stock, vegetable stock, or water (I used water this time, which gives you a clean, bright soup, albeit with less depth)
1 large pinch kosher salt
1 large pinch sugar (optional; I forgot to add this, and I didn't really miss it... though keep in mind my nose is stopped up)
1 pound frozen peas (equivalent to 1 bag)
1/2 pound frozen spinach (again, I forgot this... whoops)
1/2-1 cup half-and-half, whole milk, or coconut milk (yup, didn't add this either)
lemon juice, to taste


Melt the butter, ghee, or coconut oil in a pot over medium-low heat.  Add the chopped onion and sauté, stirring occasionally, until the onion softens and becomes translucent (5-7 minutes).  Add the flour and curry powder to the onions, and stir continuously for a couple of minutes while the flour cooks.  Add a little stock or water and stir up any flour stuck to the bottom of your pan, then add the rest of the stock, the salt, and the sugar (if using), and let everything simmer for 5 minutes.

Add the frozen peas and spinach (if using) to the pot, and let everything simmer for 15 minutes.  Take the pot off of the heat, and purée the soup using a stand blender or immersion blender.  Add the half-and-half, whole milk, or coconut milk, and stir to combine.  Taste soup, and add lemon juice for brightness and additional salt if necessary.

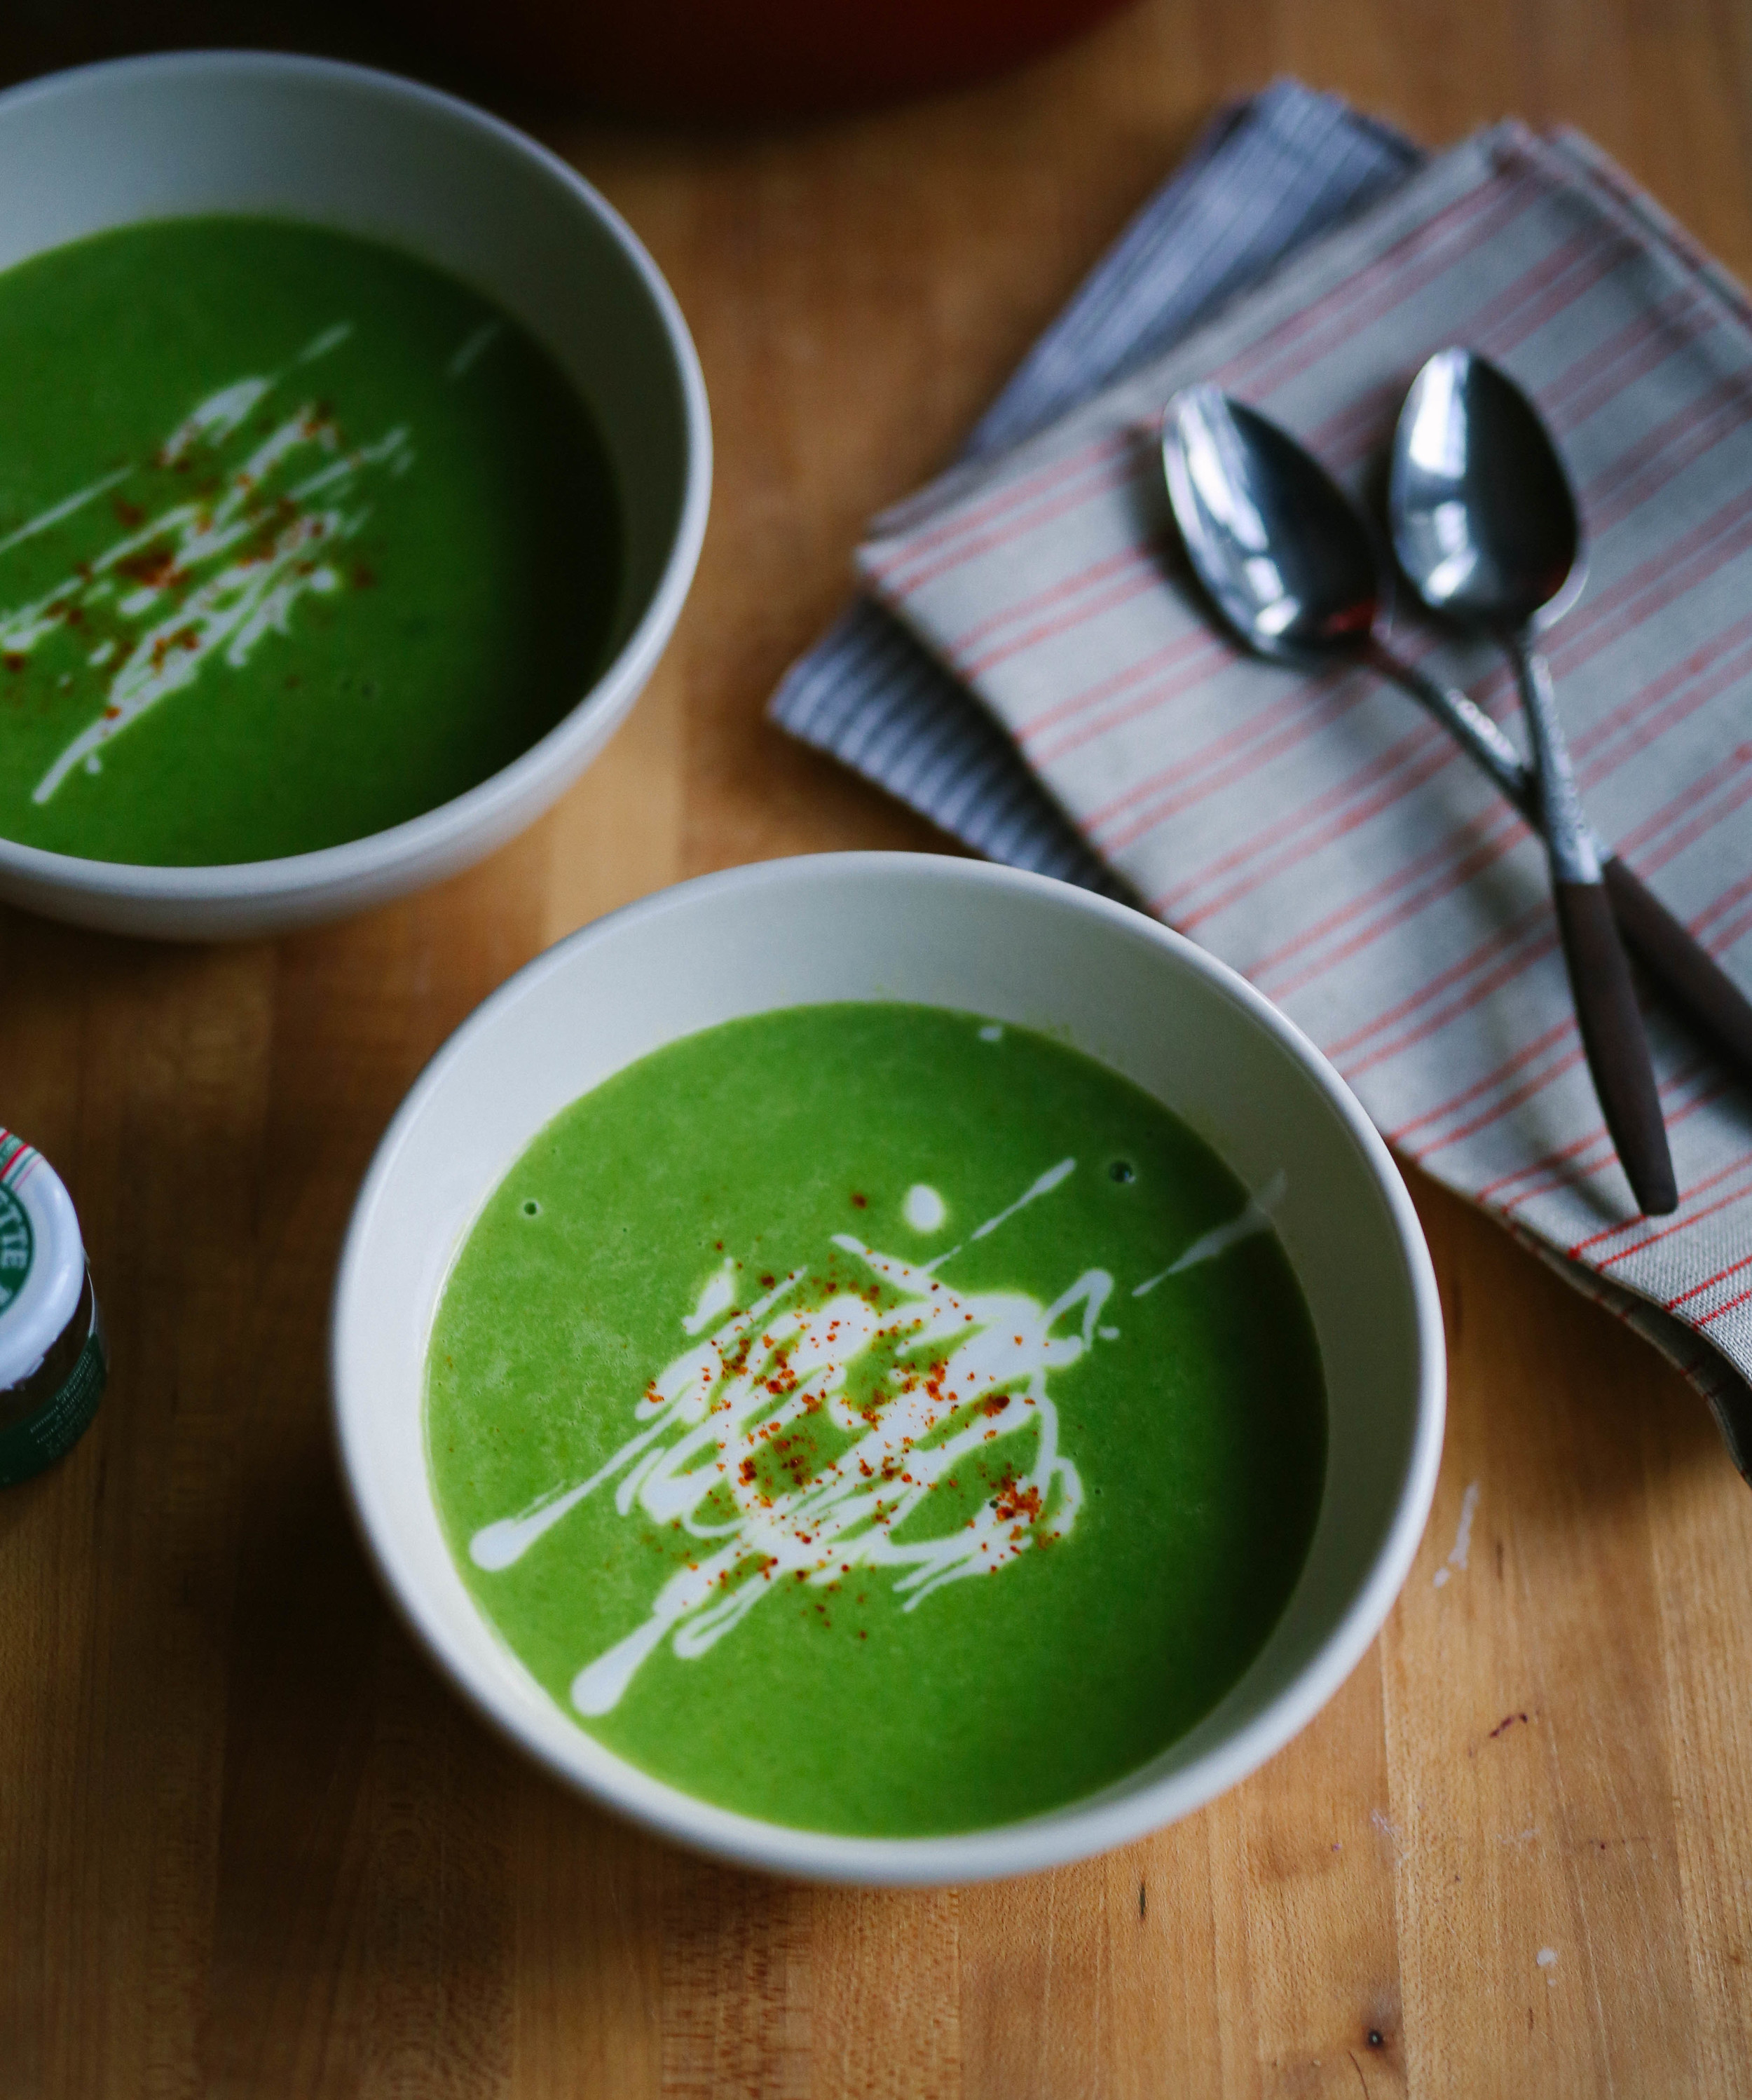
Optional garnishes - I've had this with buttered croutons (amazing), creme fraîche (amazing), and lemon yogurt (yummmmmy).  The soup in the picture is topped with yogurt mixed with a little lemon juice and some piment d'Espelette for color and a smidge of heat (just in case you were wondering!).